Export Control
EAR Export Classification: Not subject to the EAR per 15 C.F.R. Chapter 1, Part 734.3(b)(3), except for the following Service Bulletins which are currently published as EAR Export Classification 9E991: SBE70-0992, SBE72-0483, SBE72-0580, SBE72-0588, SBE72-0640, SBE73-0209, SBE80-0024 and SBE80-0025.Copyright
© IAE International Aero Engines AG (2001, 2014 - 2021) The information contained in this document is the property of © IAE International Aero Engines AG and may not be copied or used for any purpose other than that for which it is supplied without the express written authority of © IAE International Aero Engines AG. (This does not preclude use by engine and aircraft operators for normal instructional, maintenance or overhaul purposes.).Applicability
All
Common Information
TASK 72-60-25-200-007-A00 Fuel Pump Carbon Seal - Examine, Inspection-007
General
This TASK gives the procedure for the inspection of the carbon seal.
Fig/item numbers in parentheses in the procedure agree with those used in the IPC.
The policy that is necessary for inspection is given in the SPM TASK 70-20-00-200-501.
All the parts must be cleaned before any part is examined. Refer to SPM TASK 70-10-00-100-501.
All parts must be visually examined for damage, corrosion and wear. Any defects that are not identified in the procedure must be referred to IAE.
Parts which should be discarded can be held although no repair is available. The repair of the discarded part could be available at a later date.
The practices and processes referred to in the procedure by the TASK Numbers are in the SPM.
Reference
Refer to SPM for data on these items.
Definition of damage, SPM TASK 70-02-02-220-501.
Record and control of the lives of the Parts, SPM TASK 70-05-00-220-501.
Inspection of parts, SPM TASK 70-20-00-200-501.
Some data on these items is contained in this TASK. For more data on these items refer to SPM.
Surface protection.
Preliminary Requirements
Pre-Conditions
NONESupport Equipment
| Name | Manufacturer | Part Number / Identification | Quantity | Remark |
|---|---|---|---|---|
| Workshop inspection equipment | LOCAL | Workshop inspection equipment |
Consumables, Materials and Expendables
NONESpares
NONESafety Requirements
CAUTION
Procedure
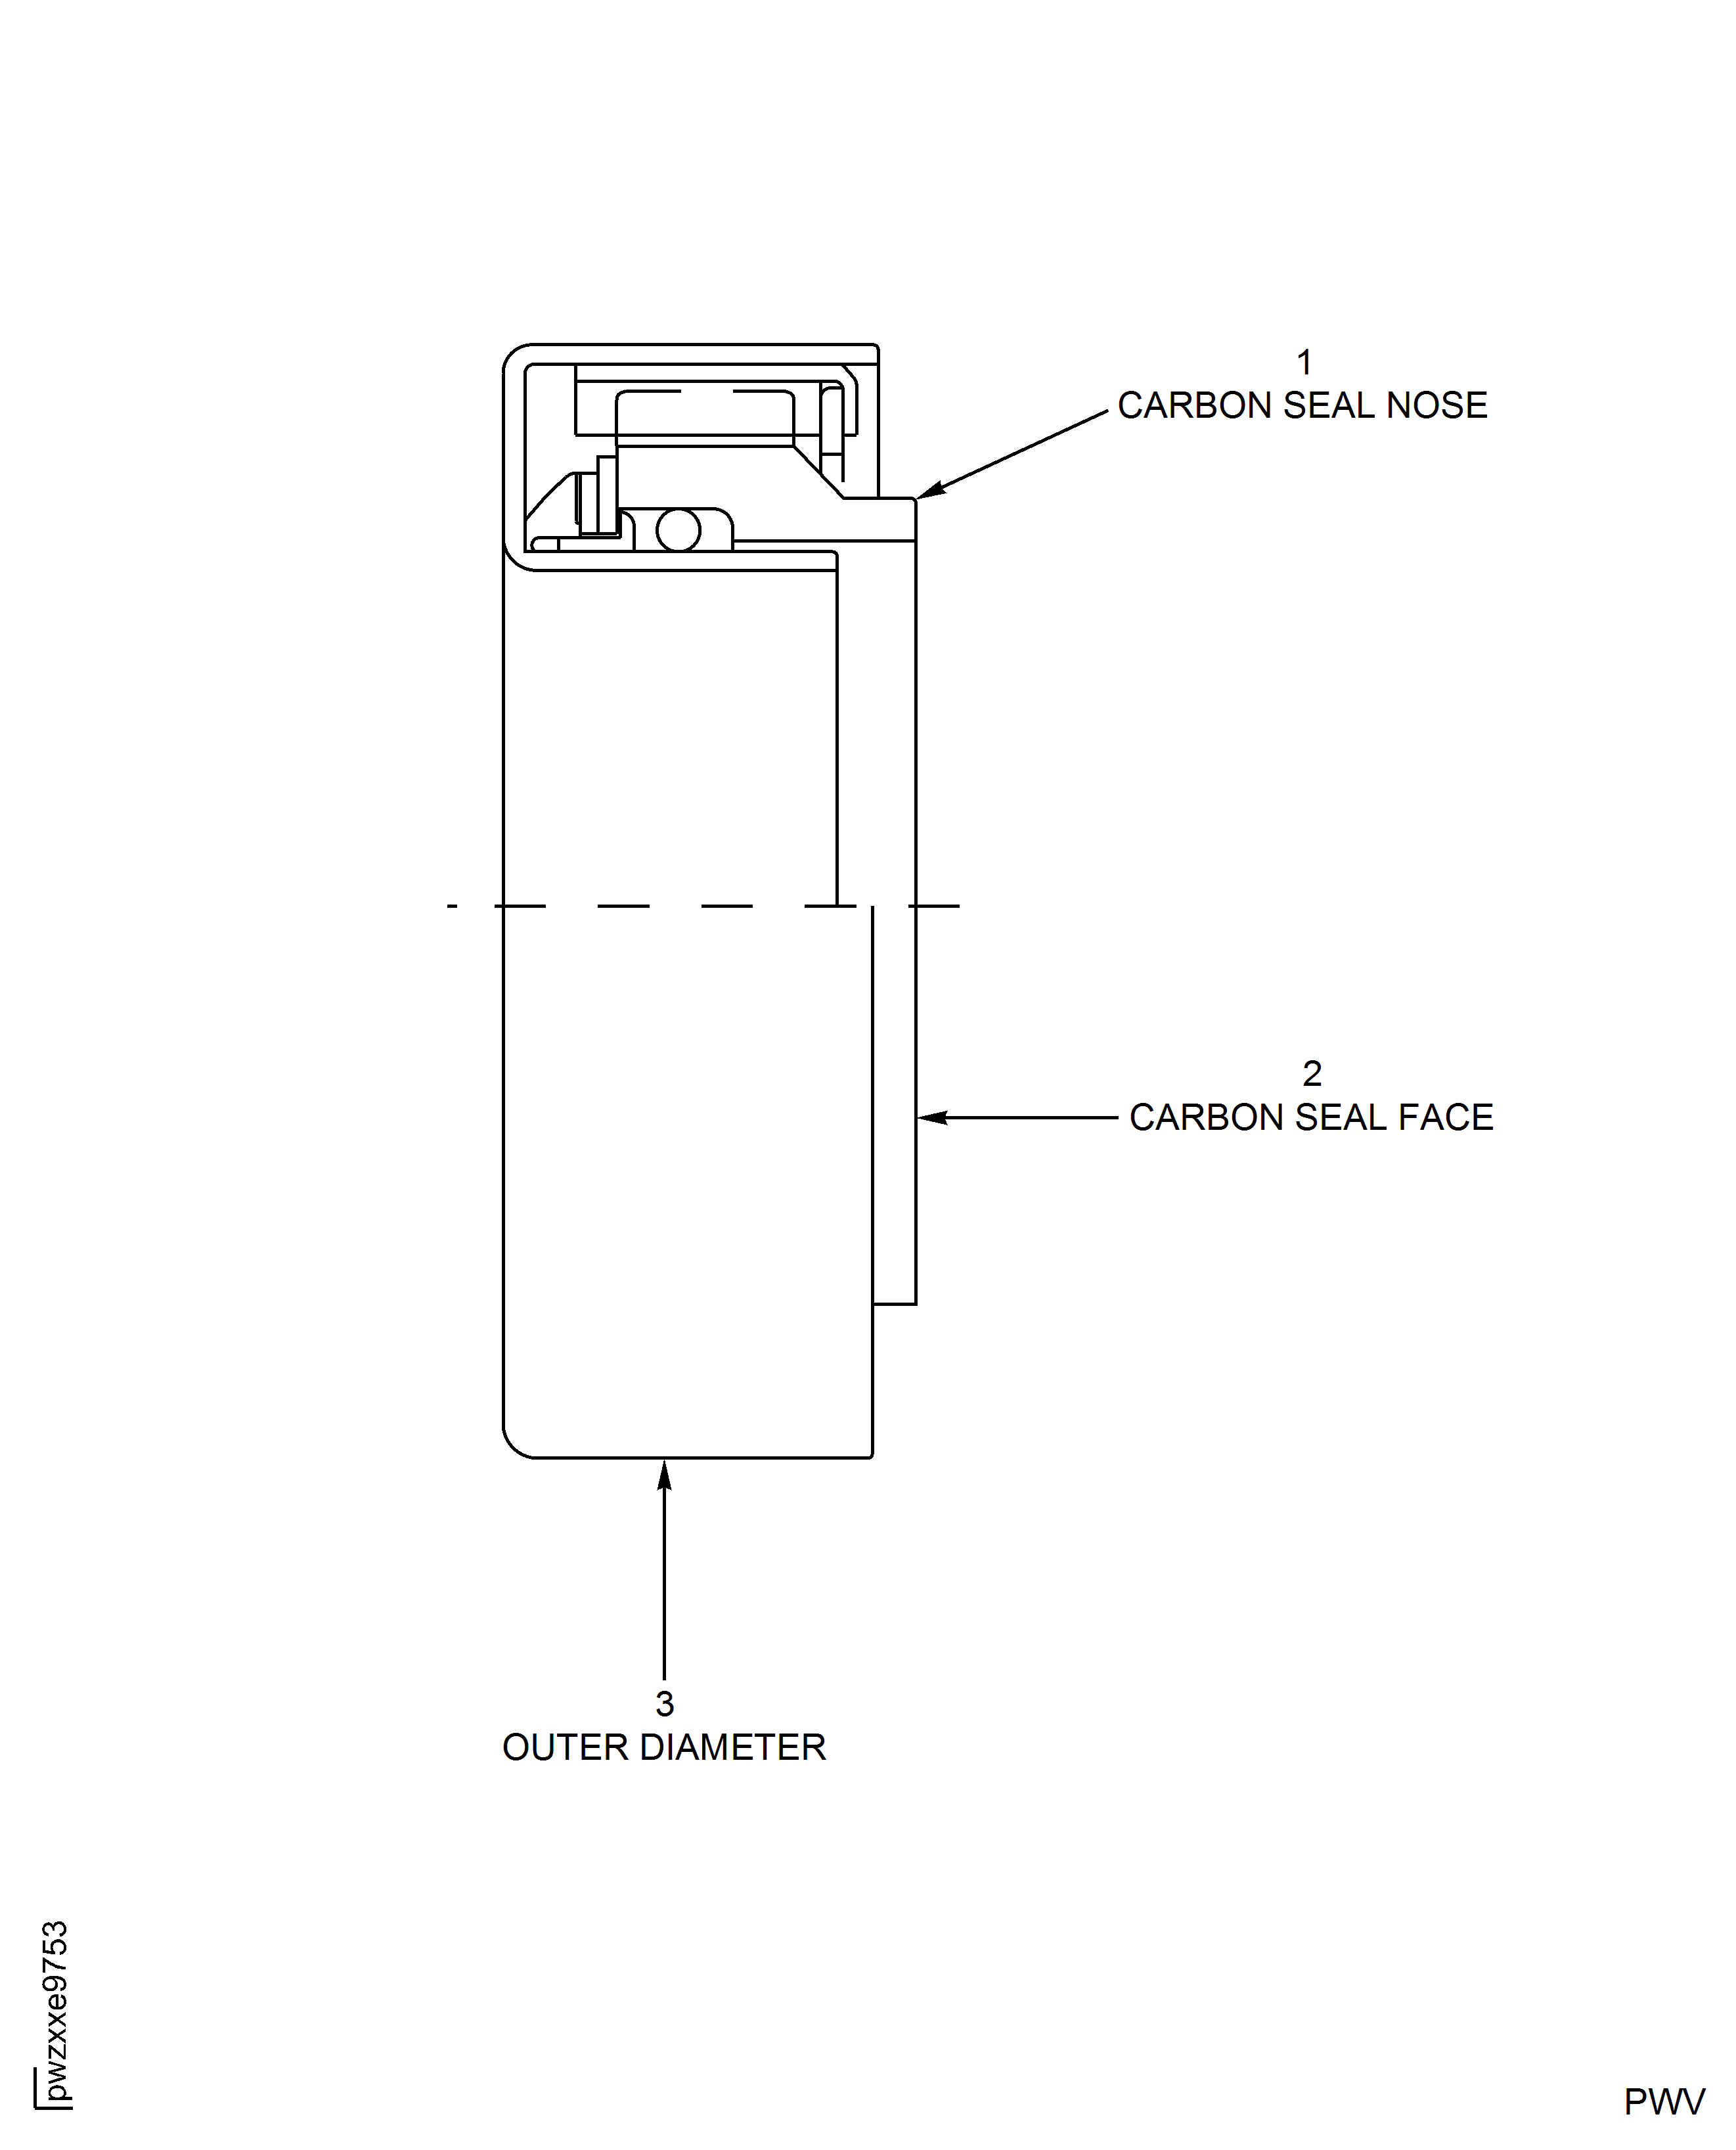
Refer to Figure.
Reject
Evident cracks.
Cracks.
Reject.
More than Step.
Nicks and scratches.
Reject.
More than Step.
Chipped edges.
No sticking of details is permitted.
Freedom of axial movement.
Reject.
More than Step.
Flatness.
Reject.
Less than 0.769 in. (19.55 mm).
Free length.
SUBTASK 72-60-25-220-168 Examine the Carbon Seal (01-150) Face at Location 2, Pre-SBE 70-0057
Refer to Figure.
Reject.
Evident cracks.
Cracks.
Reject.
More than Step.
Nicks and scratches.
Reject.
More than Step.
Chipped edges.
No sticking of details is permitted.
Freedom of axial movement.
Reject.
More than Step.
Flatness.
Reject.
Less than 0.768 in. (19.507 mm).
Free length.
SUBTASK 72-60-25-220-169 Examine the Carbon Seal (01-150) Face at Location 2, Post-SBE 70-0057
Refer to Figure.
Accept.
Between 2.3155 in. and 2.3135 in. (58.813 mm and 58.763 mm).
Reject.
Less than 2.3135 in. (58.763 mm).
Diameter.
SUBTASK 72-60-25-220-170 Examine the Carbon Seal (01-150) Outer Diameter at Location 3
Figure: Location - Carbon Seal
Location - Carbon Seal

