Export Control
EAR Export Classification: Not subject to the EAR per 15 C.F.R. Chapter 1, Part 734.3(b)(3), except for the following Service Bulletins which are currently published as EAR Export Classification 9E991: SBE70-0992, SBE72-0483, SBE72-0580, SBE72-0588, SBE72-0640, SBE73-0209, SBE80-0024 and SBE80-0025.Copyright
© IAE International Aero Engines AG (2001, 2014 - 2021) The information contained in this document is the property of © IAE International Aero Engines AG and may not be copied or used for any purpose other than that for which it is supplied without the express written authority of © IAE International Aero Engines AG. (This does not preclude use by engine and aircraft operators for normal instructional, maintenance or overhaul purposes.).Applicability
All
Common Information
TASK 72-32-05-200-005 PTO Drive Shaft Inner Roller Bearing - Examine, Inspection-005
General
This TASK gives the procedure for the inspection of the roller bearing assembly. For other parts of the PTO drive shaft bearing and support refer to TASK 72-32-05-200-000 (INSPECTION-000).
Fig/item numbers in parentheses in the procedure agree with those used in the IPC.
The policy that is necessary for inspection is given in the SPM TASK 70-20-01-200-501.
The parts must be cleaned before any part is examined. Refer to the SPM TASK 70-11-22-300-503
All the parts must be visually examined for damage, corrosion and wear. Any defects that are not identified in the procedure must be referred to IAE.
Do not discard any part until you are sure there are no repairs available. Refer to the instructions in Repair before a discarded part is used again or oversize parts are installed.
Parts which should be discarded can be held although no repair is available. The repair of a discarded part could be shown to be necessary at a later date.
All parts must be examined to make sure that all repairs have been completed satisfactorily.
The practices and processes referred to in the procedure by the TASK numbers are in the SPM.
Bearings failing inspection may not be repaired or refurbished if:
They have been subjected to overheating because of loss of oil, the inner ring spinning on its hub, a compartment fire, or skidding.
They were involved in a major engine fire.
References
Refer to the SPM for the data on these items.
Bearing Inspection, TASK 70-29-01-290-501
Inspection of Parts, TASK 70-20-01-200-501
Some data on these items are contained in this TASK. For more data on these items refer to the SPM.
Method of Testing for Crack Indications
Chemical Processes
Surface Protection
Preliminary Requirements
Pre-Conditions
NONESupport Equipment
NONEConsumables, Materials and Expendables
NONESpares
NONESafety Requirements
NONEProcedure
Clean the roller bearing outer assembly. Refer to TASK 72-32-05-100-000 (CLEANING-000).
SUBTASK 72-32-05-110-060 Clean the Roller Bearing Inner (01-270)
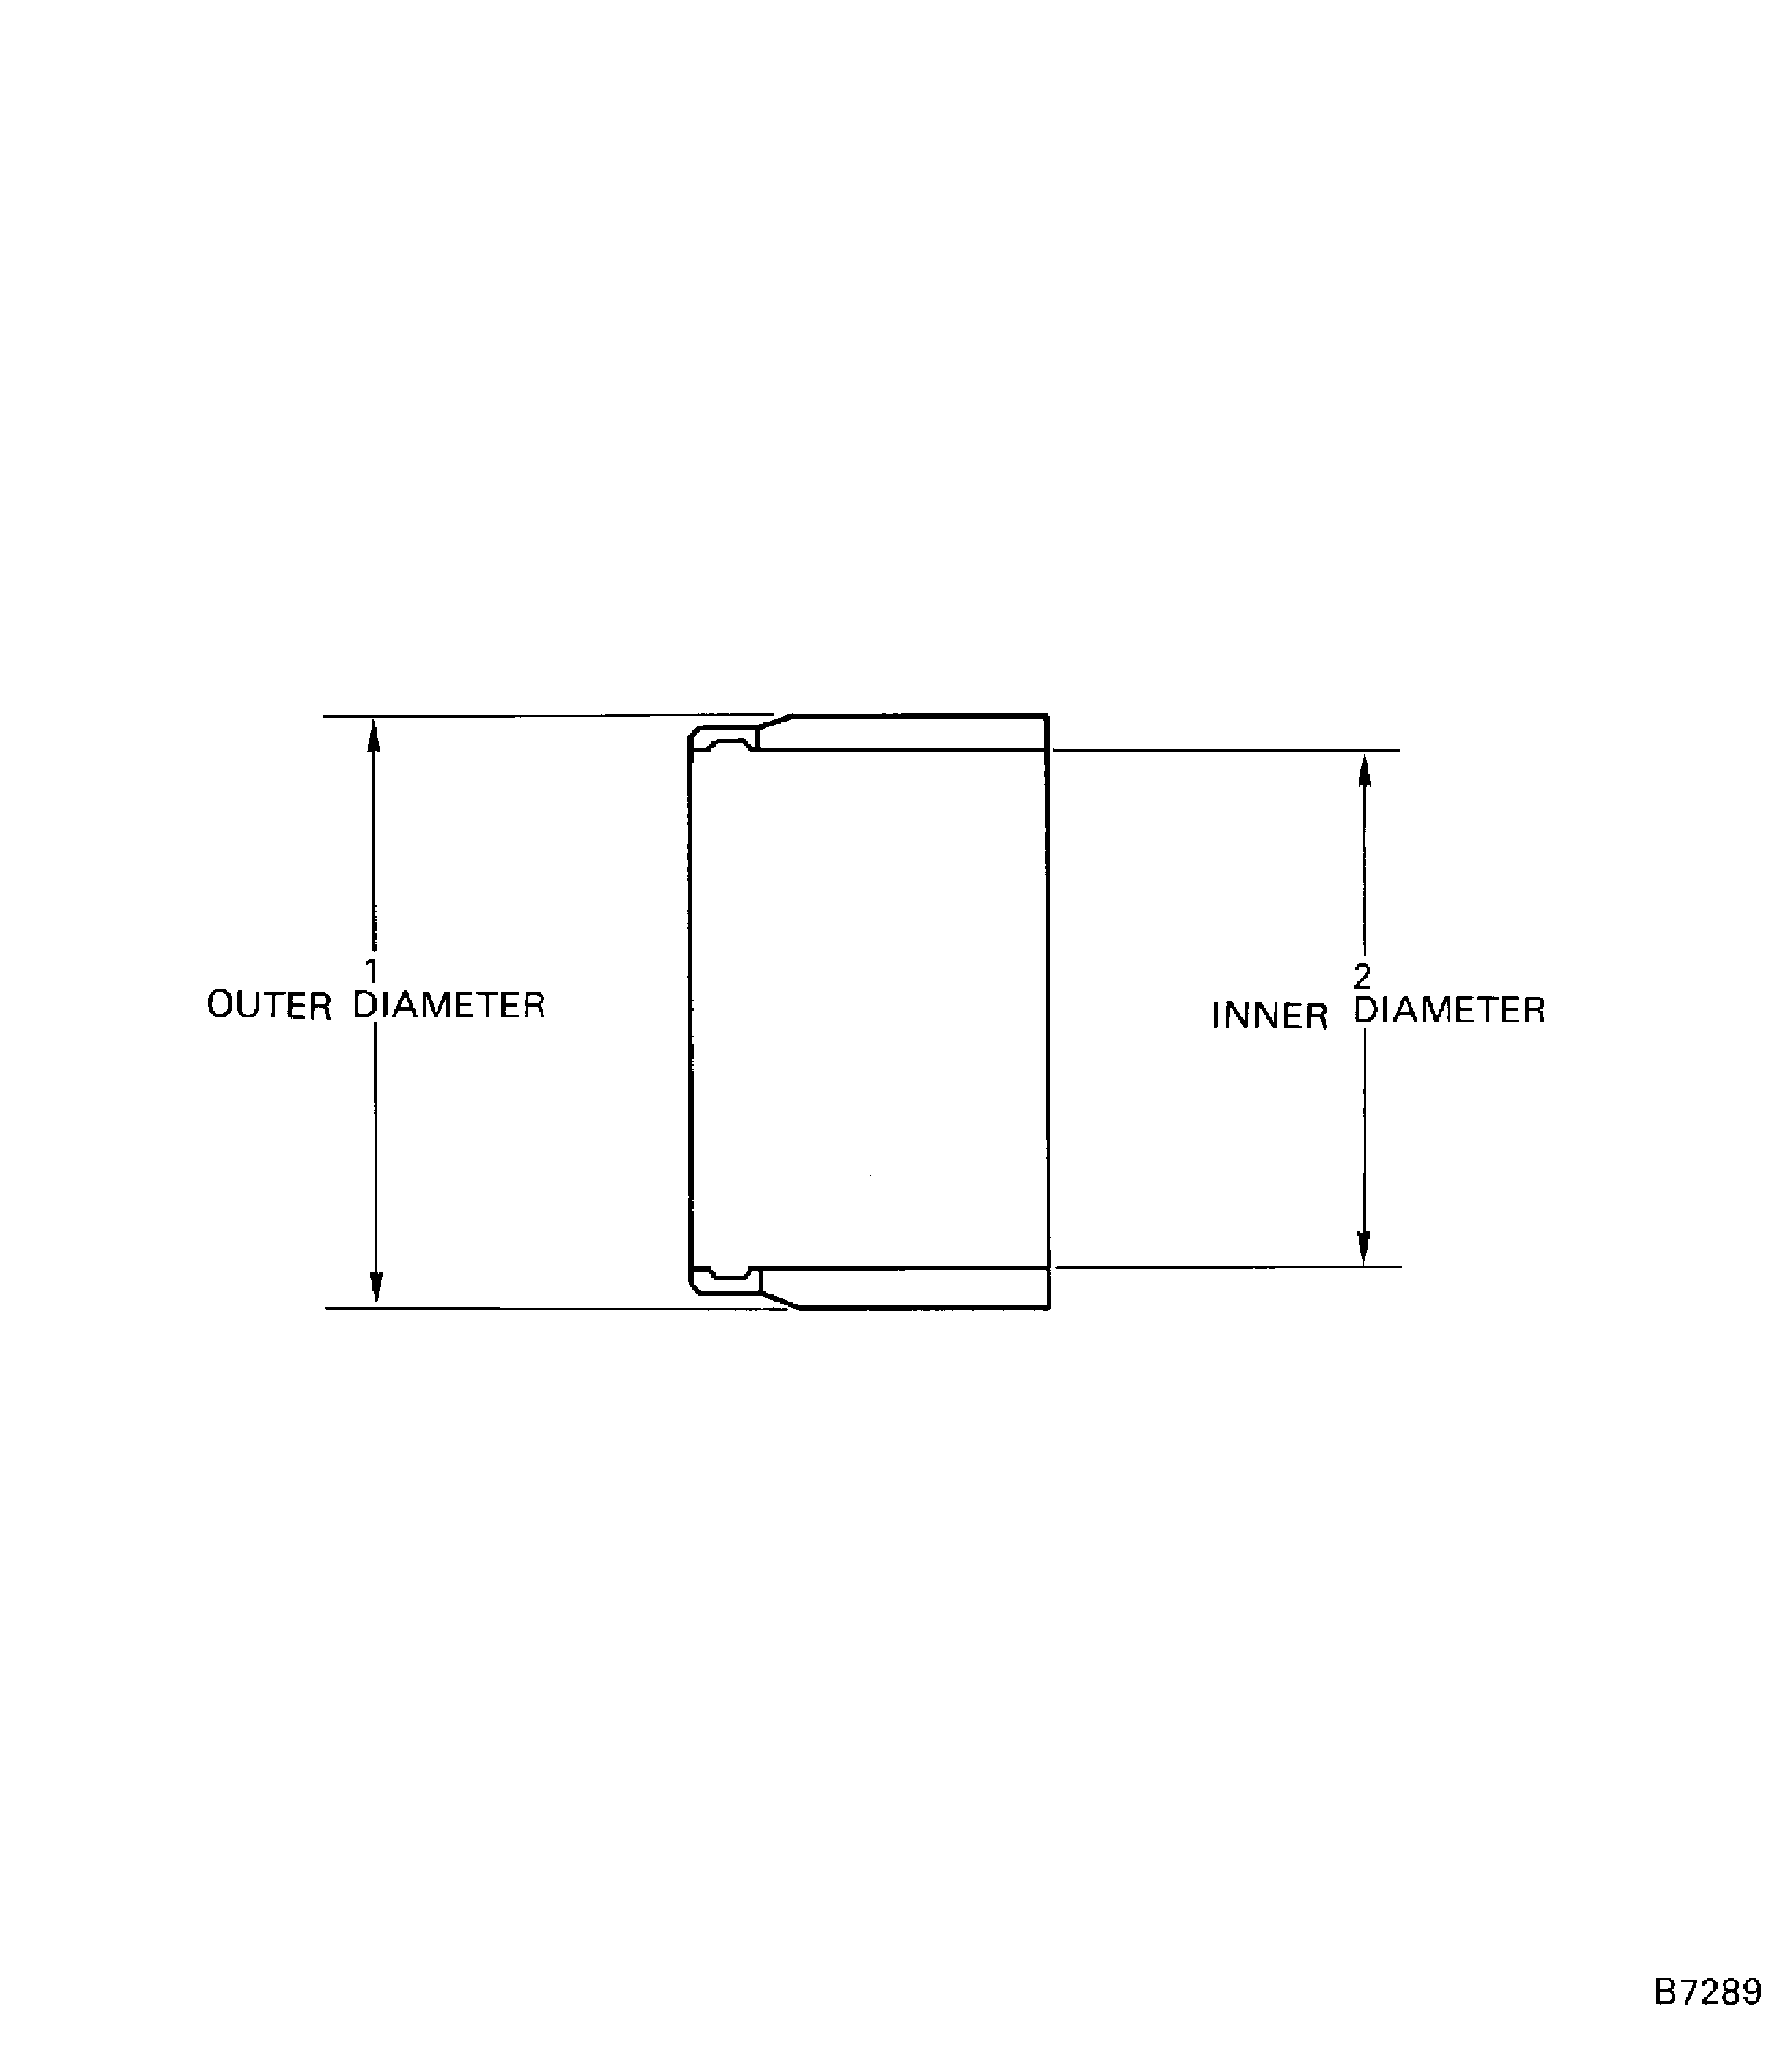
Refer to Figure.
Visually inspect, without magnification, the bearing and its components, checking in particular for defects as shown in the SPM TASK 70-29-01-290-501.
SUBTASK 72-32-05-220-088 Visually Inspect the Roller Bearing Inner (01-270) for Surface Damages
Refer to Figure.
SUBTASK 72-32-05-220-089 Dimensionally Examine the Roller Bearing Inner (01-270)
Demagnetize the bearing. Refer to the SPM TASK 70-11-22-300-503.
SUBTASK 72-32-05-110-061 Demagnetize the Roller Bearing Inner (01-270)
Preserve the bearing in an assembled state by dipping in the compound. Refer to the SPM TASK 70-29-01-290-501.
SUBTASK 72-32-05-620-055 Preserve the Roller Bearing Inner (01-270)
Figure: Roller bearing inner
Roller bearing inner

