Export Control
EAR Export Classification: Not subject to the EAR per 15 C.F.R. Chapter 1, Part 734.3(b)(3), except for the following Service Bulletins which are currently published as EAR Export Classification 9E991: SBE70-0992, SBE72-0483, SBE72-0580, SBE72-0588, SBE72-0640, SBE73-0209, SBE80-0024 and SBE80-0025.Copyright
© IAE International Aero Engines AG (2001, 2014 - 2021) The information contained in this document is the property of © IAE International Aero Engines AG and may not be copied or used for any purpose other than that for which it is supplied without the express written authority of © IAE International Aero Engines AG. (This does not preclude use by engine and aircraft operators for normal instructional, maintenance or overhaul purposes.).Applicability
All
Common Information
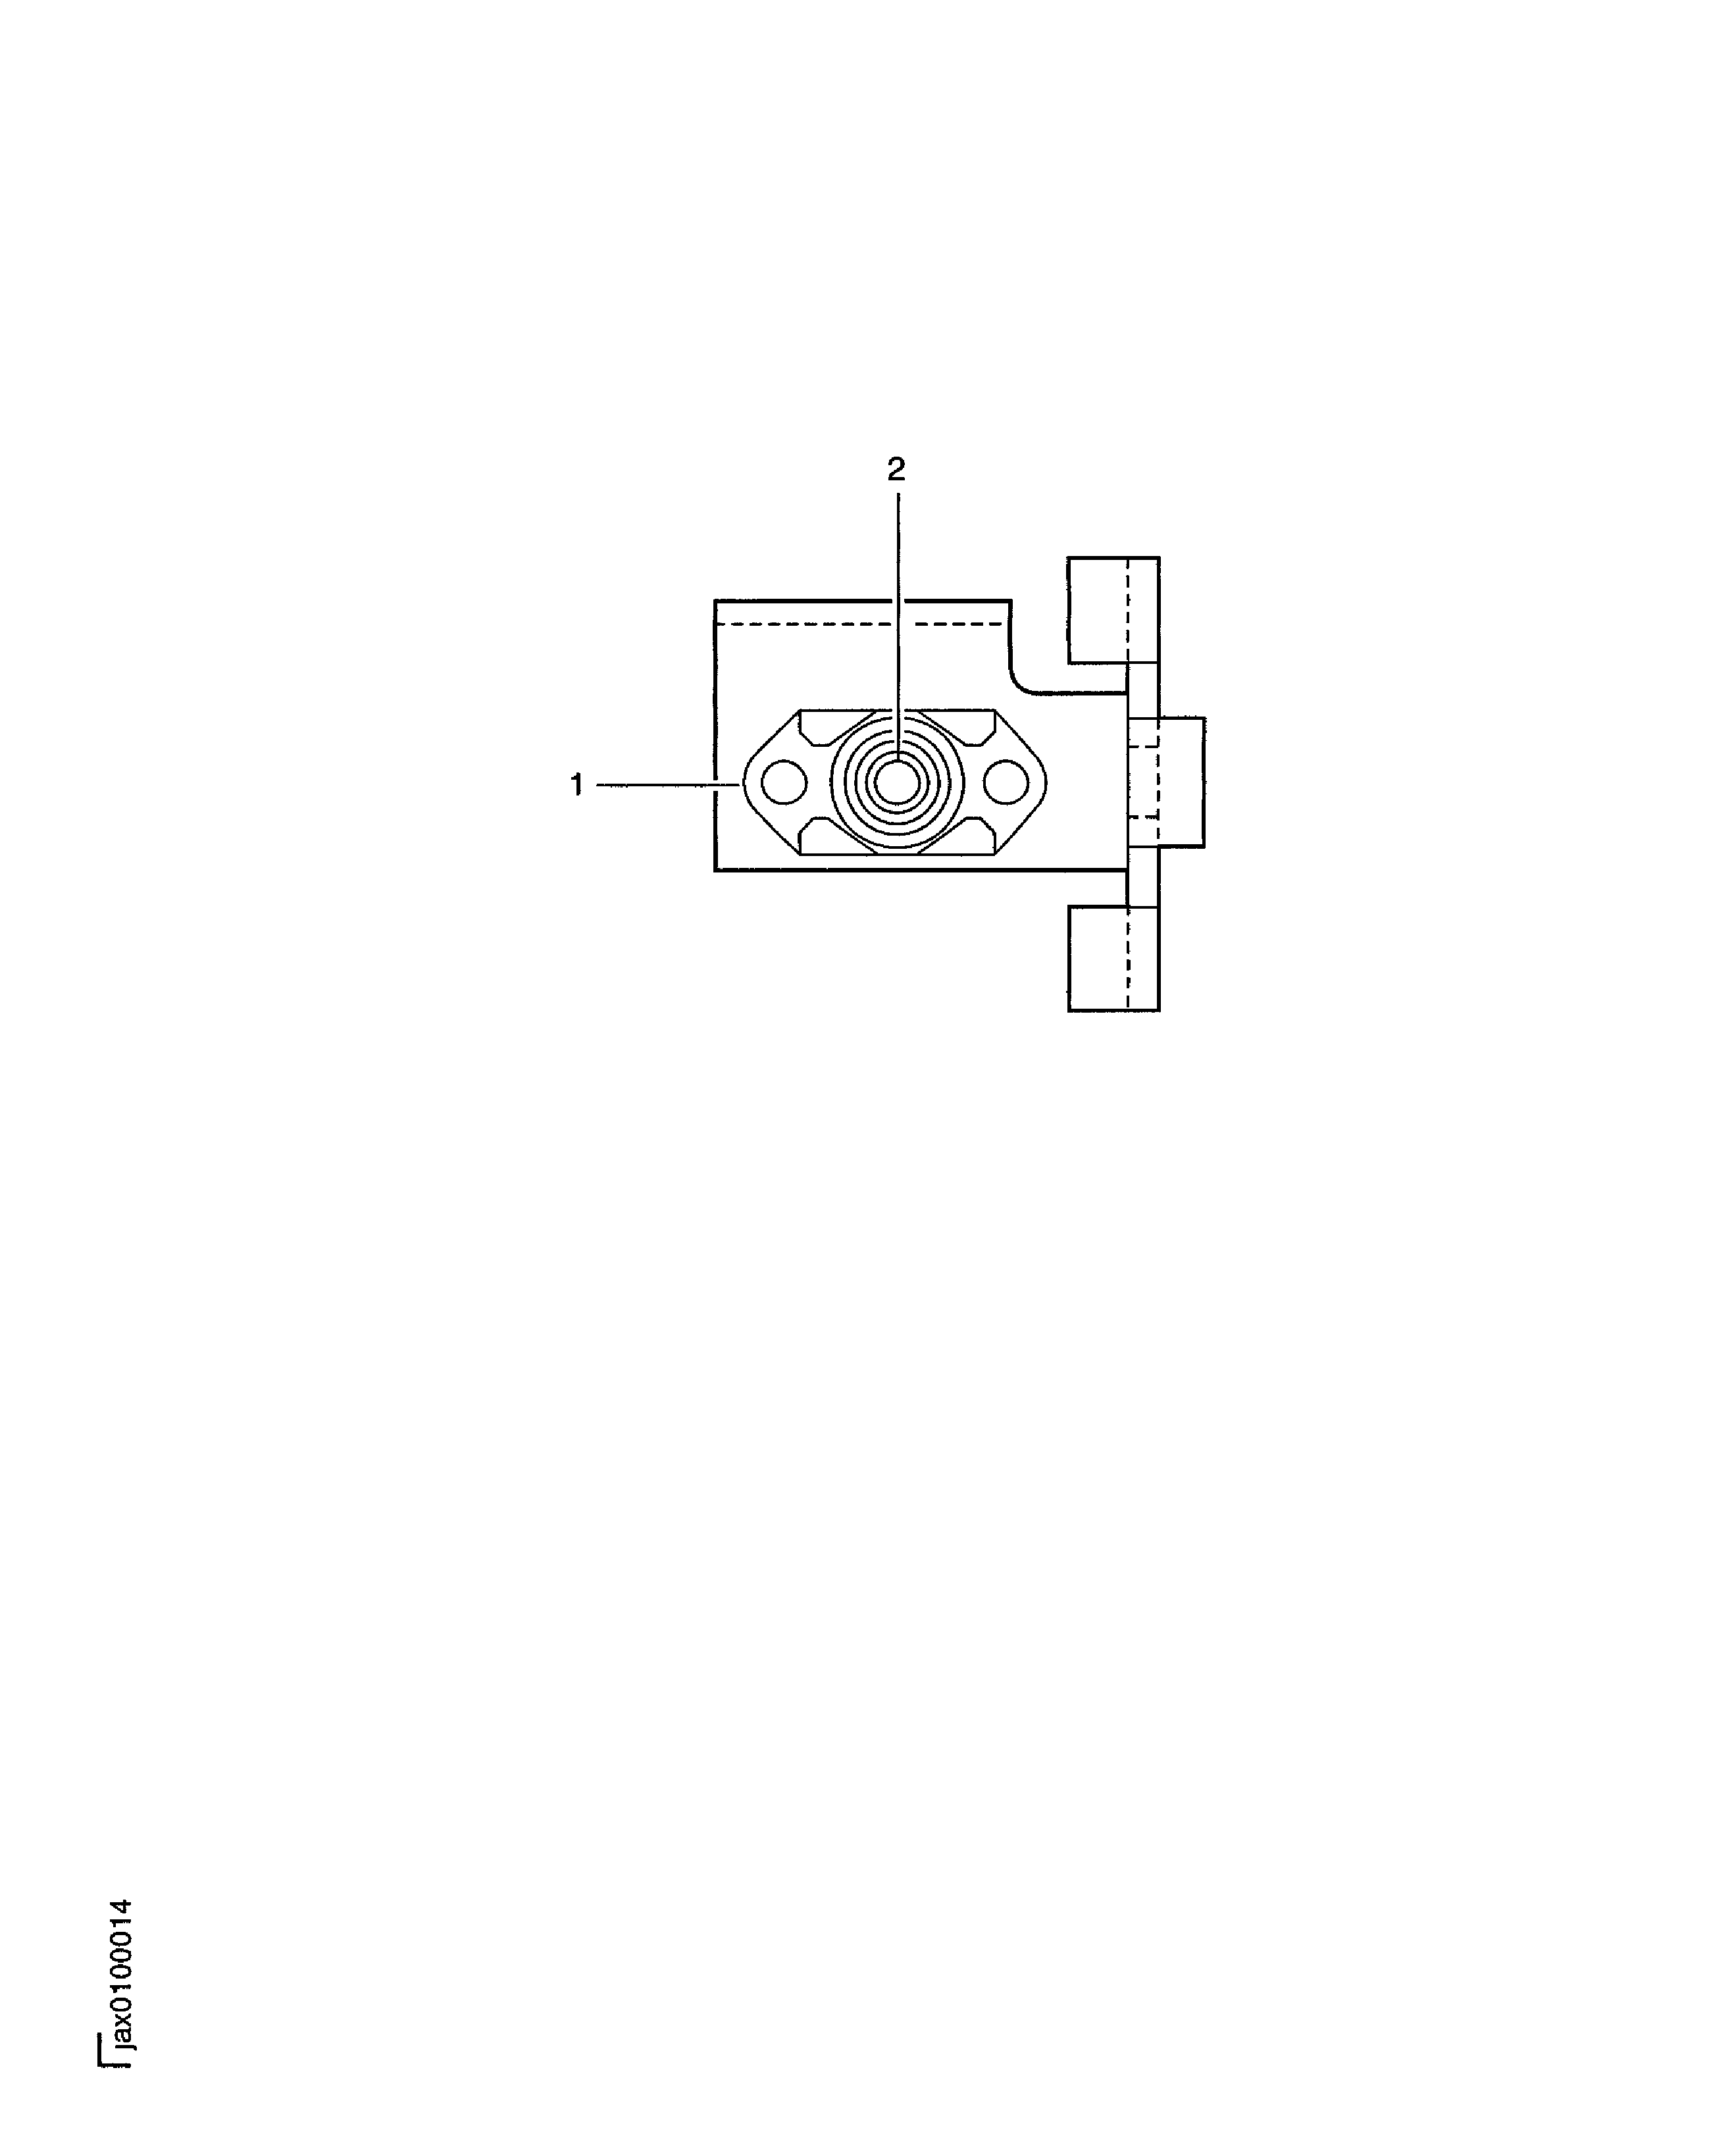
TASK 72-32-41-200-002 Tube Bracket - Examine, Inspection-002
General
This TASK gives the procedure for the inspection of the bracket.
The policy that is necessary for inspection is given in TASK 70-21-01-200-501.
All parts must be visually examined for damage, corrosion and wear. Any defects that are not identified in the procedure must be referred to IAE.
The procedure for those parts which must have a crack test is given in Step. Do the test before the part is visually examined. Limits for cracks are given in the SUBTASK for each part.
The practices and processes referred to in the procedure by the TASK numbers are in the SPM.
References
Refer to the SPM for the data on these items.
Definitions of damage, TASK 70-02-02-350-501.
Inspection of parts, TASK 70-20-01-200-501.
Preliminary Requirements
Pre-Conditions
NONESupport Equipment
NONEConsumables, Materials and Expendables
NONESpares
NONESafety Requirements
NONEProcedure
Clean the part. Refer to TASK 72-32-41-100-000 (CLEANING-000).
SUBTASK 72-32-41-230-051 Examine the Bracket (01-100) for Cracks
Refer to Figure.
SUBTASK 72-32-41-220-065 Examine the Bracket (01-100) Plate Nut
Refer to Figure.
SUBTASK 72-32-41-220-066 Examine the Bracket (01-100) Thread
Figure: Inspection of the bracket
Inspection of the bracket

