Export Control
EAR Export Classification: Not subject to the EAR per 15 C.F.R. Chapter 1, Part 734.3(b)(3), except for the following Service Bulletins which are currently published as EAR Export Classification 9E991: SBE70-0992, SBE72-0483, SBE72-0580, SBE72-0588, SBE72-0640, SBE73-0209, SBE80-0024 and SBE80-0025.Copyright
© IAE International Aero Engines AG (2001, 2014 - 2021) The information contained in this document is the property of © IAE International Aero Engines AG and may not be copied or used for any purpose other than that for which it is supplied without the express written authority of © IAE International Aero Engines AG. (This does not preclude use by engine and aircraft operators for normal instructional, maintenance or overhaul purposes.).Applicability
All
Common Information
TASK 72-42-20-200-102 No. 4 Bearing Compartment Tubes - Examine The Sealing Sleeves, Inspection-002
General
This TASK gives the procedure for the inspection of the sealing sleeve.
Fig/item numbers in parentheses in the procedure agree with those used in the IPC. For the other part of the No. 4 heating compartment tubes, refer to Inspection-000 TASK 72-42-20-200-100.
The policy that is necessary for inspection is given in the SPM TASK 70-20-00-200-501.
All the parts must be cleaned before any part is examined. Refer to the SPM TASK 70-10-00-100-501.
All parts must be visually examined for damage, corrosion and wear. Any defects that are not identified in the procedure must be referred to IAE.
The procedure for those parts which must have a crack test is given in Step or Step Do the test before the part is visually inspected.
Do not discard any part until you are sure there are no repairs available. Refer to the instructions in Repair before a discarded part is used again or oversize parts are installed.
Parts which should be discarded can be held although no repair is available. The repair of a discarded part could be shown to be necessary at a later date.
All parts must be examined to make sure that all the repairs have been completed satisfactorily.
The practices and processes referred to in the procedure by the TASK numbers are in the SPM.
References
Refer to the SPM for data on these items:
Definitions of Damage, SPM TASK 70-02-02-350-501.
Inspection of Parts, SPM TASK 70-20-01-200-501
Some data on these items is contained in this TASK. For more data on these items refer to the SPM:
Method of Testing for Crack Indications
Chemical Processes
Surface Protection
Preliminary Requirements
Pre-Conditions
NONESupport Equipment
NONEConsumables, Materials and Expendables
NONESpares
NONESafety Requirements
NONEProcedure
Clean the Part. Refer to the Cleaning-000 TASK 72-42-20-100-100.
Reject
Cracked
Sealing sleeve. Refer to SPM TASK 70-23-01-230-501 (Dip or Spray).
Do the test for cracks on the part that is given below. Use the applicable penetrant procedures.
SUBTASK 72-42-20-230-052-001 Examine the Sealing Sleeve (01-280, 03-140, 04-160) for Cracks
Clean the Part. Refer to the Cleaning-000 TASK 72-42-20-100-100.
Reject
Cracked
Sealing sleeve. Refer to SPM TASK 70-23-02-230-501 (Dip or Spray).
Do the test for cracks on the part that is given below. Use the applicable penetrant procedures.
SUBTASK 72-42-20-230-052-002 Examine the Sealing Sleeve (01-280, 03-140, 04-160) for Cracks
Reject
Other than Step
Diameter
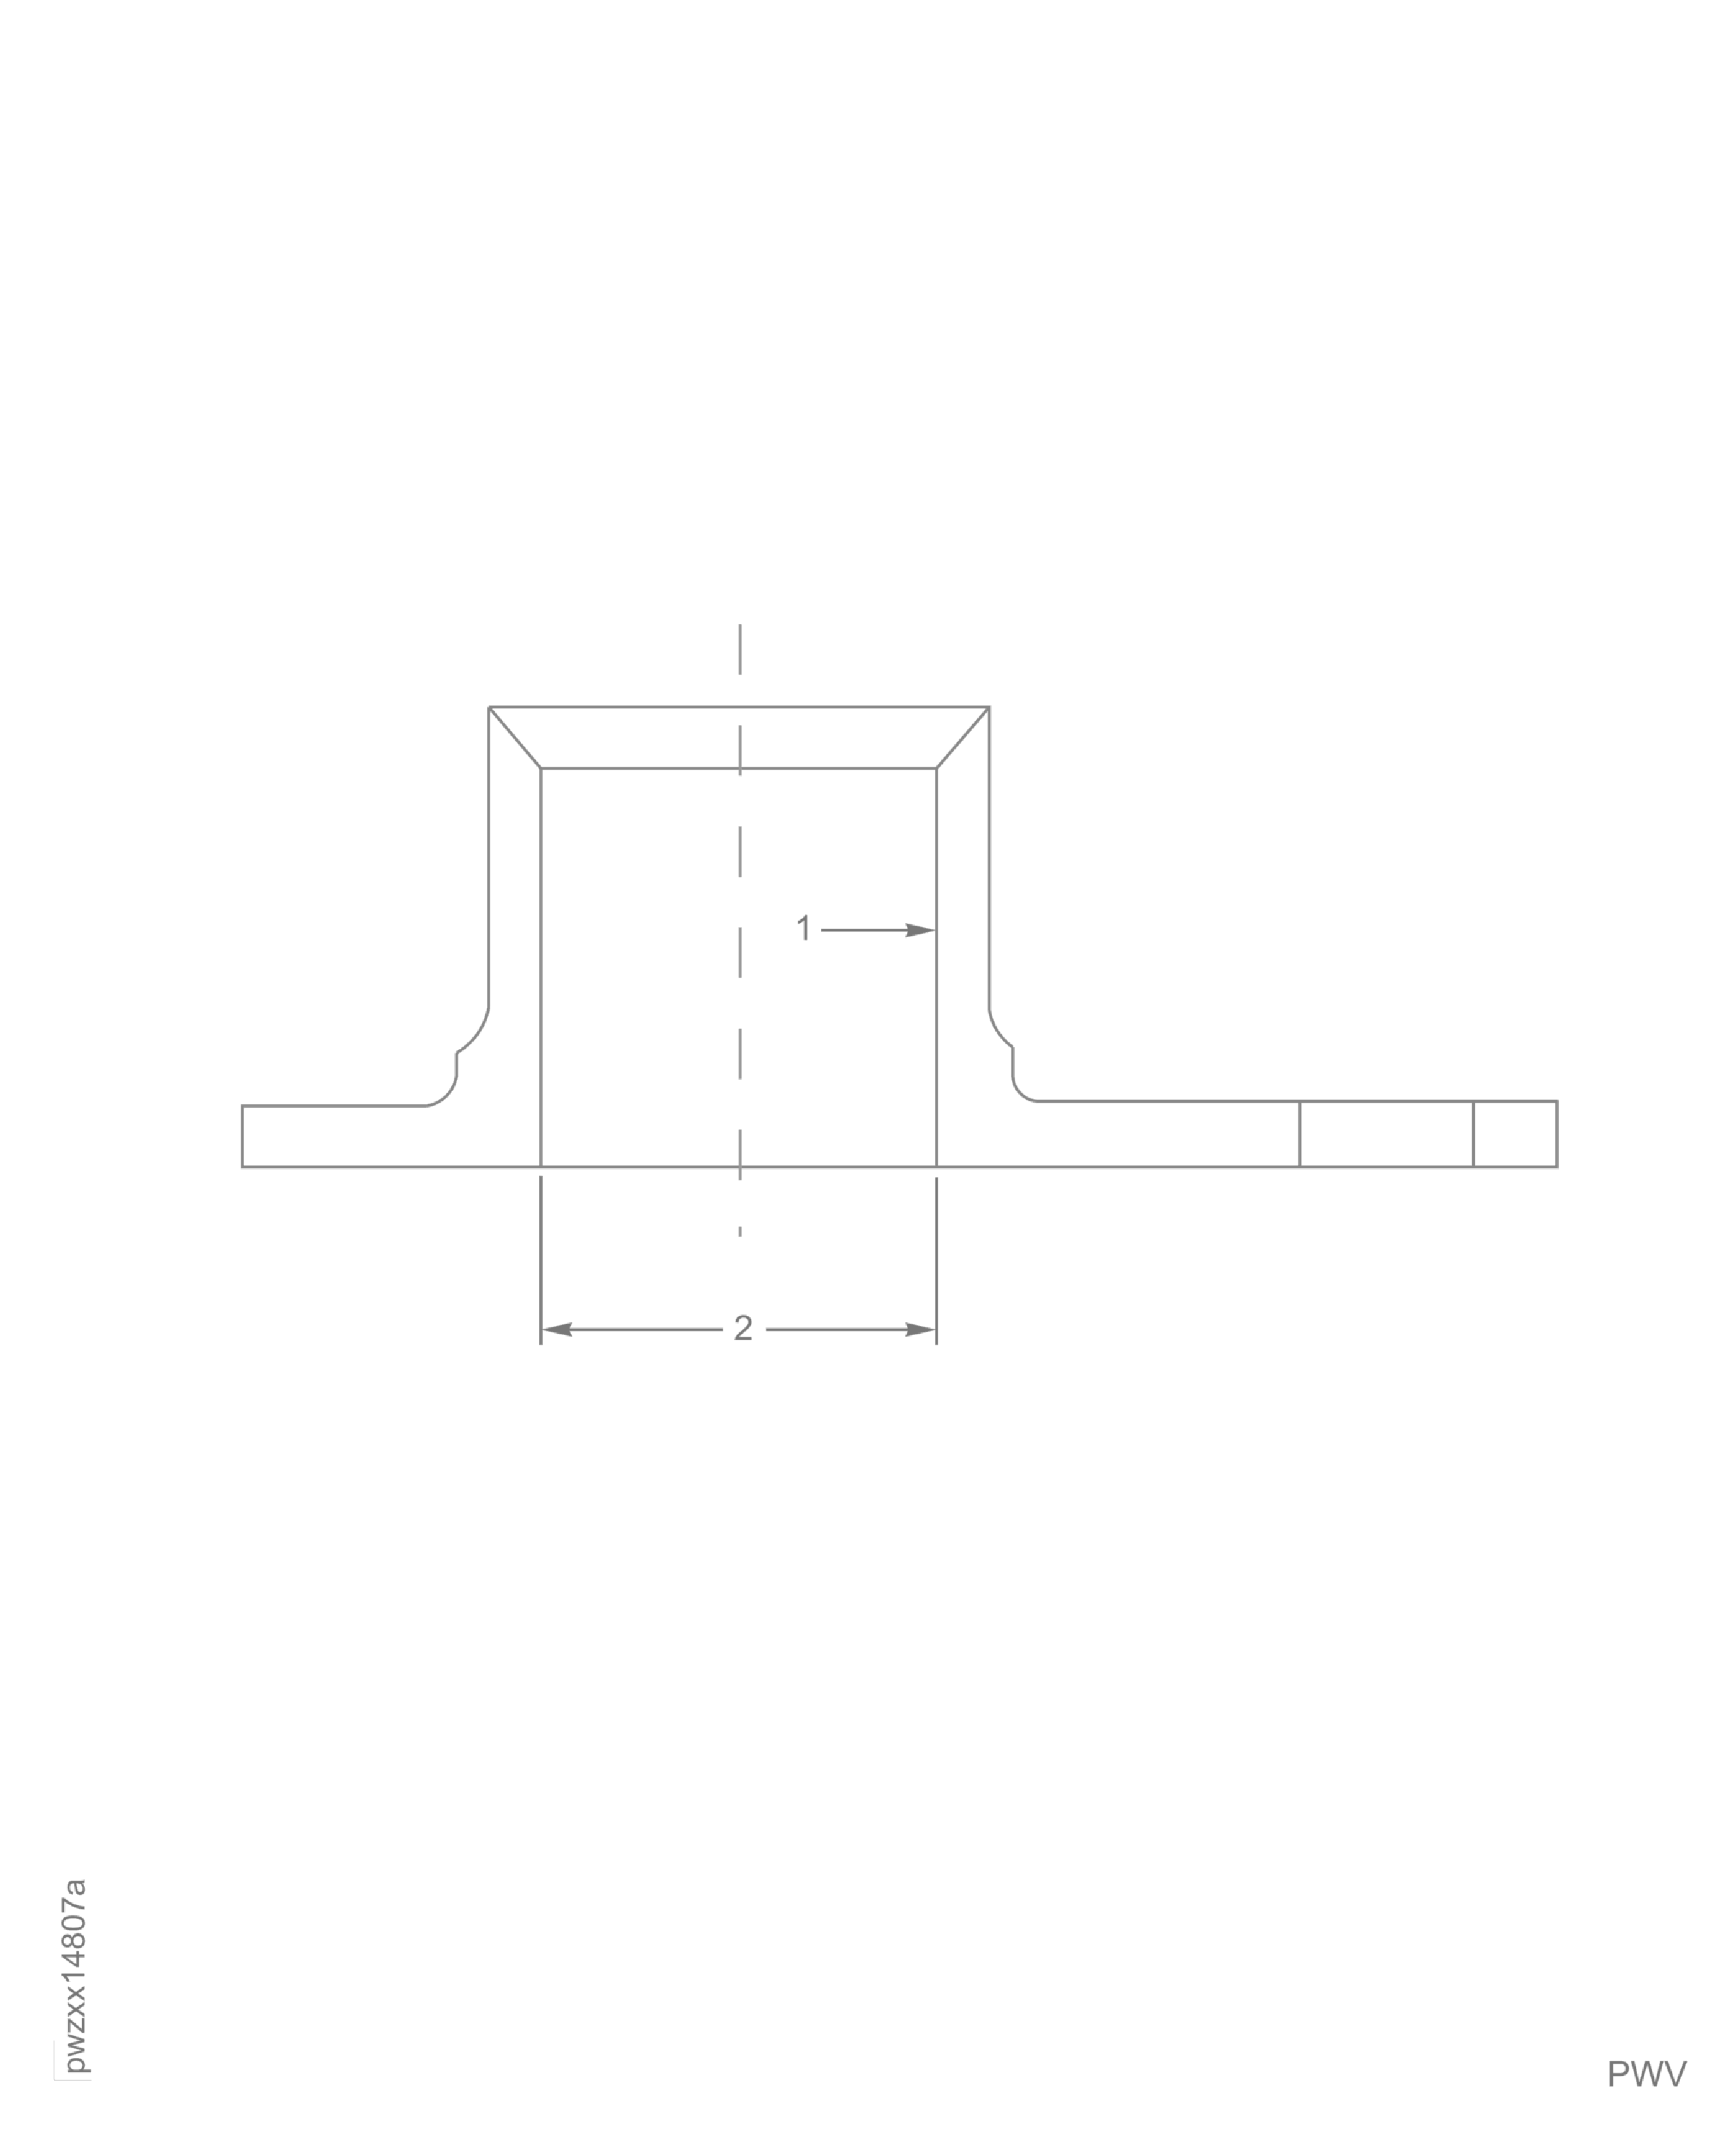
SUBTASK 72-42-20-220-055 Examine the Sleeve Diameter (03-140) at Location 2
Figure: Sealing sleeve inspection locations
Sealing sleeve inspection locations

