Export Control
EAR Export Classification: Not subject to the EAR per 15 C.F.R. Chapter 1, Part 734.3(b)(3), except for the following Service Bulletins which are currently published as EAR Export Classification 9E991: SBE70-0992, SBE72-0483, SBE72-0580, SBE72-0588, SBE72-0640, SBE73-0209, SBE80-0024 and SBE80-0025.Copyright
© IAE International Aero Engines AG (2001, 2014 - 2021) The information contained in this document is the property of © IAE International Aero Engines AG and may not be copied or used for any purpose other than that for which it is supplied without the express written authority of © IAE International Aero Engines AG. (This does not preclude use by engine and aircraft operators for normal instructional, maintenance or overhaul purposes.).Applicability
V2500-A1
Common Information
TASK 72-32-70-200-001-B00 LPC Bleed Valve Arm Pins - Examine, Inspection-001
General
This TASK gives the procedure for the inspection of the pins. For the other booster stage bleed valve and actuating mechanism parts, refer to TASK 72-32-70-200-000.
The policy that is necessary for inspection is given in the SPM TASK 70-20-00-200-501.
All the parts must be cleaned before any part is examined. Refer to the SPM TASK 70-32-70-100-000.
All the parts must be visually examined for damage, corrosion and wear. Any defects that are not identified in the procedure must be referred to IAE.
The procedure for those parts which must have a crack test is given in SUBTASK 72-32-70-230-057. Do the test before the parts are visually examined.
Do not discard any parts until you are sure there are no repairs available. Refer to the instructions in Repair before a discarded part is used again or oversize parts are installed.
Parts which must be discarded can be held although no repair is available. The repair of discarded parts could be shown as necessary at a later date.
All the parts must be examined to make sure that all the repairs have been completed satisfactorily.
The practices and processes referred to in the procedure by TASK numbers are in the SPM.
Reference
Refer to the SPM for data on these items:
Definition of Damages SPM TASK 70-02-02-350-501.
Inspection of parts SPM TASK 70-20-00-200-501.
Some data on these items are contained in this TASK. For more data on these items refer to the SPM.
Method of testing for Crack Indications
Chemical Process
Surface Protection
Preliminary Requirements
Pre-Conditions
NONESupport Equipment
| Name | Manufacturer | Part Number / Identification | Quantity | Remark |
|---|---|---|---|---|
| Fluorescent Penetrant Inspection Equipment | LOCAL | Fluorescent penetrant inspection equipment |
Consumables, Materials and Expendables
NONESpares
NONESafety Requirements
NONEProcedure
Clean the parts. Refer to TASK 72-32-70-100-000 (CLEANING-00).
SUBTASK 72-32-70-230-065 Examine the Oin (01-140, 01-180, 01-240 and 01-280) for Cracks
Repair, VRS1921 TASK 72-32-70-300-001 (REPAIR-001)
Other than in Step
Scratched and scored.
Examine all the surface.
SUBTASK 72-32-70-220-108 Examine the Pin (01-140, 01-180, 01-240 and 01-280) Surface
Refer to: Figure
SUBTASK 72-32-70-220-109 Examine the Pin (01-140) Diameter
Refer to Figure.
SUBTASK 72-32-70-220-110 Examine the Pin (01-180) Diameter
Refer to Figure.
SUBTASK 72-32-70-220-111 Examine the Pin (01-280) Diamtere
Refer to Figure.
SUBTASK 72-32-70-220-112 Examine the Pin (01-240) Diameter
Refer to Figure.
SUBTASK 72-32-70-220-113 Examine the Pine (01-240) Diameter
Other than in Step
Worn.
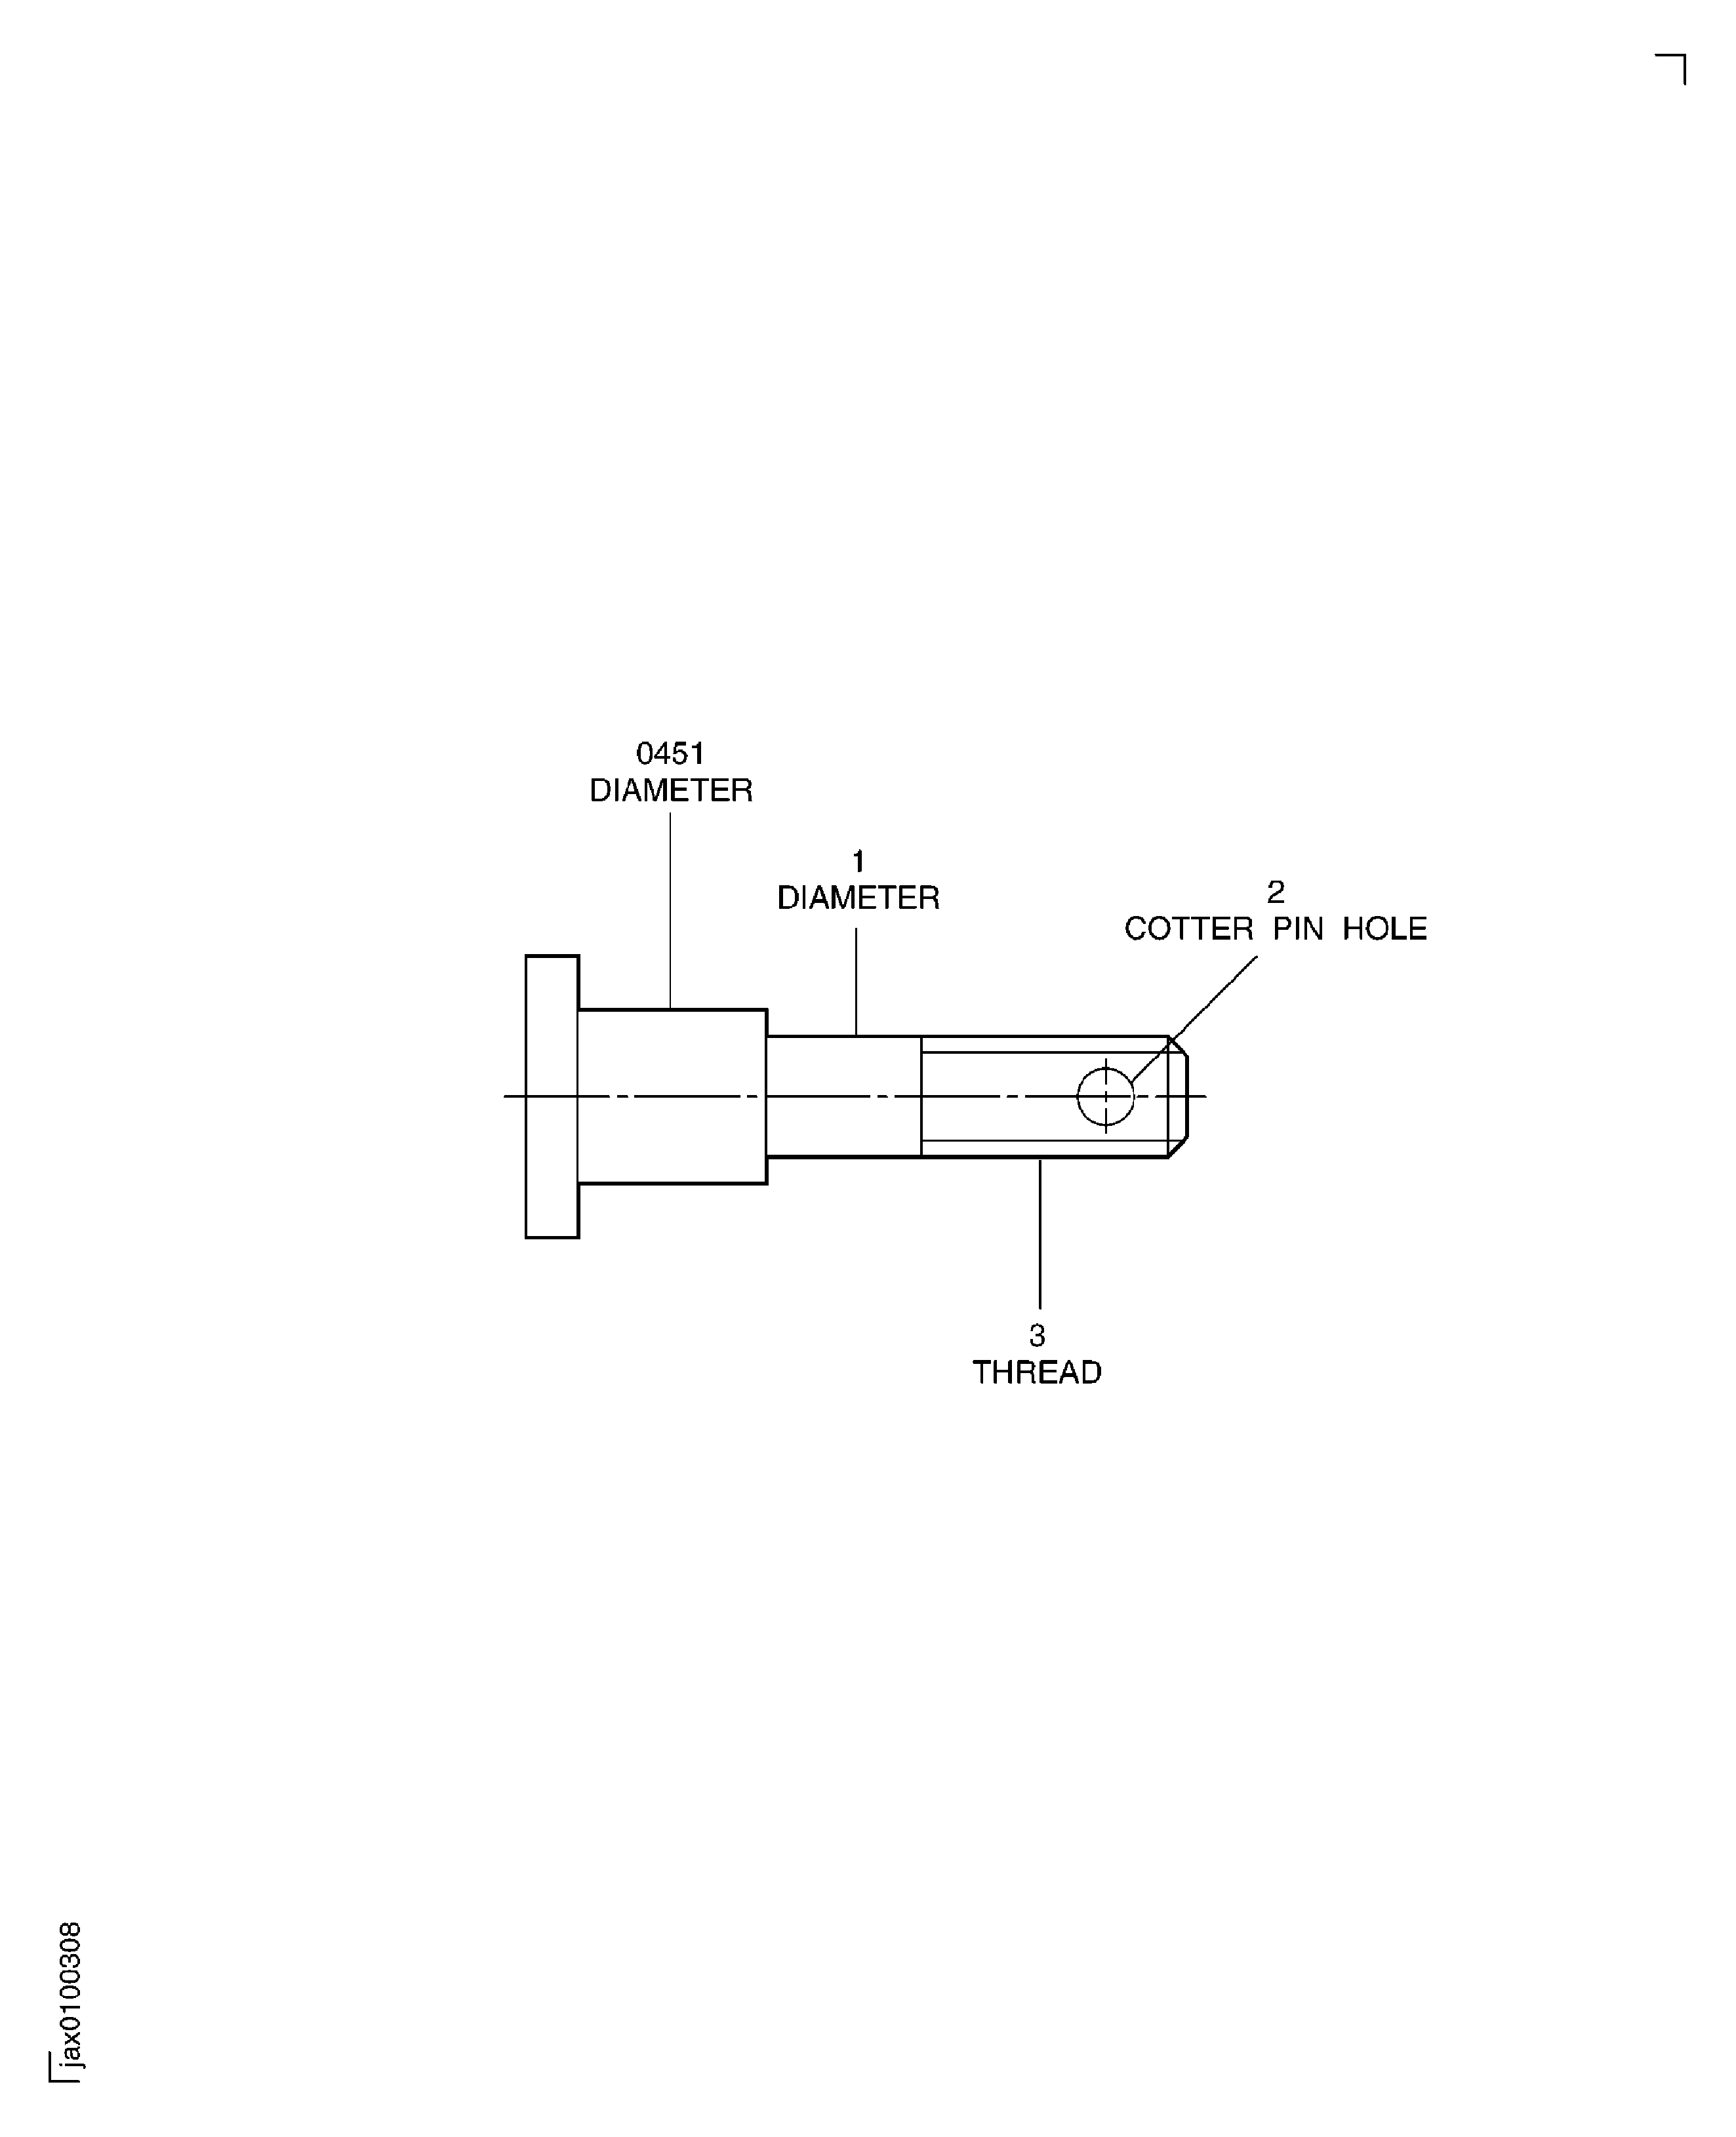
Examine the cotter pin hole at location 2.
SUBTASK 72-32-70-220-114 Examine the Pin (01-240) Cotter Pin Hole, 72-32-990-048
Refer to Figure.
SUBTASK 72-32-70-220-115 Examine the Pin (01-240) Thread
Refer to Figure.
Repair, VRS1920 TASK 72-32-70-300-002 (REPAIR,-002)
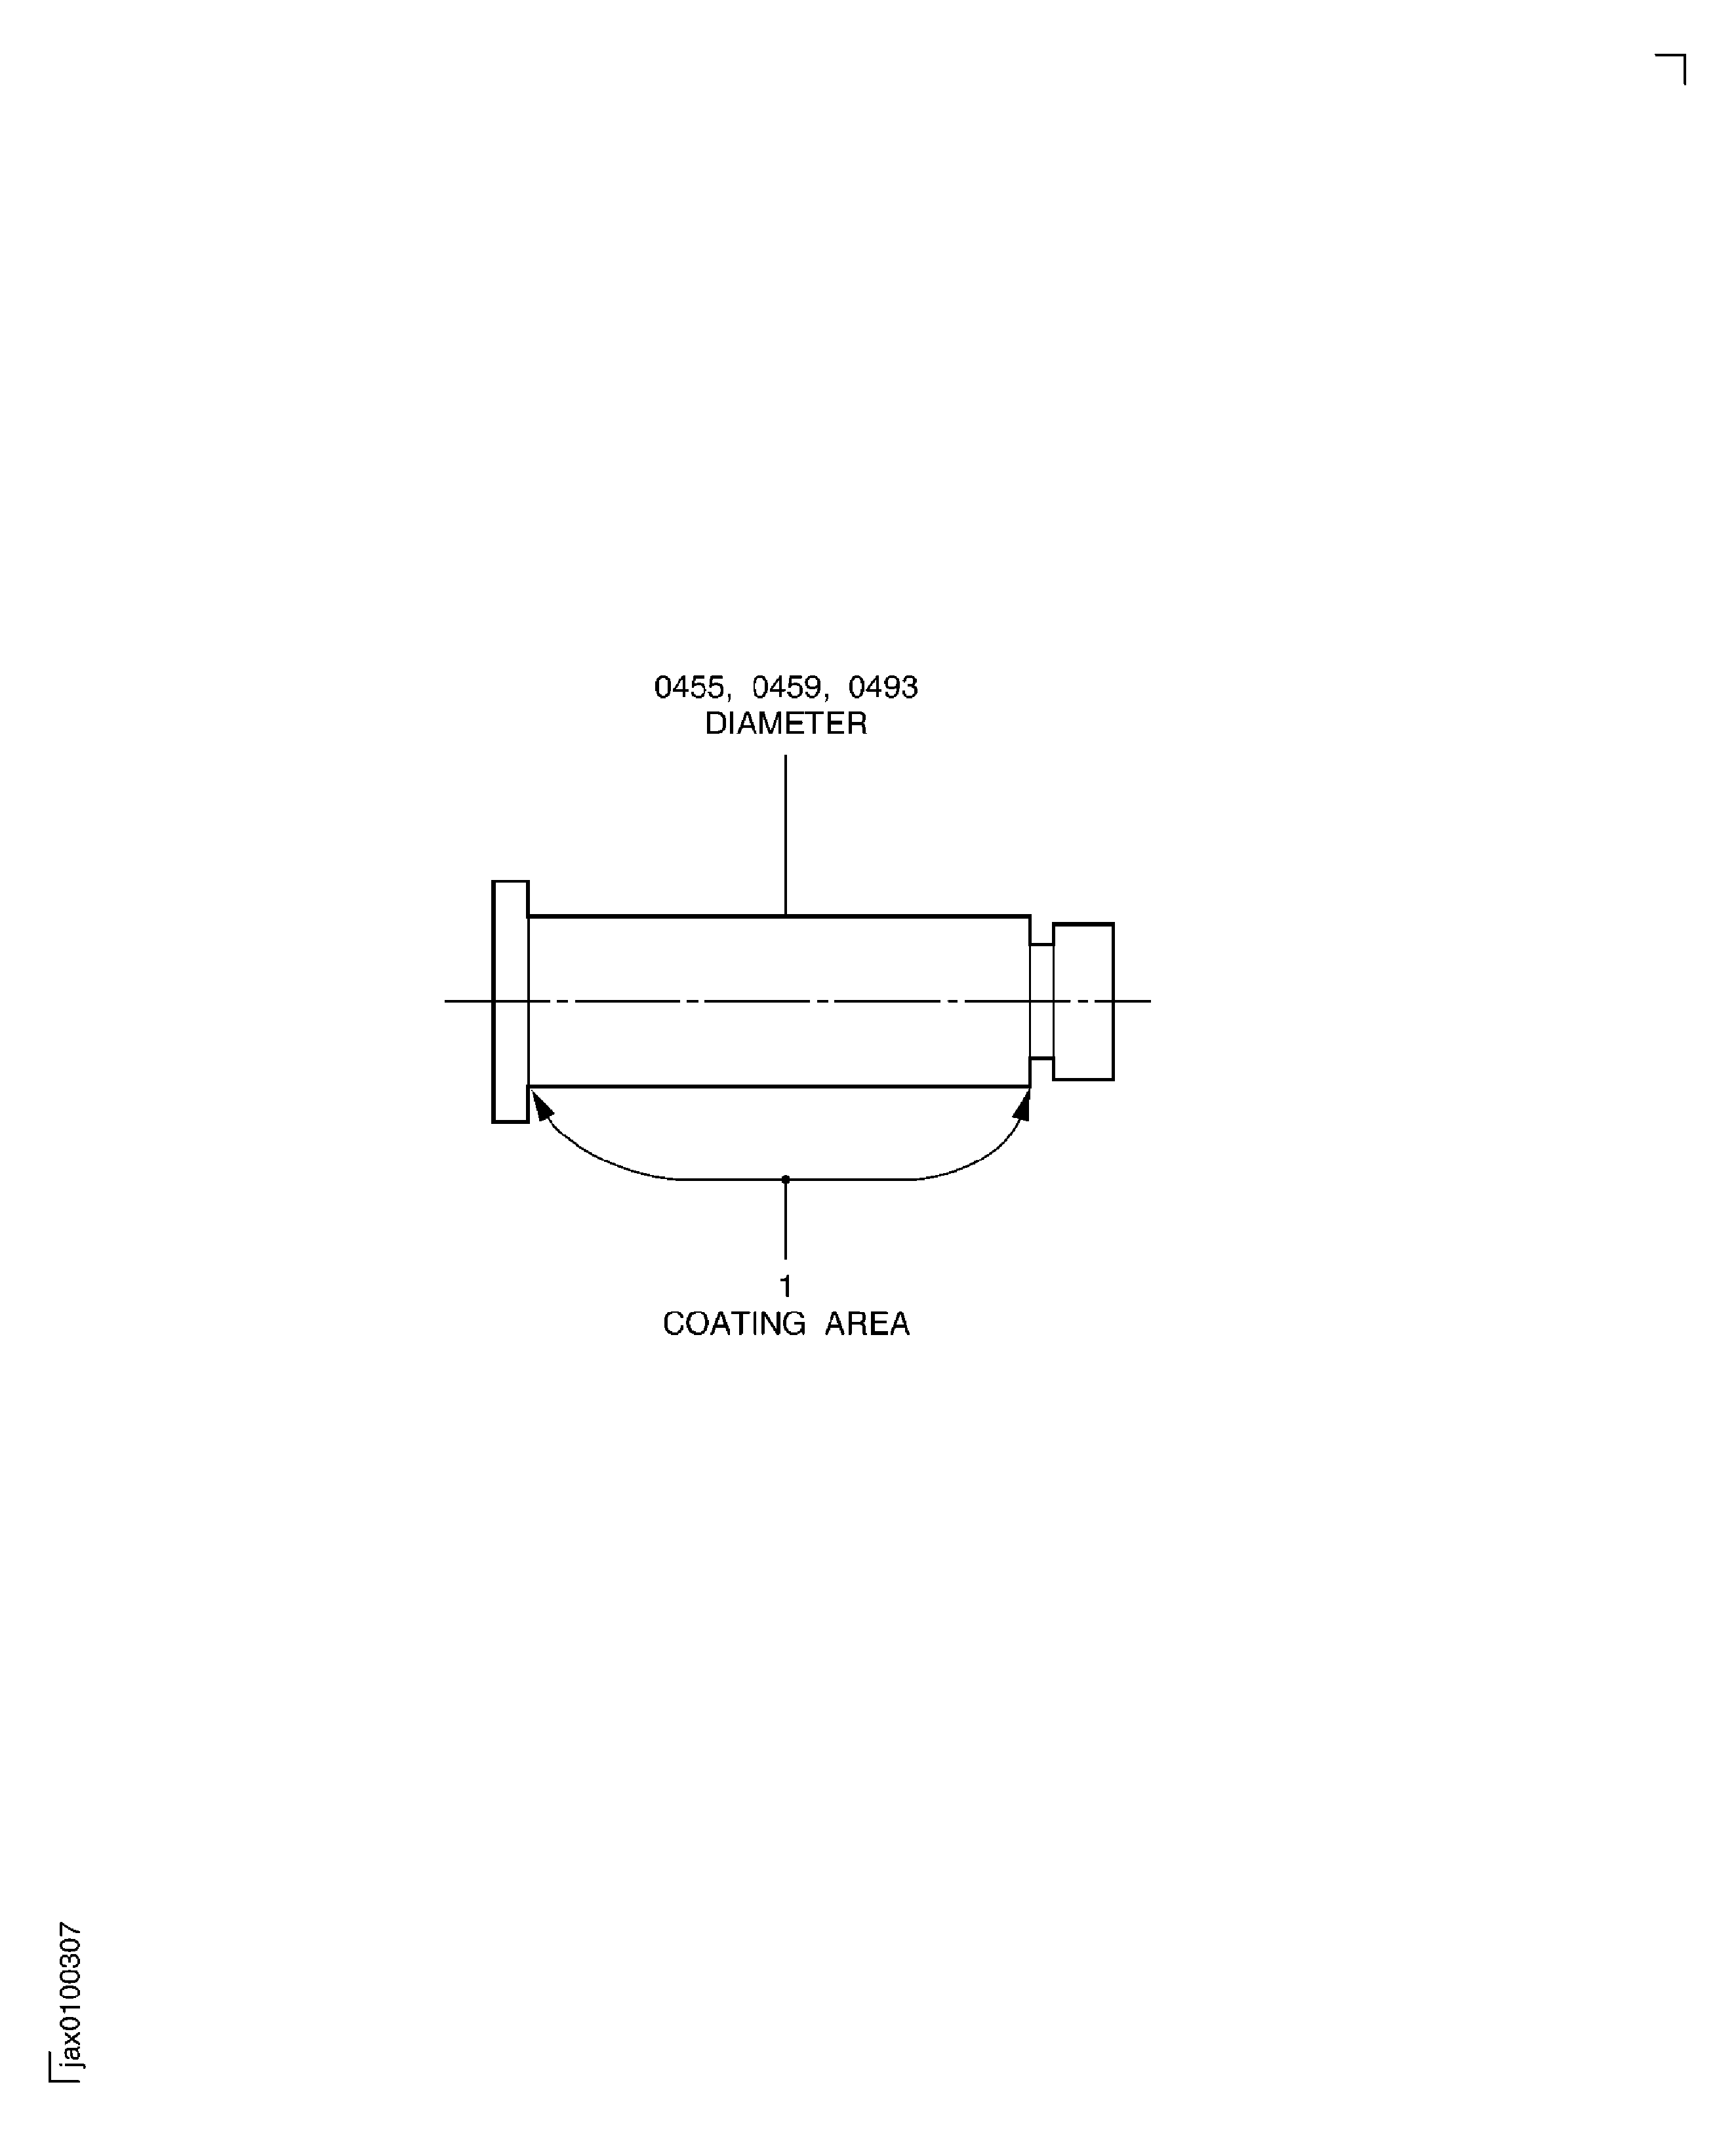
Missing dry film lubricant
Examine the coating area at location 1.
SUBTASK 72-32-70-220-116 Examine the Pin (01-280) Coating
Figure: Locations on the Pin
Locations on the Pin

Figure: Locations on the Pin
Locations on the Pin

