Export Control
EAR Export Classification: Not subject to the EAR per 15 C.F.R. Chapter 1, Part 734.3(b)(3), except for the following Service Bulletins which are currently published as EAR Export Classification 9E991: SBE70-0992, SBE72-0483, SBE72-0580, SBE72-0588, SBE72-0640, SBE73-0209, SBE80-0024 and SBE80-0025.Copyright
© IAE International Aero Engines AG (2001, 2014 - 2021) The information contained in this document is the property of © IAE International Aero Engines AG and may not be copied or used for any purpose other than that for which it is supplied without the express written authority of © IAE International Aero Engines AG. (This does not preclude use by engine and aircraft operators for normal instructional, maintenance or overhaul purposes.).Applicability
All
Common Information
TASK 72-45-31-200-007 HPT Stage 2 Hub - Blade Slot Pressure Face Dimensional Eddy Current Inspection, Inspection-007
Effectivity
FIG/ITEM PART NO. | |
|---|---|
01-010 | 2A0902 |
01-011 | 2A1202 |
01-011 | 2A1302 |
01-011 | 2A2302 |
01-011 | 2A3002 |
01-011 | 2A4802 |
General
This TASK gives the procedure for the inspection of the Stage 2 turbine hub blade slot pressure face contact surfaces.
Fig/Item numbers in parentheses in the procedure agree with those used in the IPC.
The policy that is necessary for inspection is given in SPM TASK 70-20-00-200-501.
All the parts must be cleaned before you examine the parts. Refer to SPM TASK 70-10-00-100-501.
Do not discard part until you are sure there are no repairs available. Refer to the instructions in Repair before you use a discarded part again or oversize parts are installed.
References
Refer to the SPM for data on these items.
Record and control of the lives of parts, SPM TASK 70-05-00-220-501.
Marking of parts, SPM TASK 70-09-00-400-501.
Inspection of parts, SPM TASK 70-20-01-200-501.
Wipe with solvent, SPM TASK 70-11-26-300-503.
UniWest US-454A Eddy Current Instrument User Manual.
Qualifications
Only qualified operators specially designated, trained and approved can do this inspection. Inspectors must be fully trained NDI (Non-Destructive Inspection) specialists who can examine the indications correctly and make decisions on whether parts are serviceable, or must be rejected. Qualification of personnel must obey with one of the standards that follow:
ATA 105
MIL-STD-410
NAS 410/DIN EN4179
SNT-TC-1A
Preliminary Requirements
Pre-Conditions
NONESupport Equipment
| Name | Manufacturer | Part Number / Identification | Quantity | Remark |
|---|---|---|---|---|
| IAE 2P16593 UniWest US-454A digital eddy current instrument | 0AM53 | IAE 2P16593 | ||
| IAE 2P16592 US-MPX-32 Multiplexer | 0AM53 | IAE 2P16592 | ||
| IAE 2P16594 Dell Optiplex desktop computer system | 0AM53 | IAE 2P16594 | ||
| IAE 2P16597 Probe | 0AM53 | IAE 2P16597 | ||
| IAE 2P16595 Pneumatic Controller, UniWest PN 99790 | 0AM53 | IAE 2P16595 | ||
| IAE 2P16588 Plastic Shims | 0AM53 | IAE 2P16588 | ||
| IAE 2P16598 Calibration standard | 0AM53 | IAE 2P16598 |
Consumables, Materials and Expendables
| Name | Manufacturer | Part Number / Identification | Quantity | Remark |
|---|---|---|---|---|
| CoMat 05-125 ABRASIVE PAD, SILICON CARBIDE, ULTRA-FINE | LOCAL | CoMat 05-125 | ||
| CoMat 05-126 ABRASIVE PAD, ALUMINUM OXIDE, VERY FINE | LOCAL | CoMat 05-126 |
Spares
NONESafety Requirements
NONEProcedure
Refer to TASK 72-45-30-040-001-A00 (DISASSEMBLY-001, CONFIG-001), 72-45-30-040-001-B00 (DISASSEMBLY-001, CONFIG-002) or 72-45-30-040-001-C00 (DISASSEMBLY-001, CONFIG-003).
NOTE
It is recommended that this inspection be conducted in a temperature controlled environment, with temperature ranging between 65 and 85 deg F (18,3 and 29,4 deg C). Failure will cause unwanted effect in the inspection results due to the necessary accuracy of the measurements and inspection equipment.Make sure the part is disassembled.
Refer to TASK 72-45-31-100-001 (CLEANING-001)
Make sure the part is fully cleaned.
Refer to SPM TASK 70-09-00-400-501
Use a temporary marker to mark the blade slot directly to the right of the serial number on the front side of the hub blade slot face as Blade Slot Number 1. Continue in a counterclockwise direction and mark each blade slot that remains.
SUBTASK 72-45-31-350-072 Prepare the Stage 2 Turbine Hub
NOTE
Warm up is recommended due to the accuracy of measurement needed during this inspection.Turn on the power for the IAE 2P16593 UniWest US-454A digital eddy current instrument US-454A Eddy Current Instrument, IAE 2P16592 US-MPX-32 Multiplexer Multiplexer and IAE 2P16594 Dell Optiplex desktop computer system Computer. Let the instrument warm up for a minimum of ten minutes.
SUBTASK 72-45-31-250-013 Prepare the Eddy Current Tools
Refer to Figure.
Connect the ethernet cable from the computer to the IAE 2P16593 UniWest US-454A digital eddy current instrument US-454A Eddy Current Instrument Ethernet Input.
Refer to Figure Index 4.
Plug the proper connector into the multiplexer input.
NOTE
The three cable connectors from the probe are labeled with the correct sensor input numbers (1-3).Connect the IAE 2P16597 Probe Probe to the Multiplexer.
Connect the IAE 2P16592 US-MPX-32 Multiplexer Multiplexer to the IAE 2P16593 UniWest US-454A digital eddy current instrument US-454 AUX I/O input with Cable 71141
Connect the air tube from the IAE 2P16595 Pneumatic Controller, UniWest PN 99790 Pneumatic Controller to the input on the probe.
Connect the probe input to the multiplexer probe input with the 71142 Cable.
Refer to Figure.

CAUTION
IT IS NOT PERMITTED TO BE MORE THAN 80 PSI (551,6 KPA) WHEN YOU ARE ACTUATING THE PROBE. TOO MUCH PRESSURE CAN CAUSE DAMAGE TO THE PROBE, DAMAGE TO THE PART OR INSPECTION RESULTS WILL NOT BE ACCURATE.Use the dial regulator to set the pressure on the gauge display to 80 psi (551.6 kPa). Pull the knob outwards to adjust.
SUBTASK 72-45-31-250-014 Assemble the Eddy Current Equipment
NOTE
Each IAE 2P16597 Probe Eddy Current Probe has a unique software CD. You must use the correct CD with the proper probe during inspection. If you do not use this unique CD then inspection results will not be accurate.Load the applicable probe software CD into the disk for the correct serial number probe.
Refer to Figure.
The main menu will appear.
Open the programm named "ECI Dimensional 2012".
SUBTASK 72-45-31-250-015 Prepare the Eddy Current Software
Refer to Figure.
NOTE
"File Setup" option on the display screen gives the directory information of different result files.On the display screen, pick the "Probe Setup" option on the display screen.
Refer to Figure.
On the display screen, pick "Part setup" from the main menu.
Refer to Figure.
Input the inspector ID, the serial number of the inspected part, the number of cycles on the part, and the thickness of the two IAE 2P16588 Plastic Shims Plastic Shims that you use.
NOTE
Two IAE 2P16588 Plastic Shims that you use during the pre-inspection and post-inspection calibration of the IAE 2P16597 Probe. The shims are made in matched pairs. Refer to Figure.You can use shims for a total of one full inspection and then discard them. Shim thickness values and serial numbers are printed on a sticker attached to the top of each shim surface.
On the display screen, pick the "Inspect" option from the main menu.
Refer to Figure.
Make sure the IAE 2P16595 Pneumatic Controller, UniWest PN 99790 is initially switched to the "UNLOCKED" position.
Pick the following blade slots. Blade slot No. 1, 5, 9, 13, 17, 21, 25, 29, 33, 37, 41, 45, 49, 53, 57, 61, 65, 69.
Refer to Figure.
NOTE
The blade slots of the IAE 2P16598 Calibration standard are numbered corresponding to the probe inspection surface to be calibrated.
You can use Blade Slot No. 1 to calibrate the inboard pressure face group 1 surfaces (Surfaces 1 and 4).
You can use Blade Slot No. 2 to calibrate the second pressure face group 2 surfaces (Surfaces 2 and 5).
You can use Blade Slot No. 3 to calibrate the third pressure face group 3 surfaces (Surfaces 3 and 6).
Make sure the probe can be easily inserted into the blade slots of the IAE 2P16598 Calibration standard .
Refer to Figure.
Refer to Figure.
On the display screen, pick the "Start" option.
Refer to Figure.
Pick the correct matched pair of the IAE 2P16588 Plastic Shims.
NOTE
Data will be sent from the probe to the eddy current instrument to null the group 1 sensors.
On the display screen, pick the "Acquire" option.
Refer to Figure.
Flip the actuator switch on the pneumatic controller to the "UNLOCKED" position.
NOTE
Group 1 sensors will be calibrated. Gain and phase values will be set automatically on the US-454A instrument for each sensor.
If an error is made during calibration of surface, picking the "Repeat" option from the display screen will return the inspector to the previous steps.
The software will request a secondary null of the group 1 sensors.
On the display screen, pick the "Acquire" option.
Insert the probe into the Blade Slot No.1 of the calibration standard
Refer to Figure.
Insert the probe in Blade Slot No. 2 of the calibration standard.
Refer to Figure
Insert the probe in the Blade Slot No.3 of the calibration standard.
SUBTASK 72-45-31-250-016 Pre-Inspection Calibration of the Eddy Current Equipment
Refer to Figure.
Insert the IAE 2P16597 Probe into Blade Slot No. 1.
Refer to Figure.
Flip the switch on the IAE 2P16595 Pneumatic Controller, UniWest PN 99790 Pneumatic Controller to the "LOCKED" position to actuate the probe.
Refer to Figure.
On the display screen, pick the "Start" option.
Refer to Figure.
On the display screen, pick the "Acquire" option.
SUBTASK 72-45-31-250-017 Examine the Stage 2 Turbine Hub Blade Slot
NOTE
Each blade slot that is examined will take approximately two minutes to collect the necessary data.Insert the IAE 2P16597 Probe into the Blade Slot No. 1 on the IAE 2P16598 Calibration standard.
Insert the IAE 2P16588 Plastic Shims that you use during pre-inspection calibration between the calibration standard pressure face, and group 1 sensors on the probe.
Flip the actuator switch on the IAE 2P16595 Pneumatic Controller, UniWest PN 99790 to the "LOCKED" position..
Refer to Figure
On the display screen, pick the "Start" option.
Refer to Figure.
NOTE
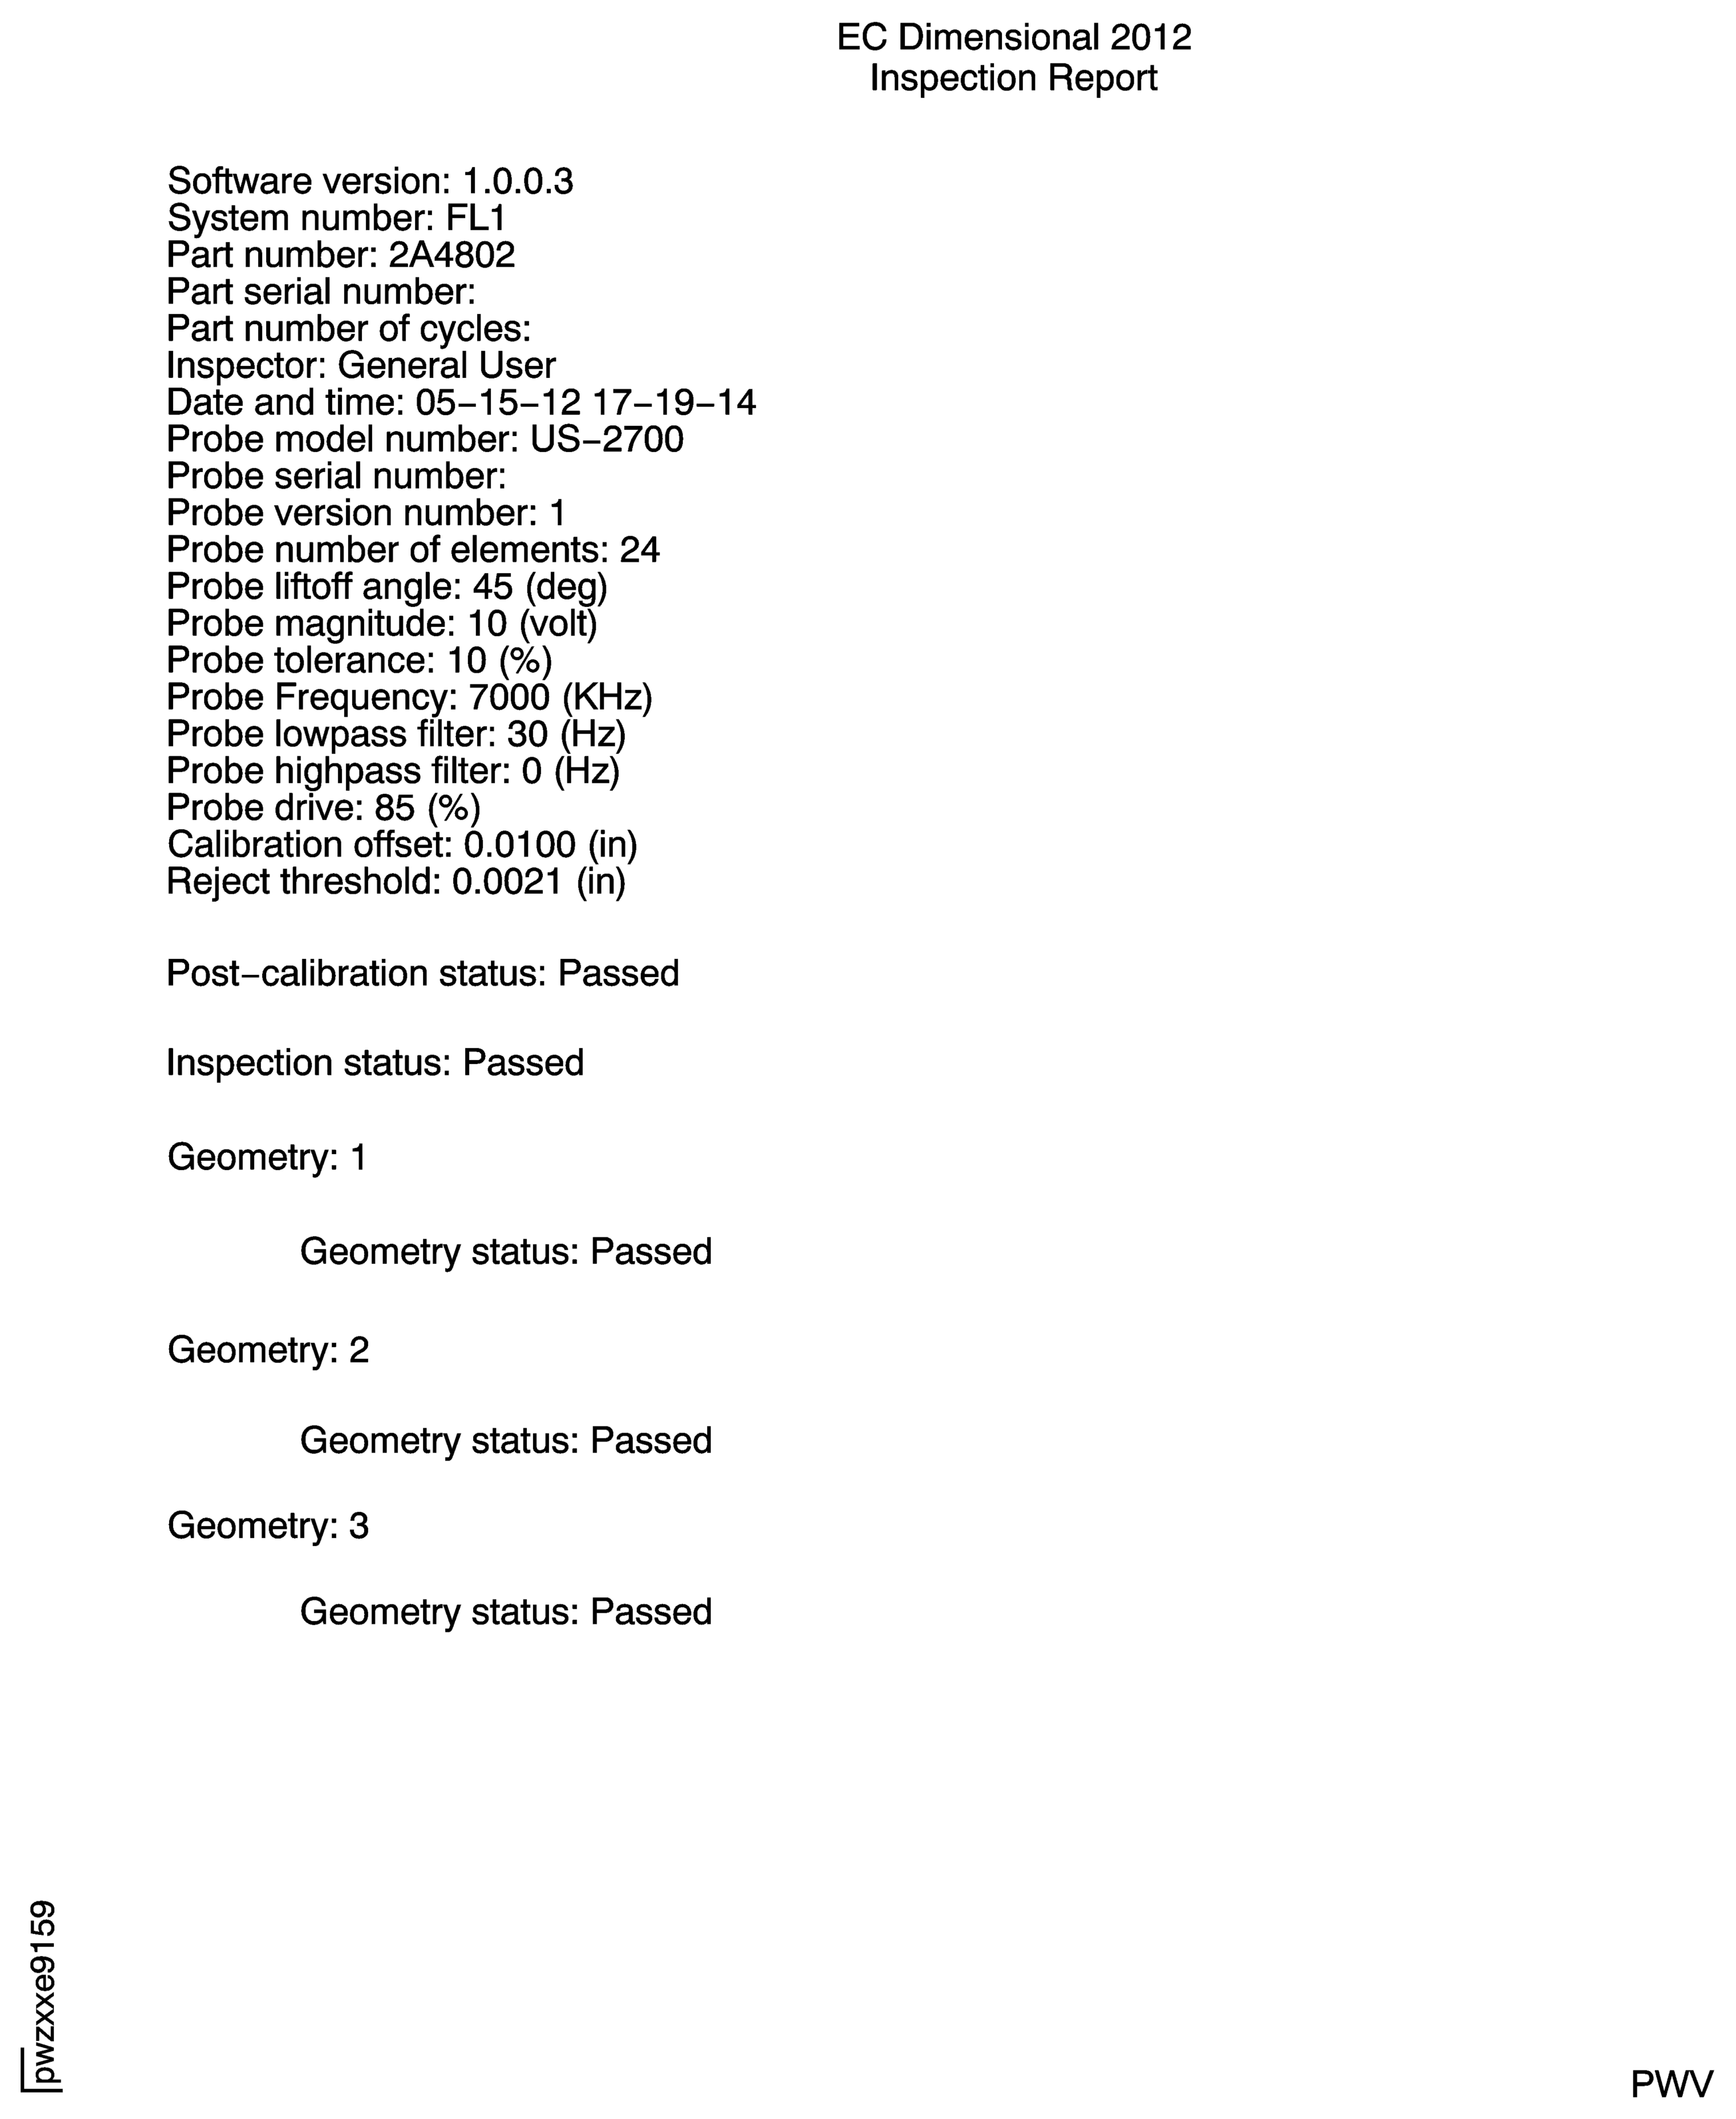
A printable version of the inspection report is located in the directory folder "C:/Pratt and Whitney/".After all three blade slots pass the post-inspection calibration successfully, pick "Finish", followed by the "Next" option.
NOTE
If post calibration is out of tolerance an error messsage will be displayed on the screen. Make sure that you use the correct blade slot for the correct probe surface, the shims are in position and not damaged, or that there is no dirt or debris on the face of the probe or calibration standard. The operator will have three attempts to register an acceptable post calibration of each probe surface. After three attempts, if post calibration is not done successfully, the software will return the operator to the main menu and the inspection must be done again.
On the display screen, pick the "Acquire" option.
SUBTASK 72-45-31-250-018 Post-Inspection Calibration of the Eddy Current Equipment
Refer to the SPM TASK 70-10-00-100-501
Scrub the blade slots. Use CoMat 05-126 ABRASIVE PAD, ALUMINUM OXIDE, VERY FINE or CoMat 05-125 ABRASIVE PAD, SILICON CARBIDE, ULTRA-FINE.
Refer to the SPM TASK 70-11-26-300-503
NOTE
You can use a new pair of IAE 2P16588 Plastic Shims during the inspection again on the defective blade slots.

CAUTION
USE OF SOLVENTS OTHER THAN THOSE APPROVED IN THE SPM TASK 70-11-26-300-503 CAN RESULT IN DAMAGE TO THE PROBE.Wipe the blade slots
For blade slots that fail inspection:
SUBTASK 72-45-31-250-020 Examine the Defective Stage 2 Turbine Hub Blade Slots for False Positive
Figure: Inspection Equipment
Inspection Equipment
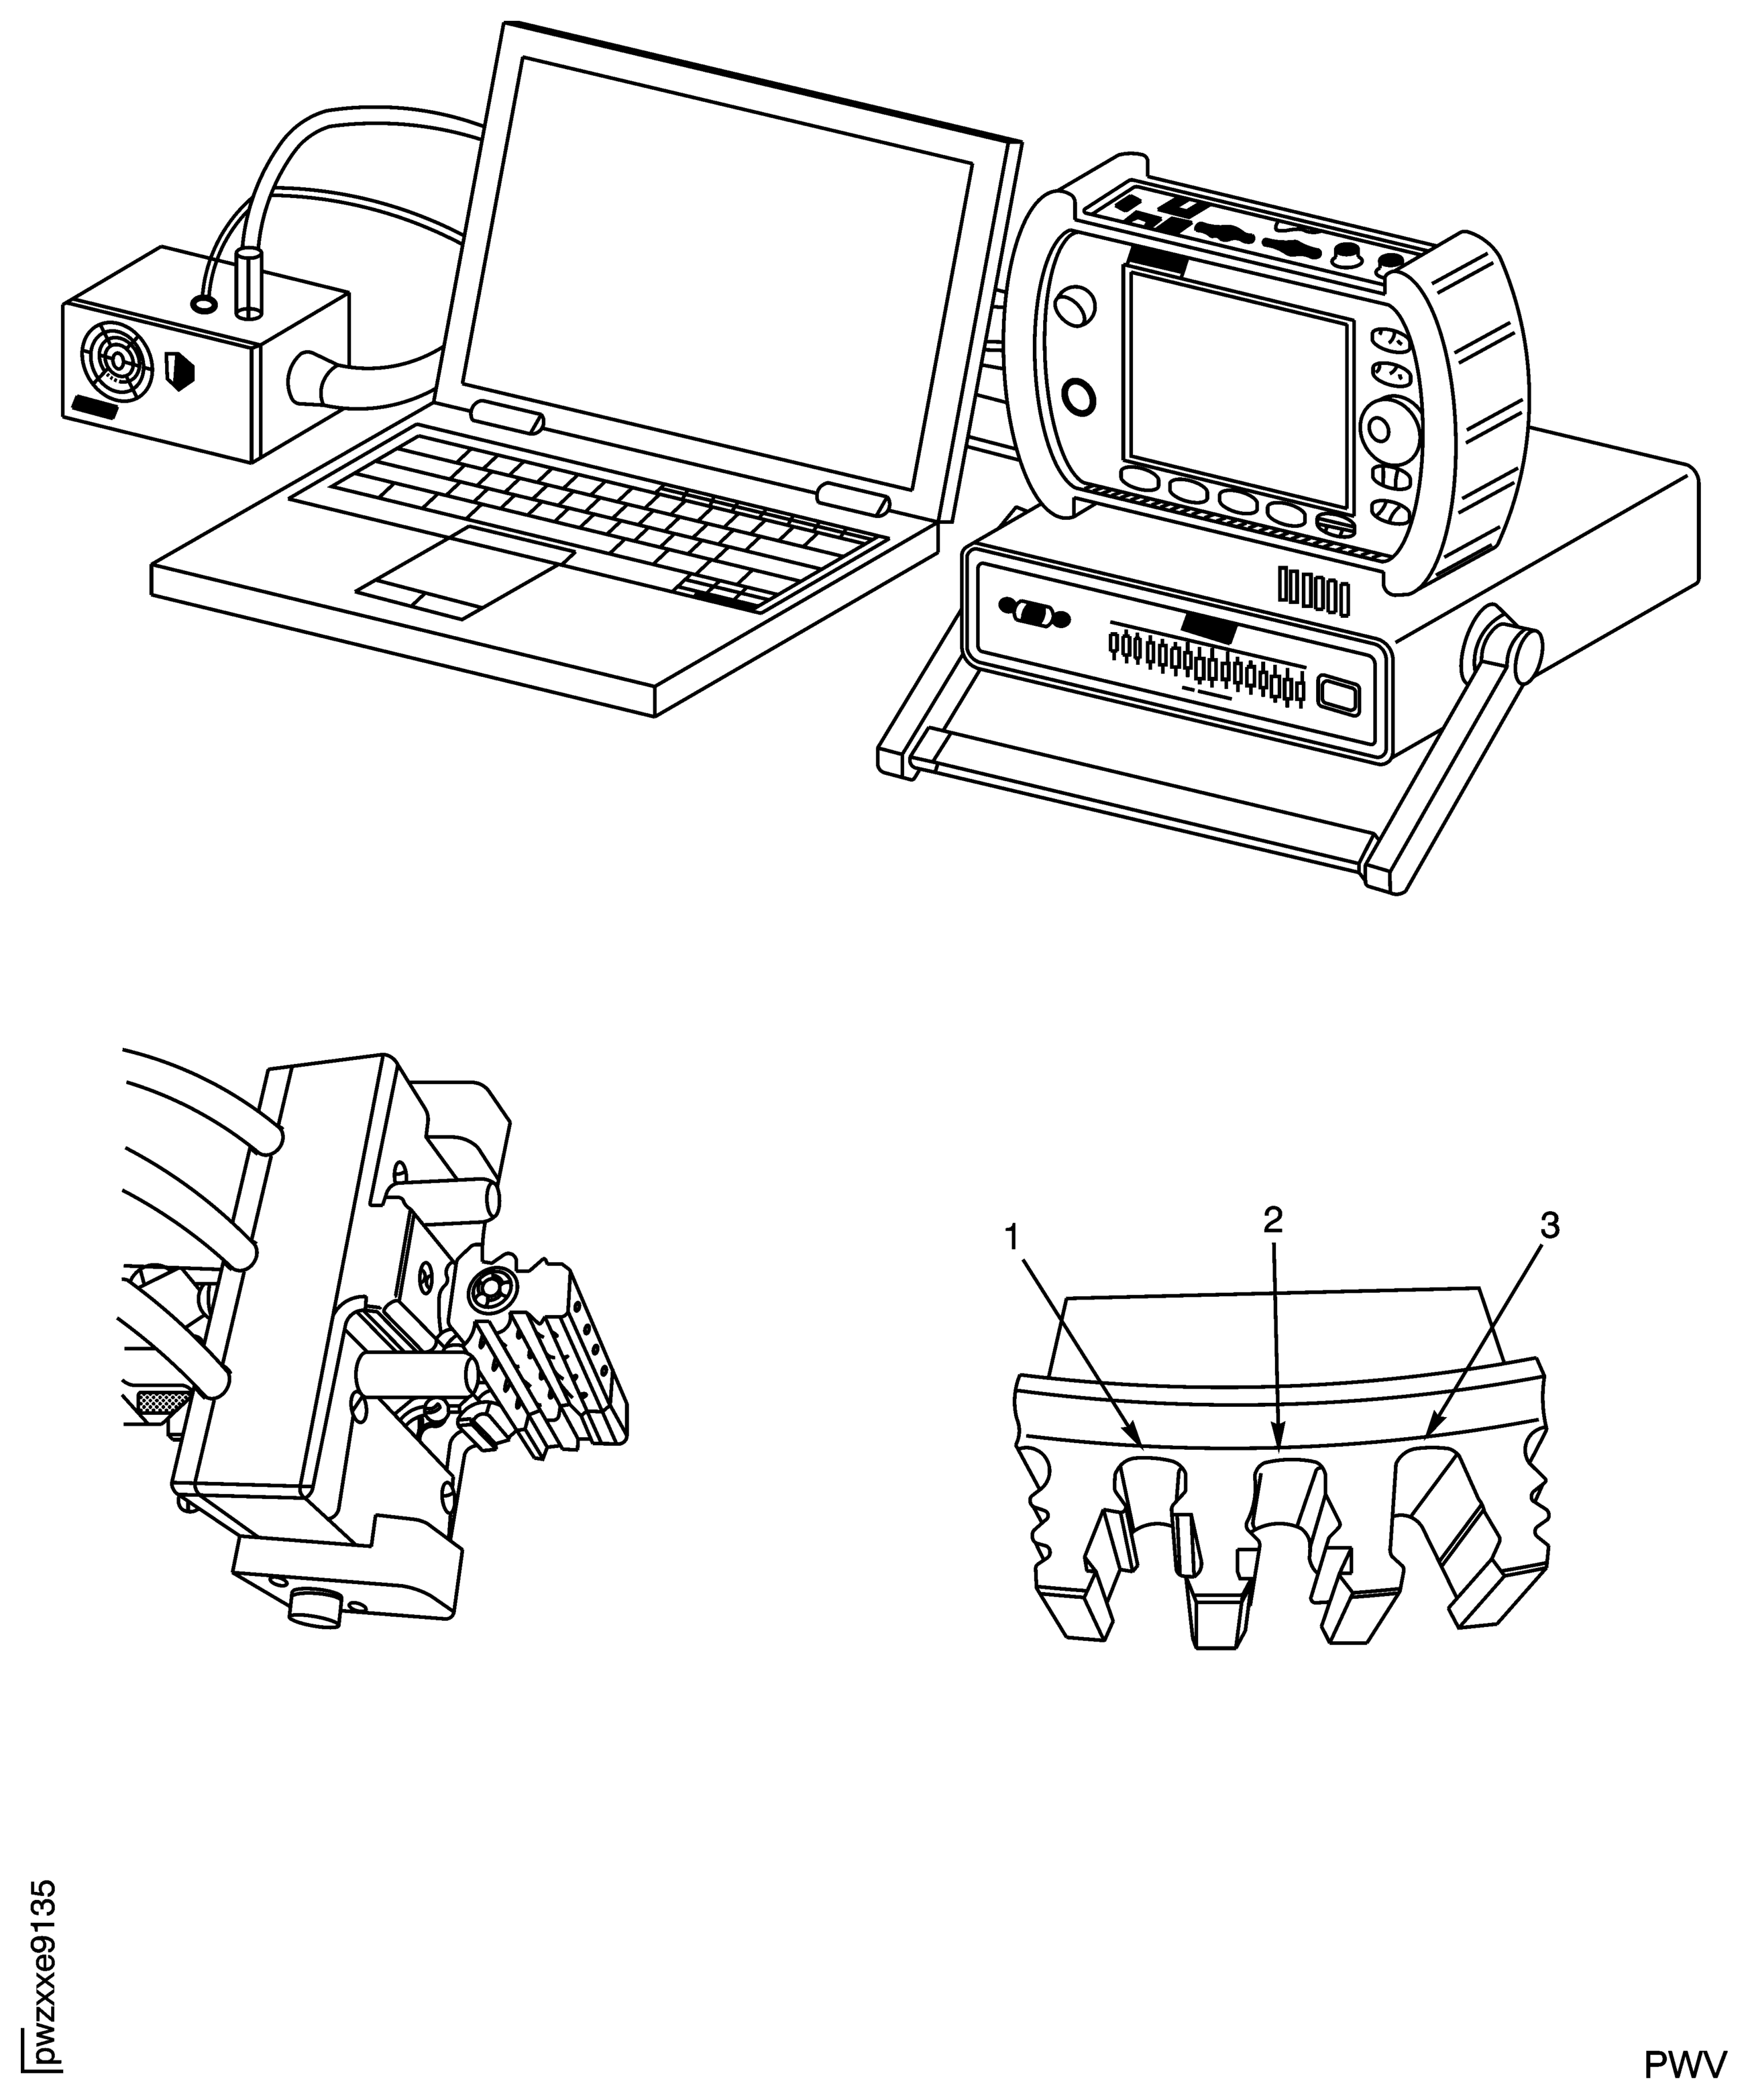
Figure: IAE 2P16597 Eddy Current Probe
IAE 2P16597 Eddy Current Probe

Figure: IAE 2P16598 Calibration Standard
IAE 2P16598 Calibration Standard

Figure: IAE 2P16593 US-454A Connections to IAE 2P16594 Computer and IAE 2P16592 Multiplexer
IAE 2P16593 US-454A Connections to IAE 2P16594 Computer and IAE 2P16592 Multiplexer
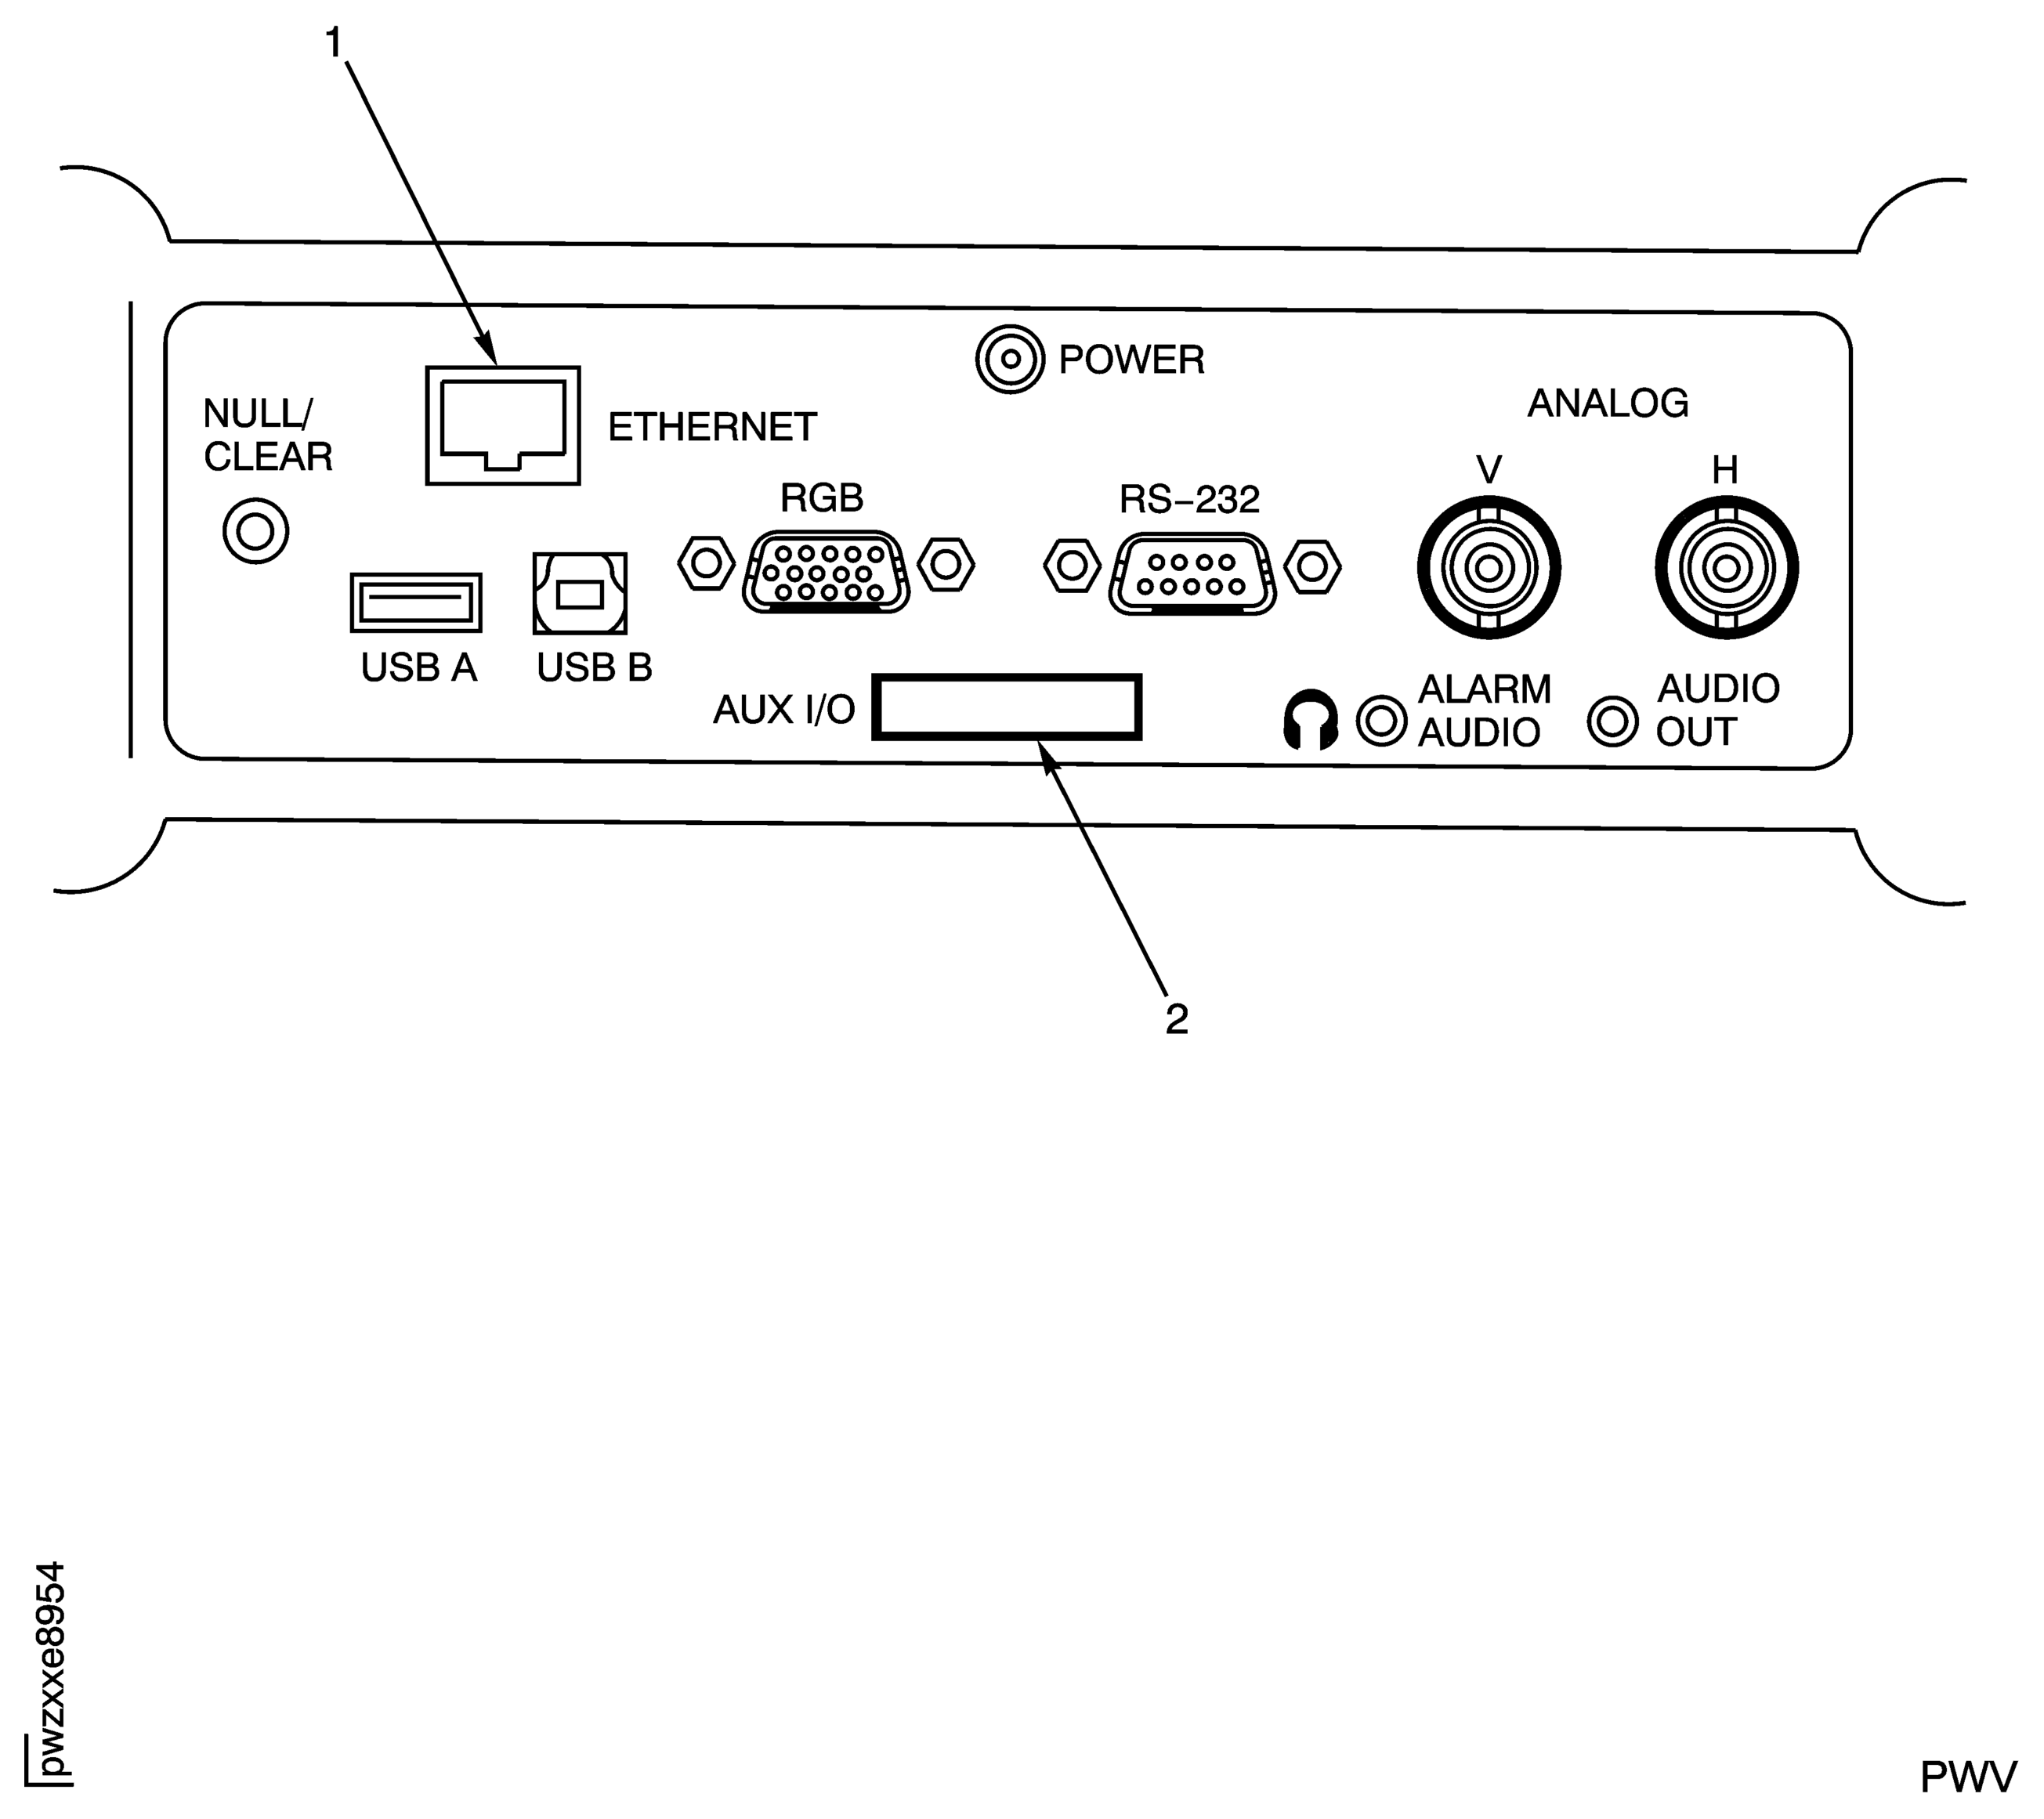
Figure: IAE 2P16592 Multiplexer Connection to IAE 2P16593 US-454A
IAE 2P16592 Multiplexer Connection to IAE 2P16593 US-454A
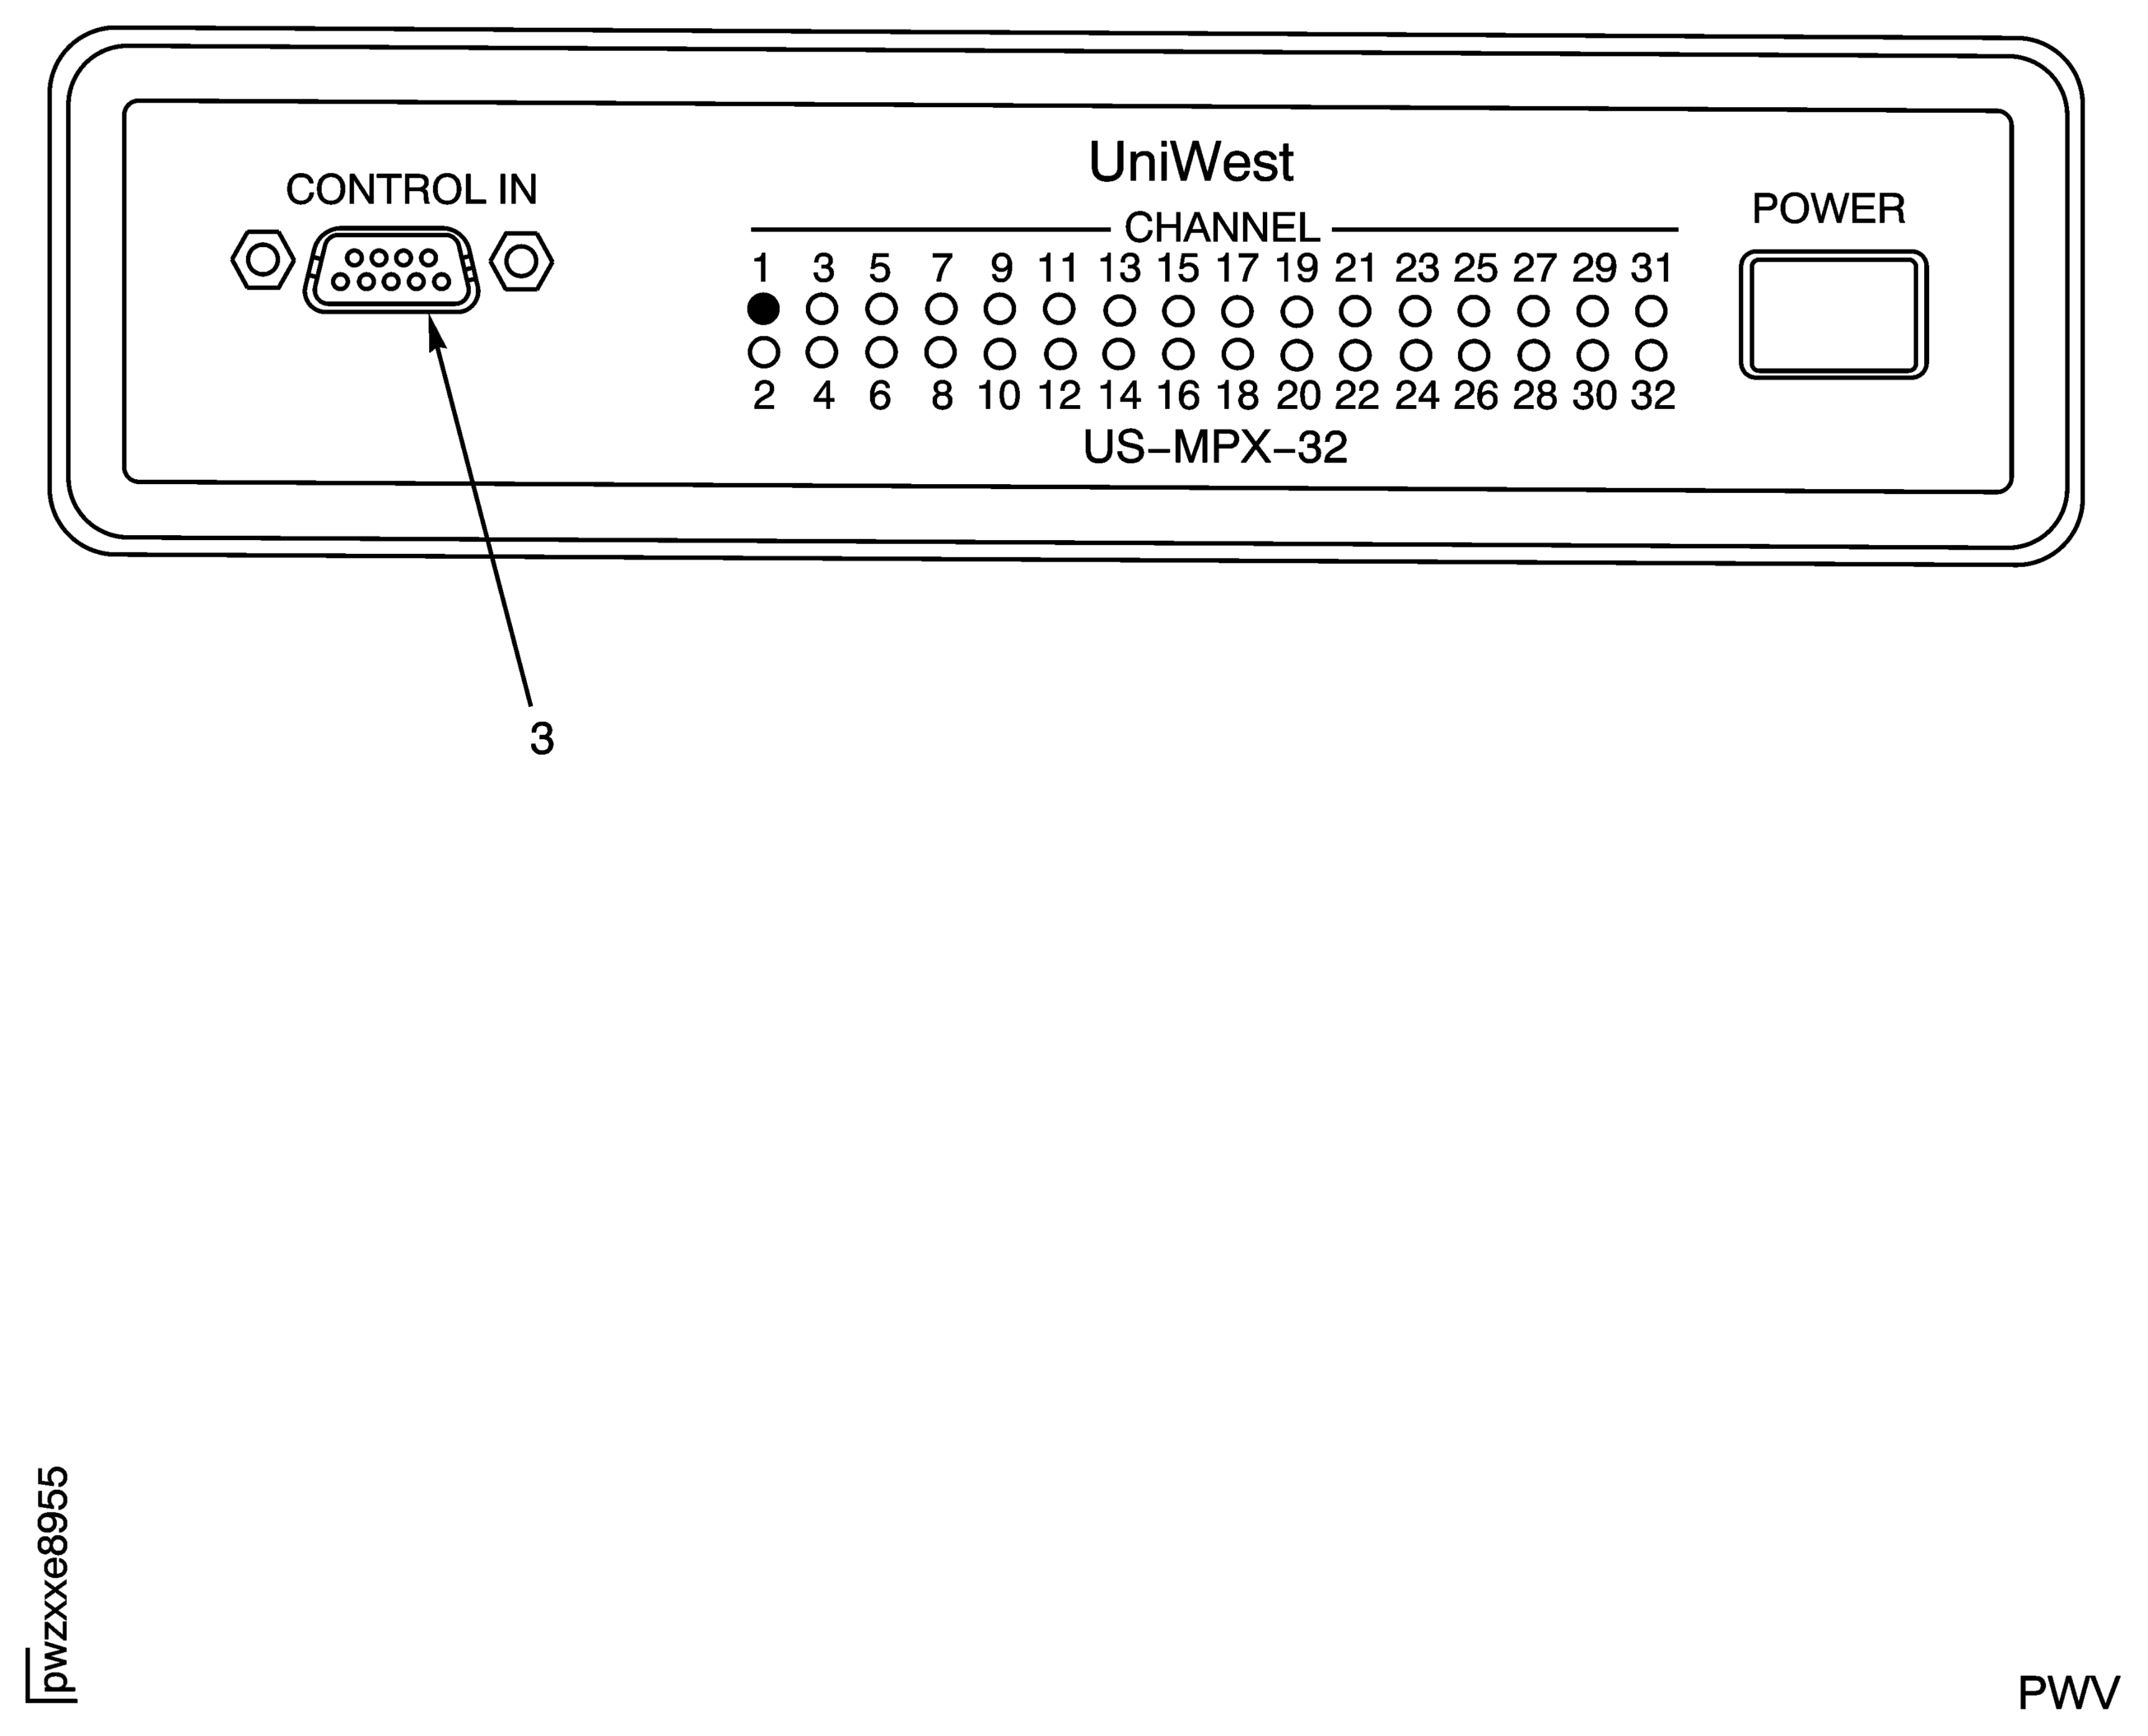
Figure: IAE 2P16597 Probe Connections and IAE 2P16593 US-454A Connections to IAE 2P16592 Multiplexer
IAE 2P16597 Probe Connections and IAE 2P16593 US-454A Connections to IAE 2P16592 Multiplexer

Figure: IAE 2P16593 PUS-454A Connection to IAE 2P16592 Multiplexer
IAE 2P16593 PUS-454A Connection to IAE 2P16592 Multiplexer
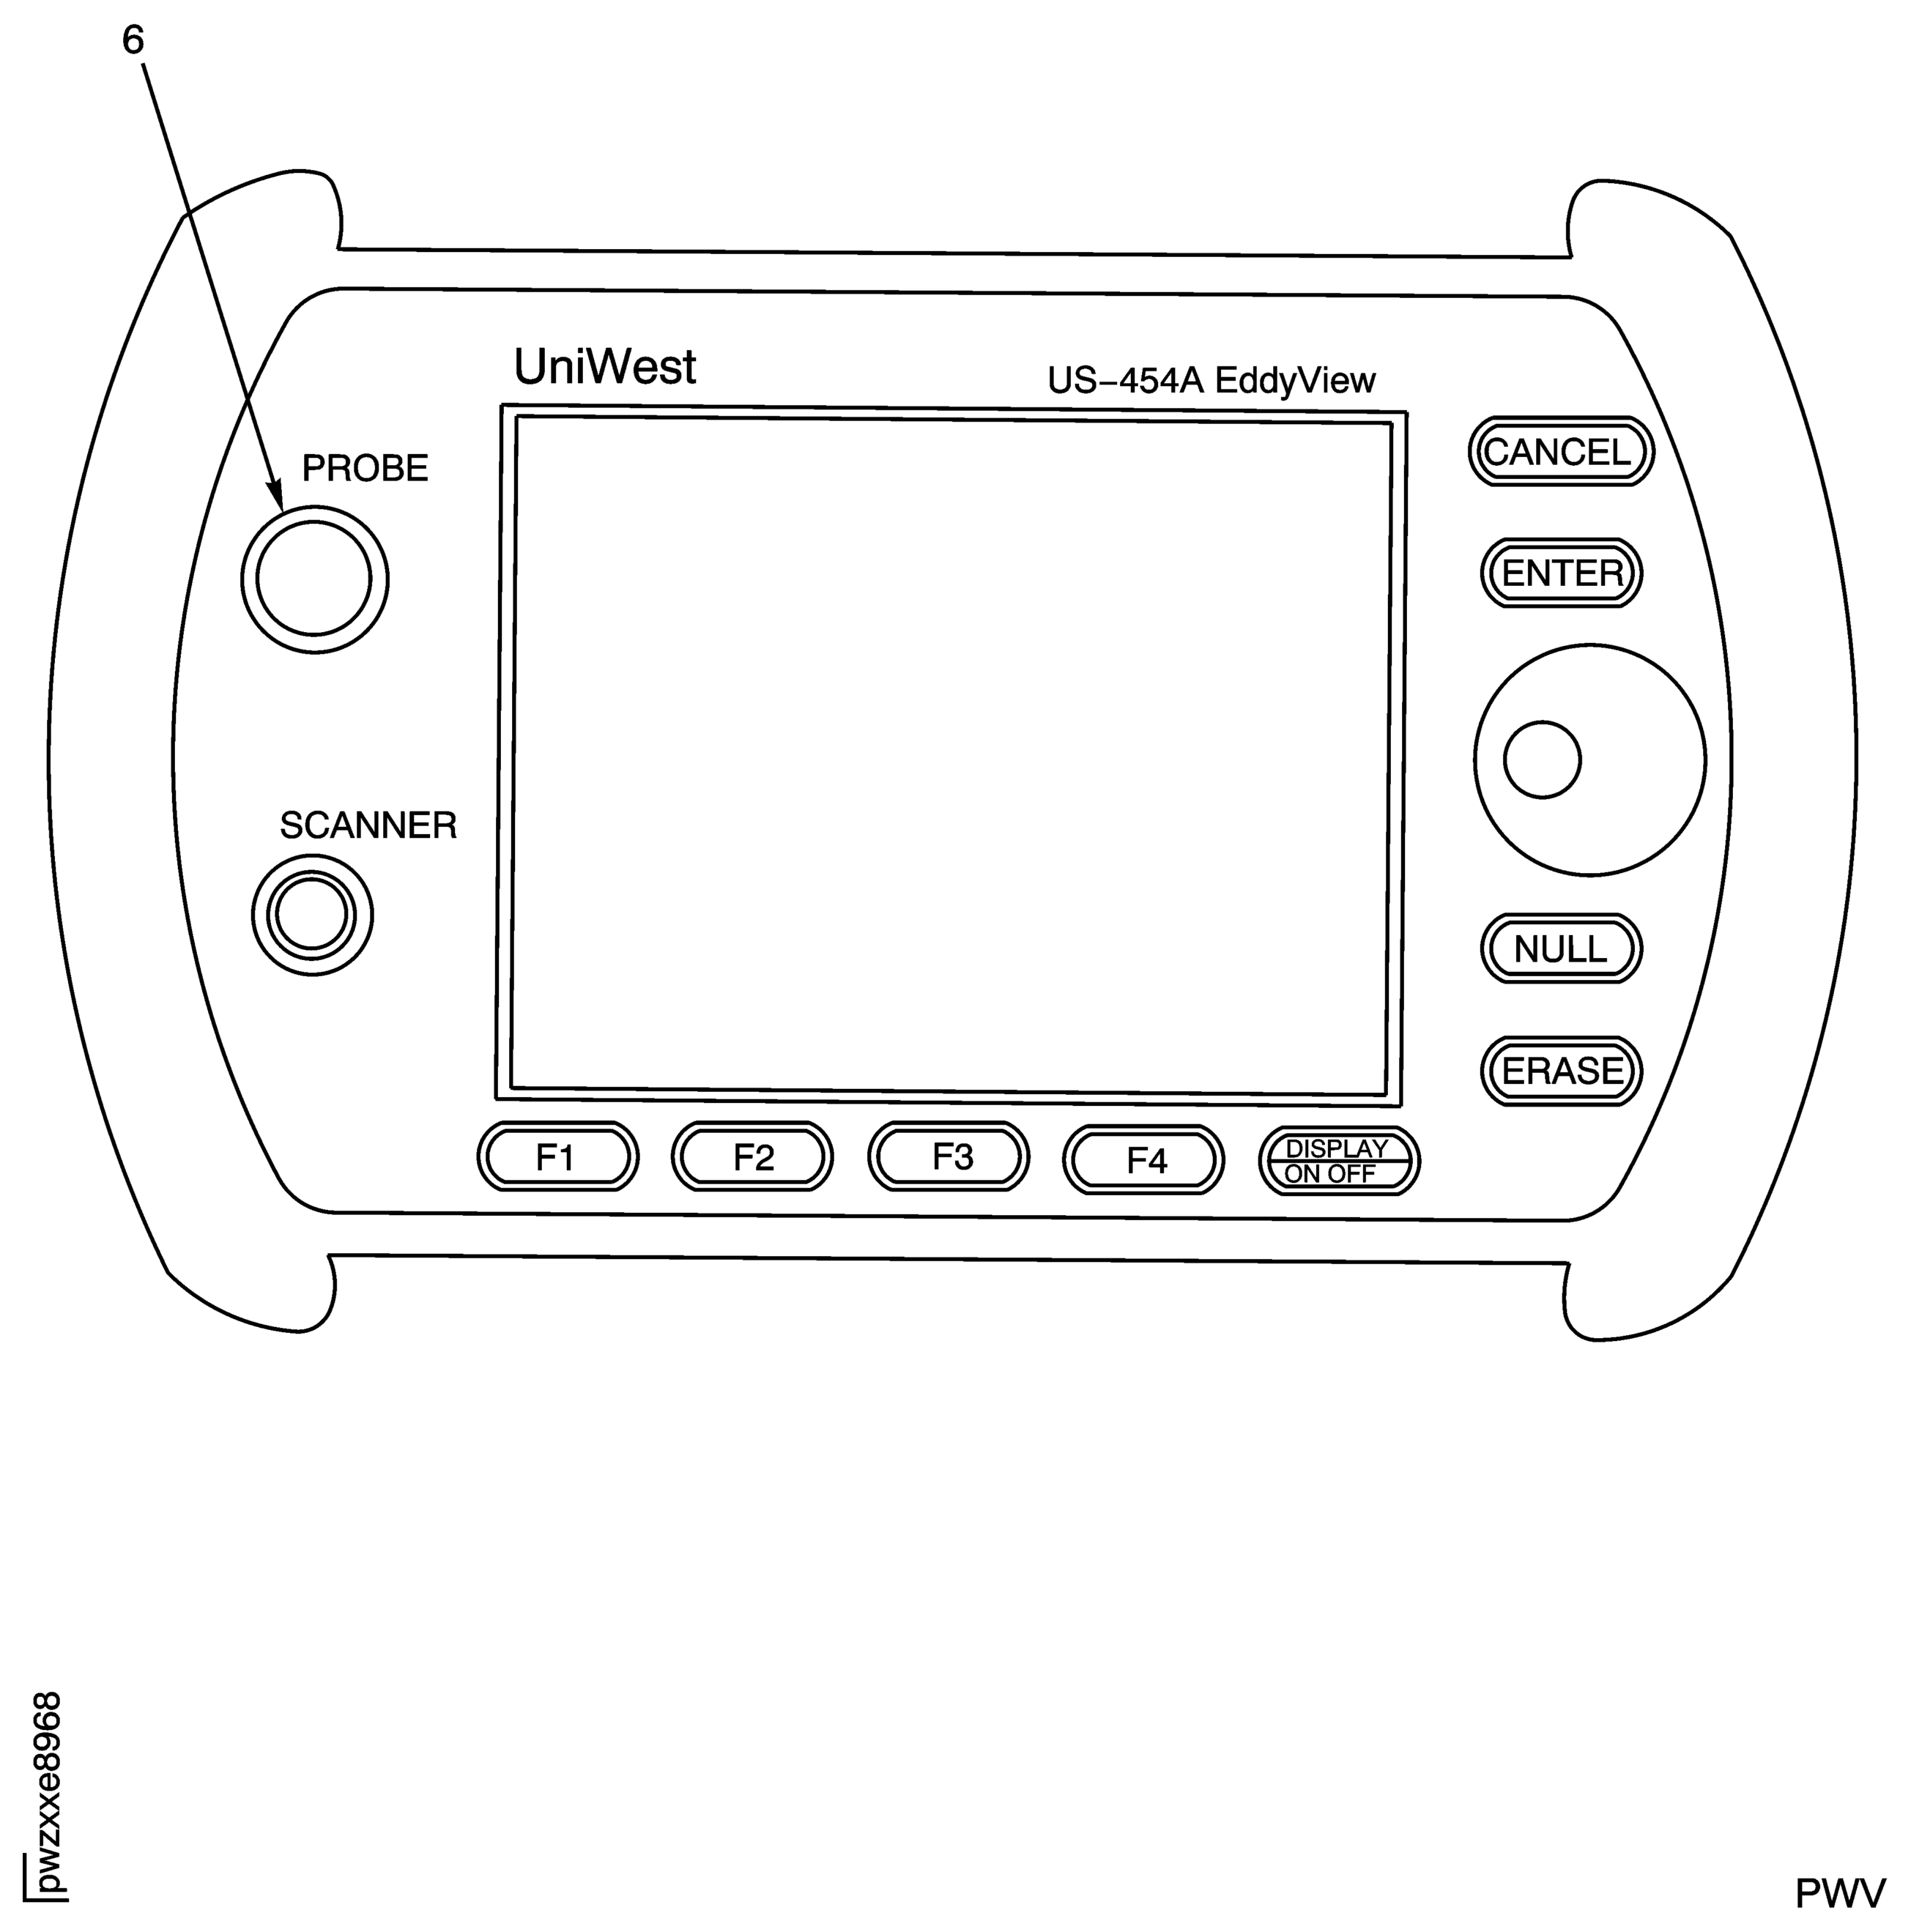
Figure: IAE 2P16595 Pneumatic Controller Set to 80 psi (551,.6 kPa) and in the "UNLOCKED" Position
IAE 2P16595 Pneumatic Controller Set to 80 psi (551,.6 kPa) and in the "UNLOCKED" Position
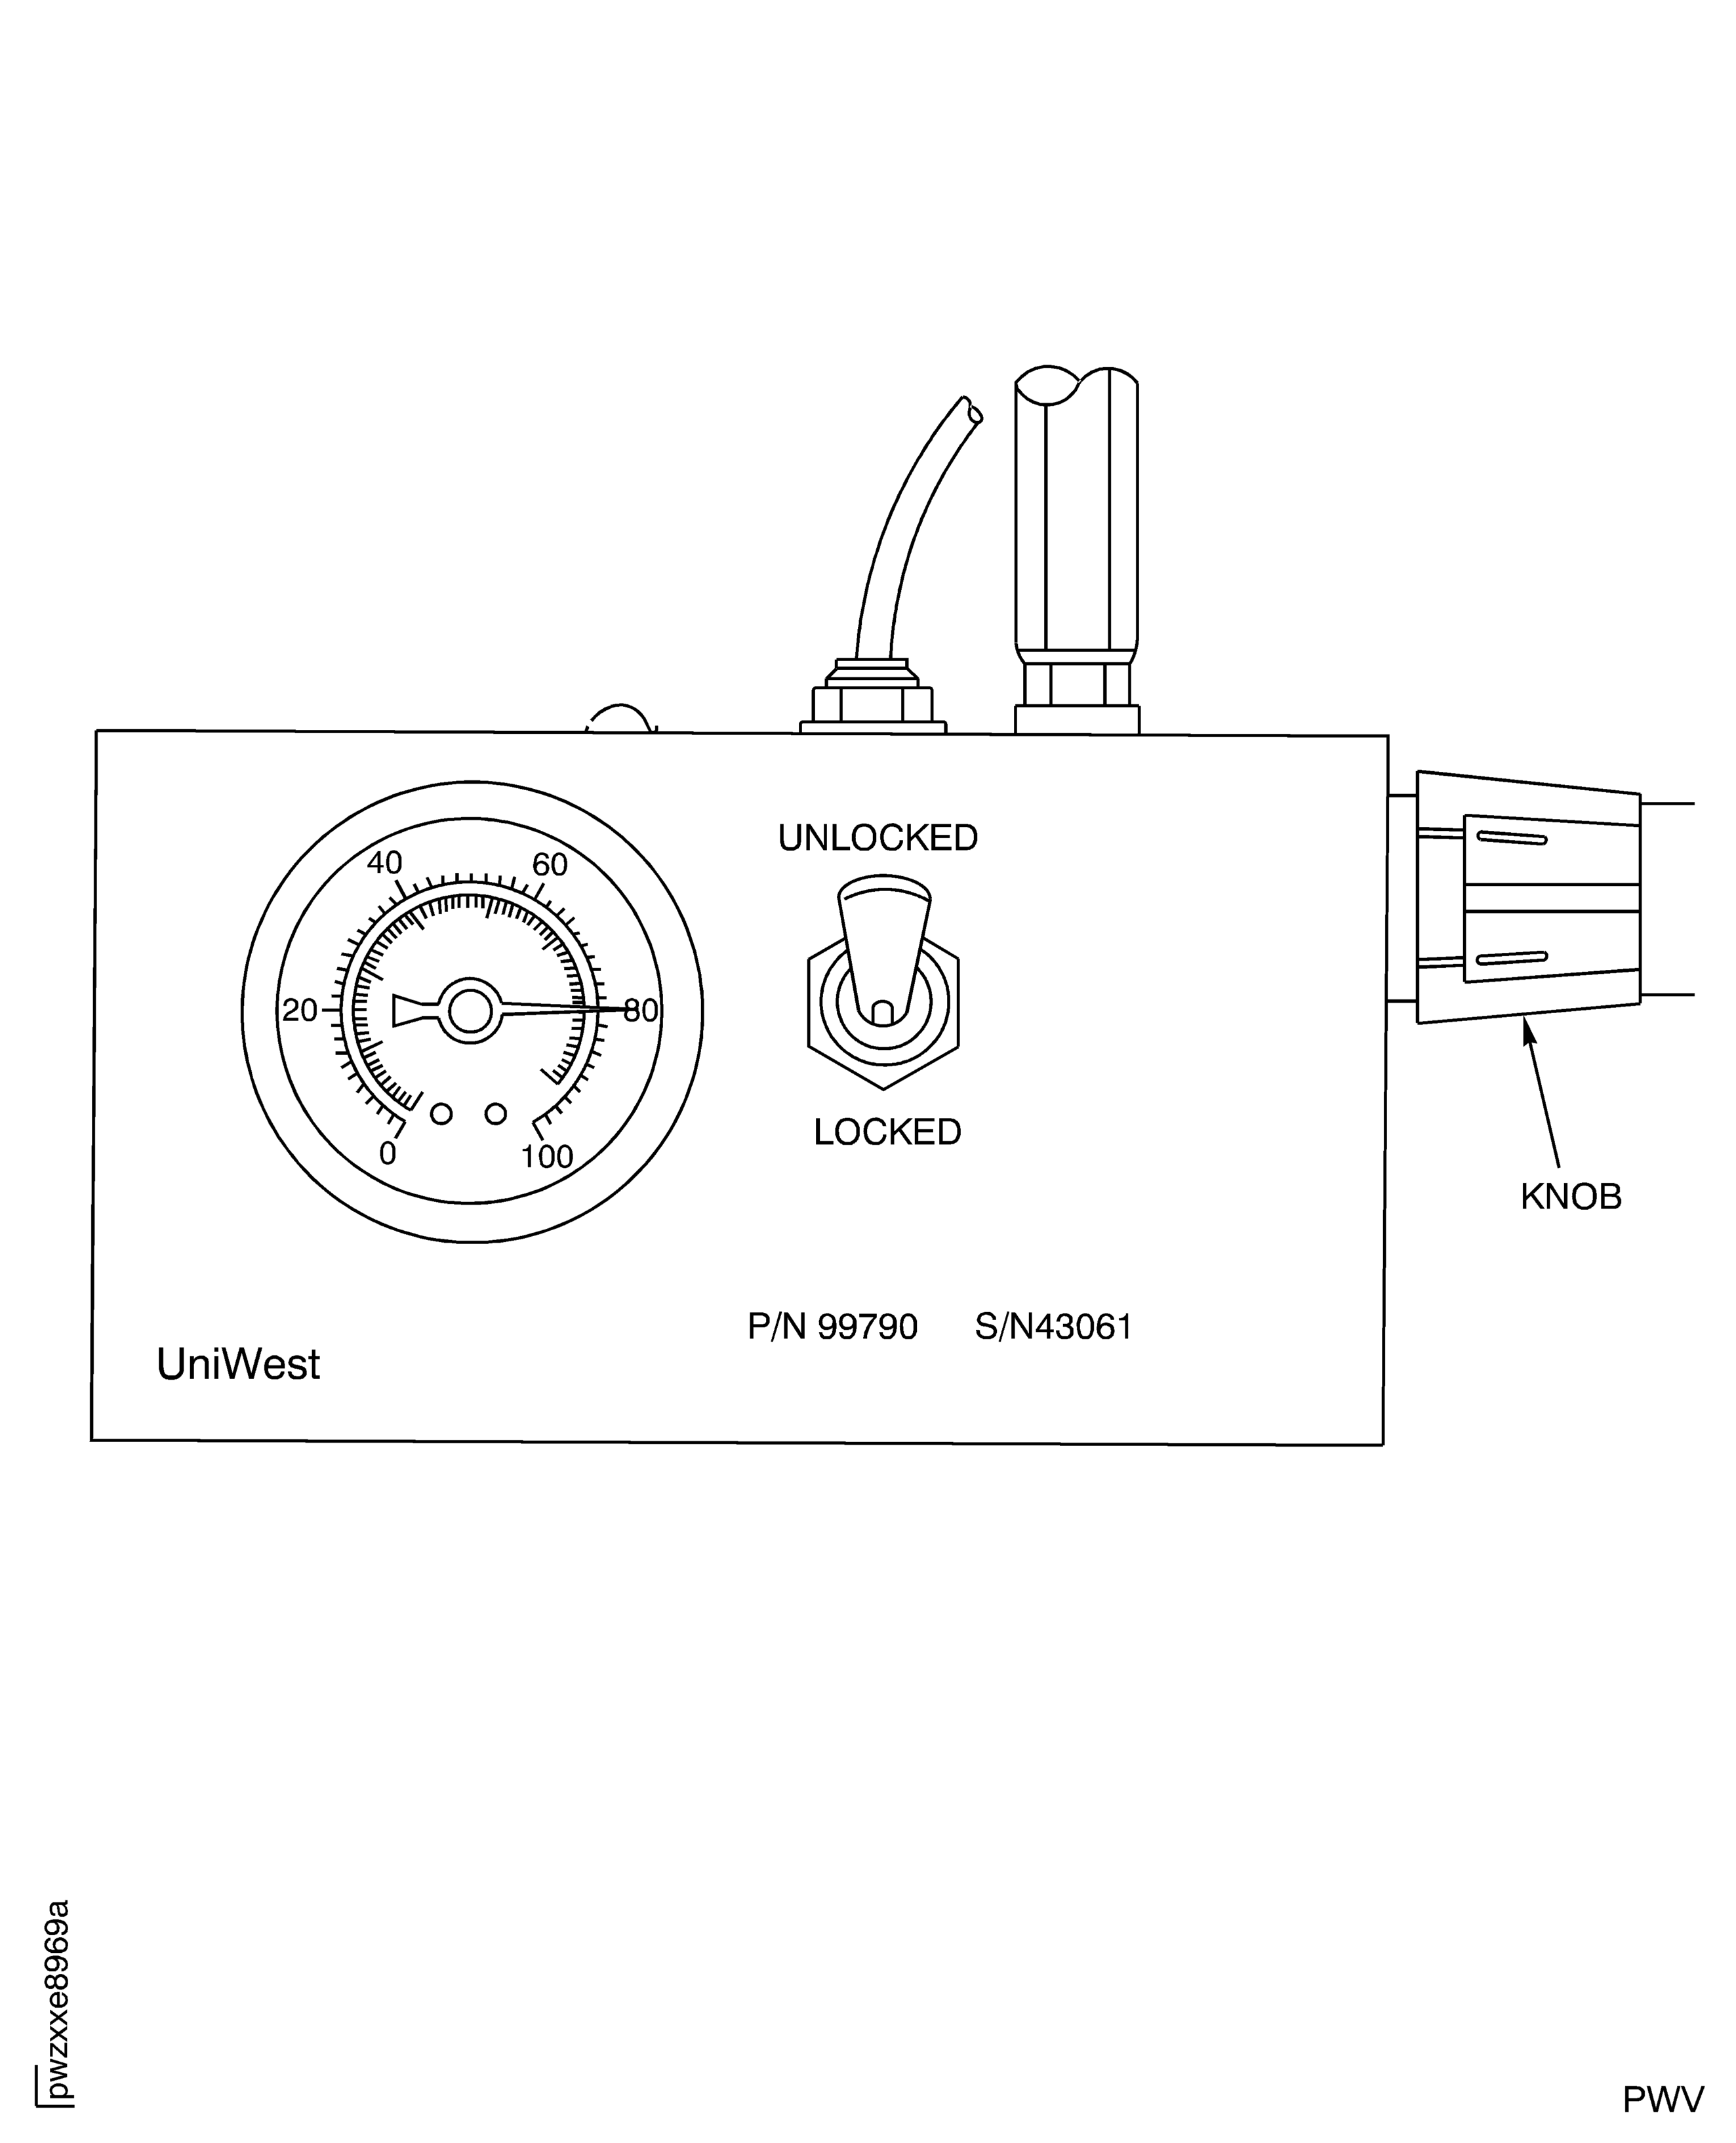
Figure: Main Display Screen for Inspection Software
Main Display Screen for Inspection Software
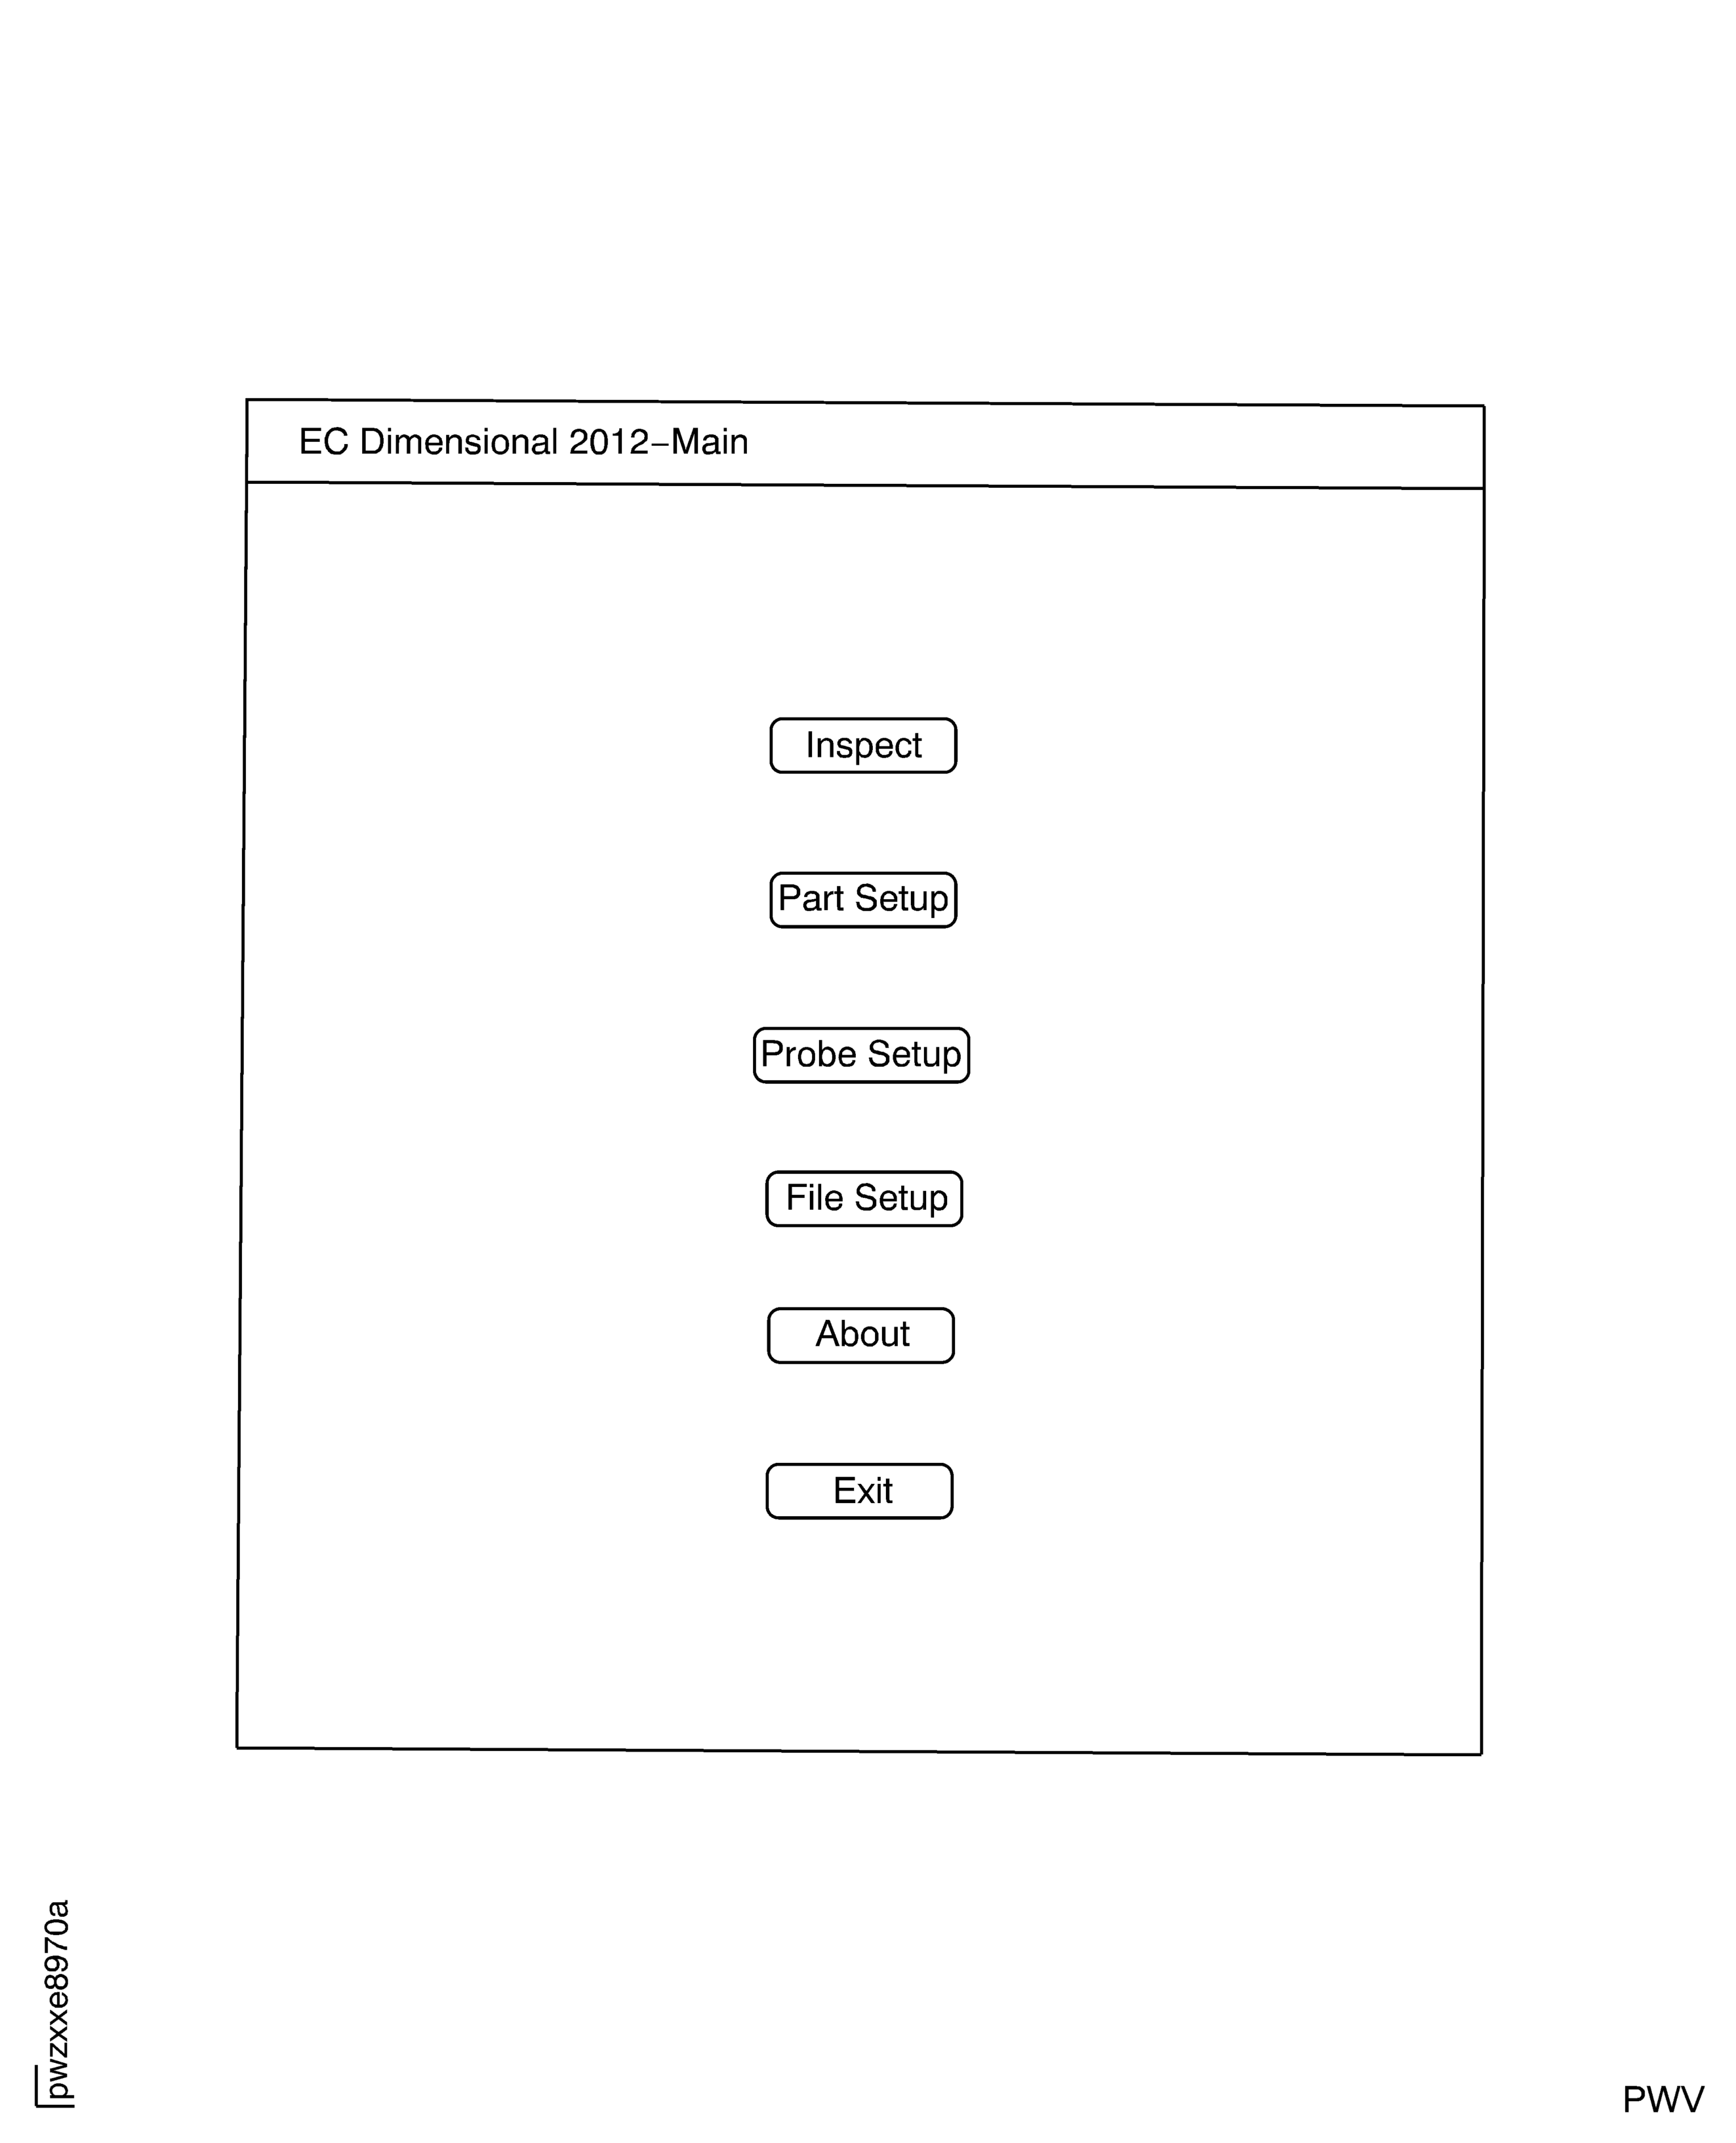
Figure: Probe Setup Window
Probe Setup Window

Figure: Part Setup Window
Part Setup Window

Figure: Hub Inspection Information Window
Hub Inspection Information Window
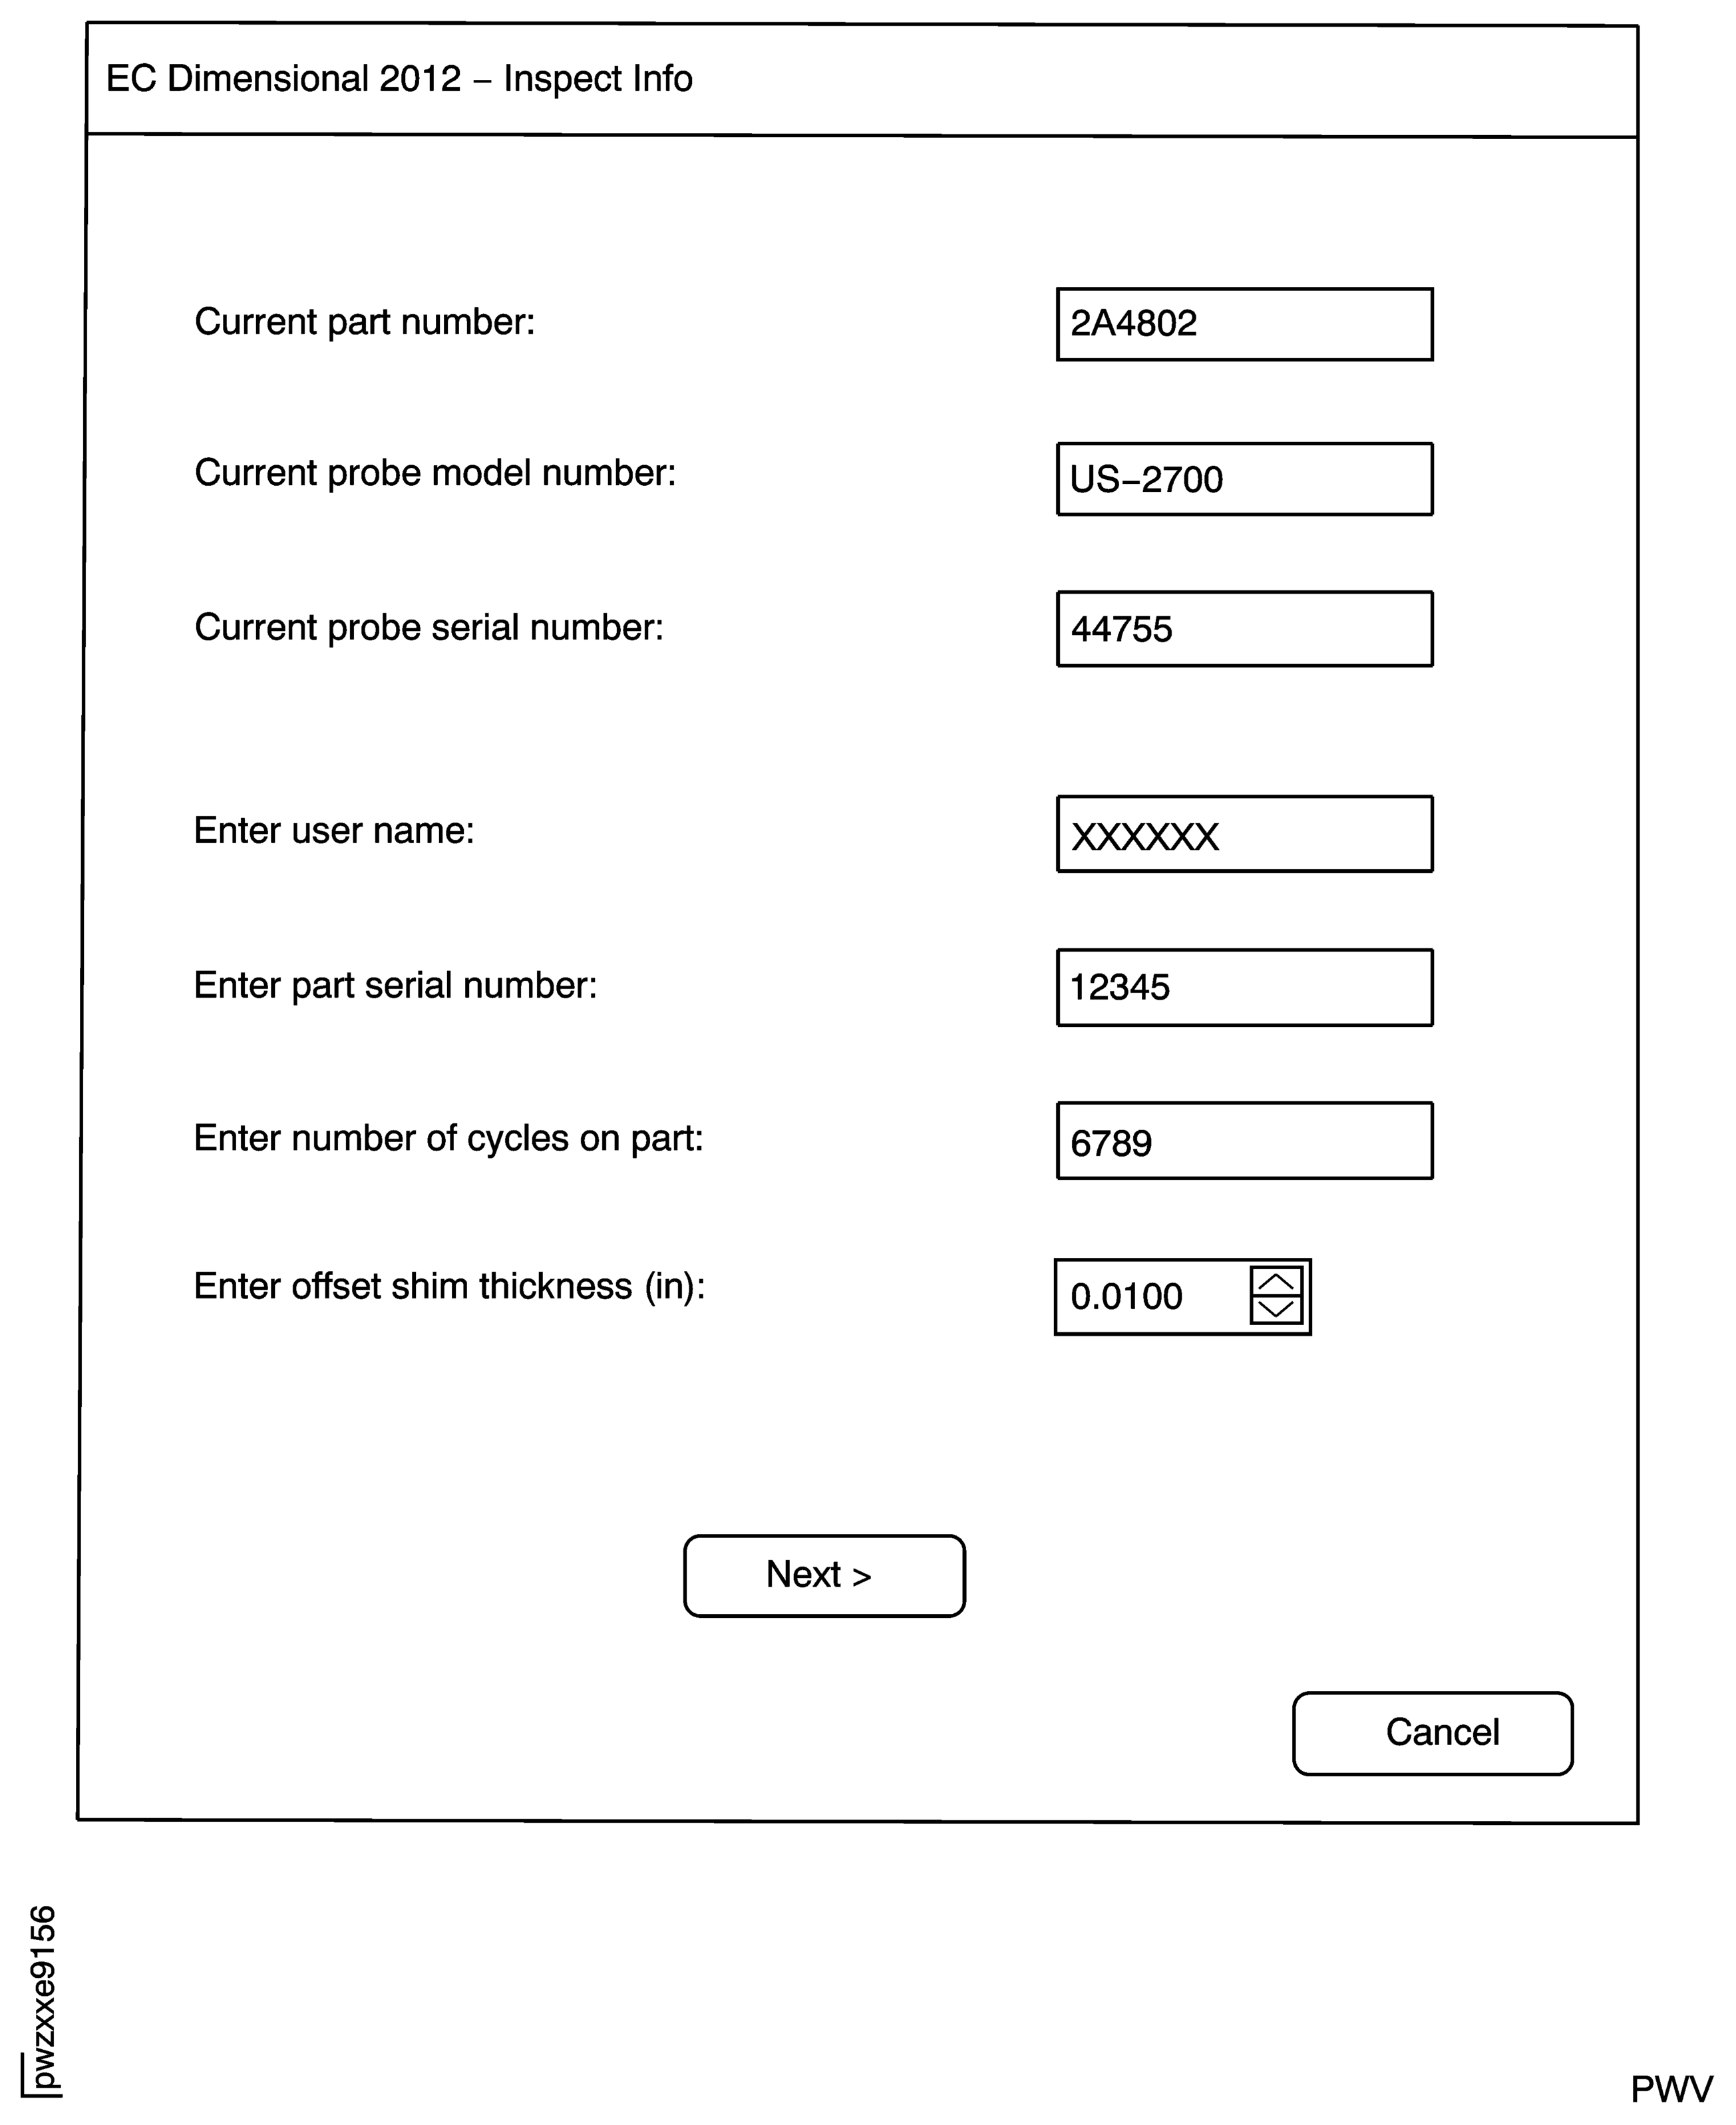
Figure: Blade Slots Selected to be Examined
Blade Slots Selected to be Examined

Figure: Group Numbers Assigned for Each Probe
Group Numbers Assigned for Each Probe

Figure: Display for Start-up of Inspection Pre-Calibration
Display for Start-up of Inspection Pre-Calibration
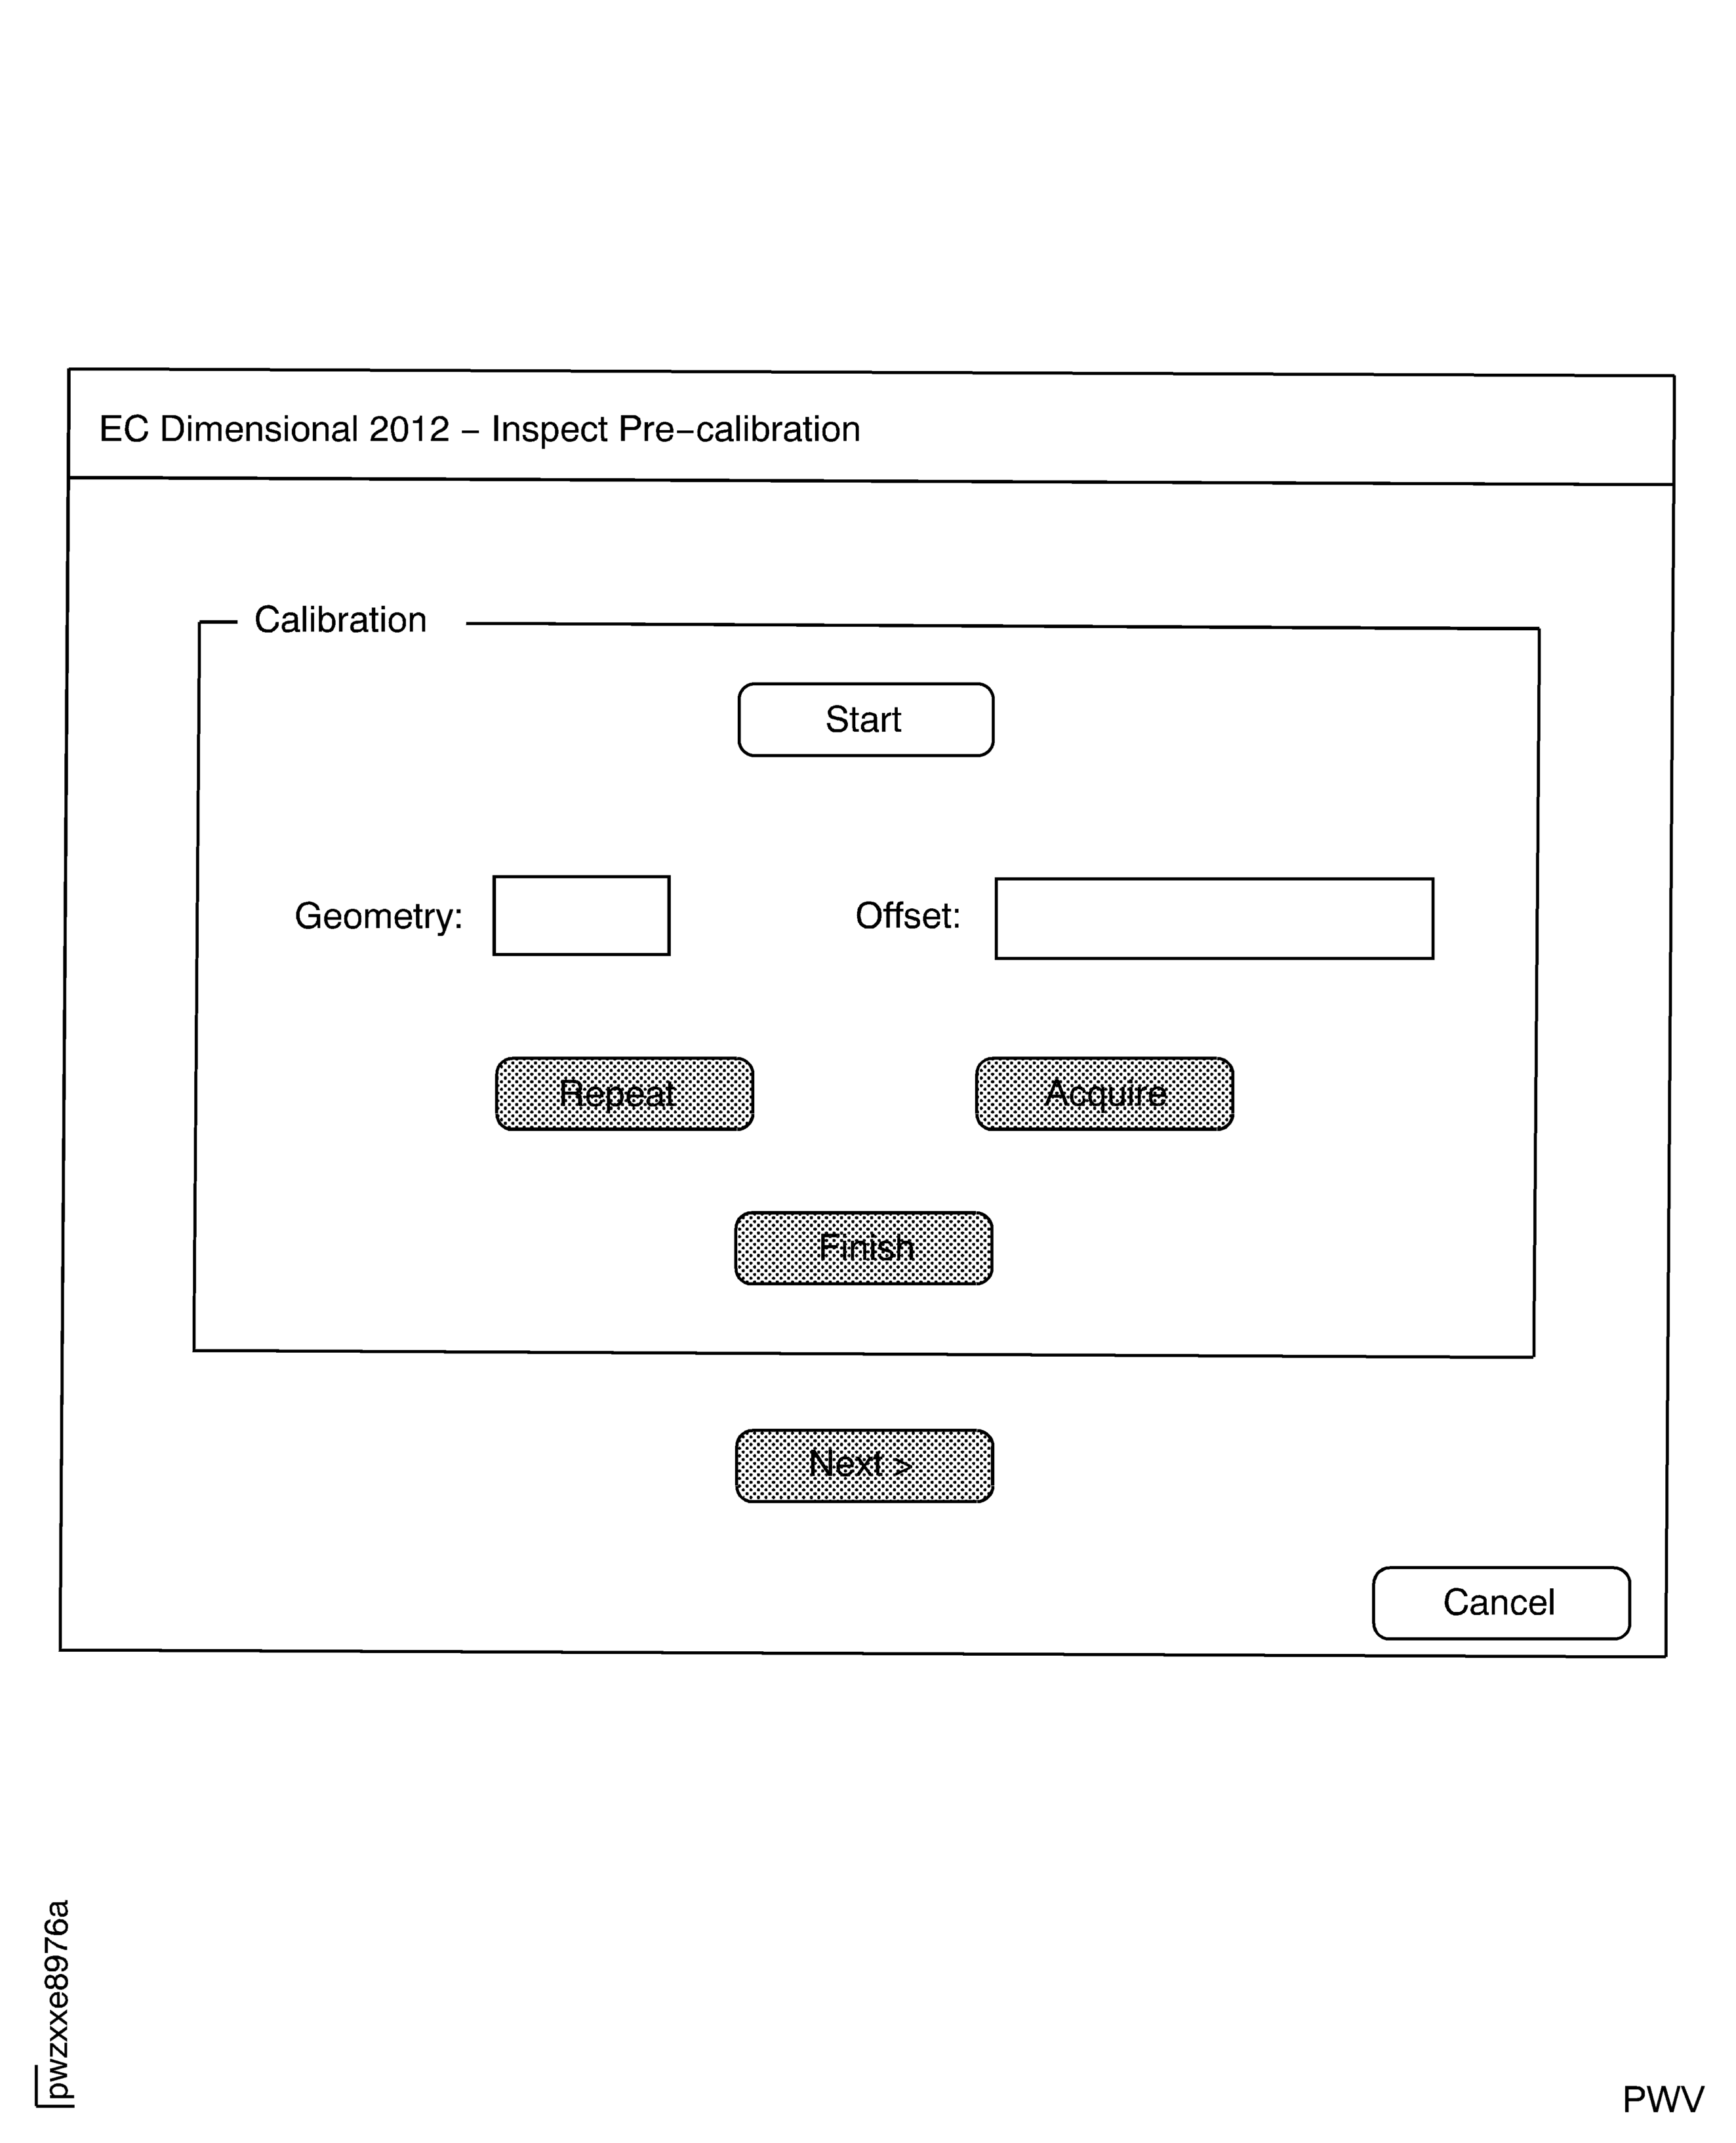
Figure: Display for NULL Operation of Surface No. 1 and No. 3
Display for NULL Operation of Surface No. 1 and No. 3
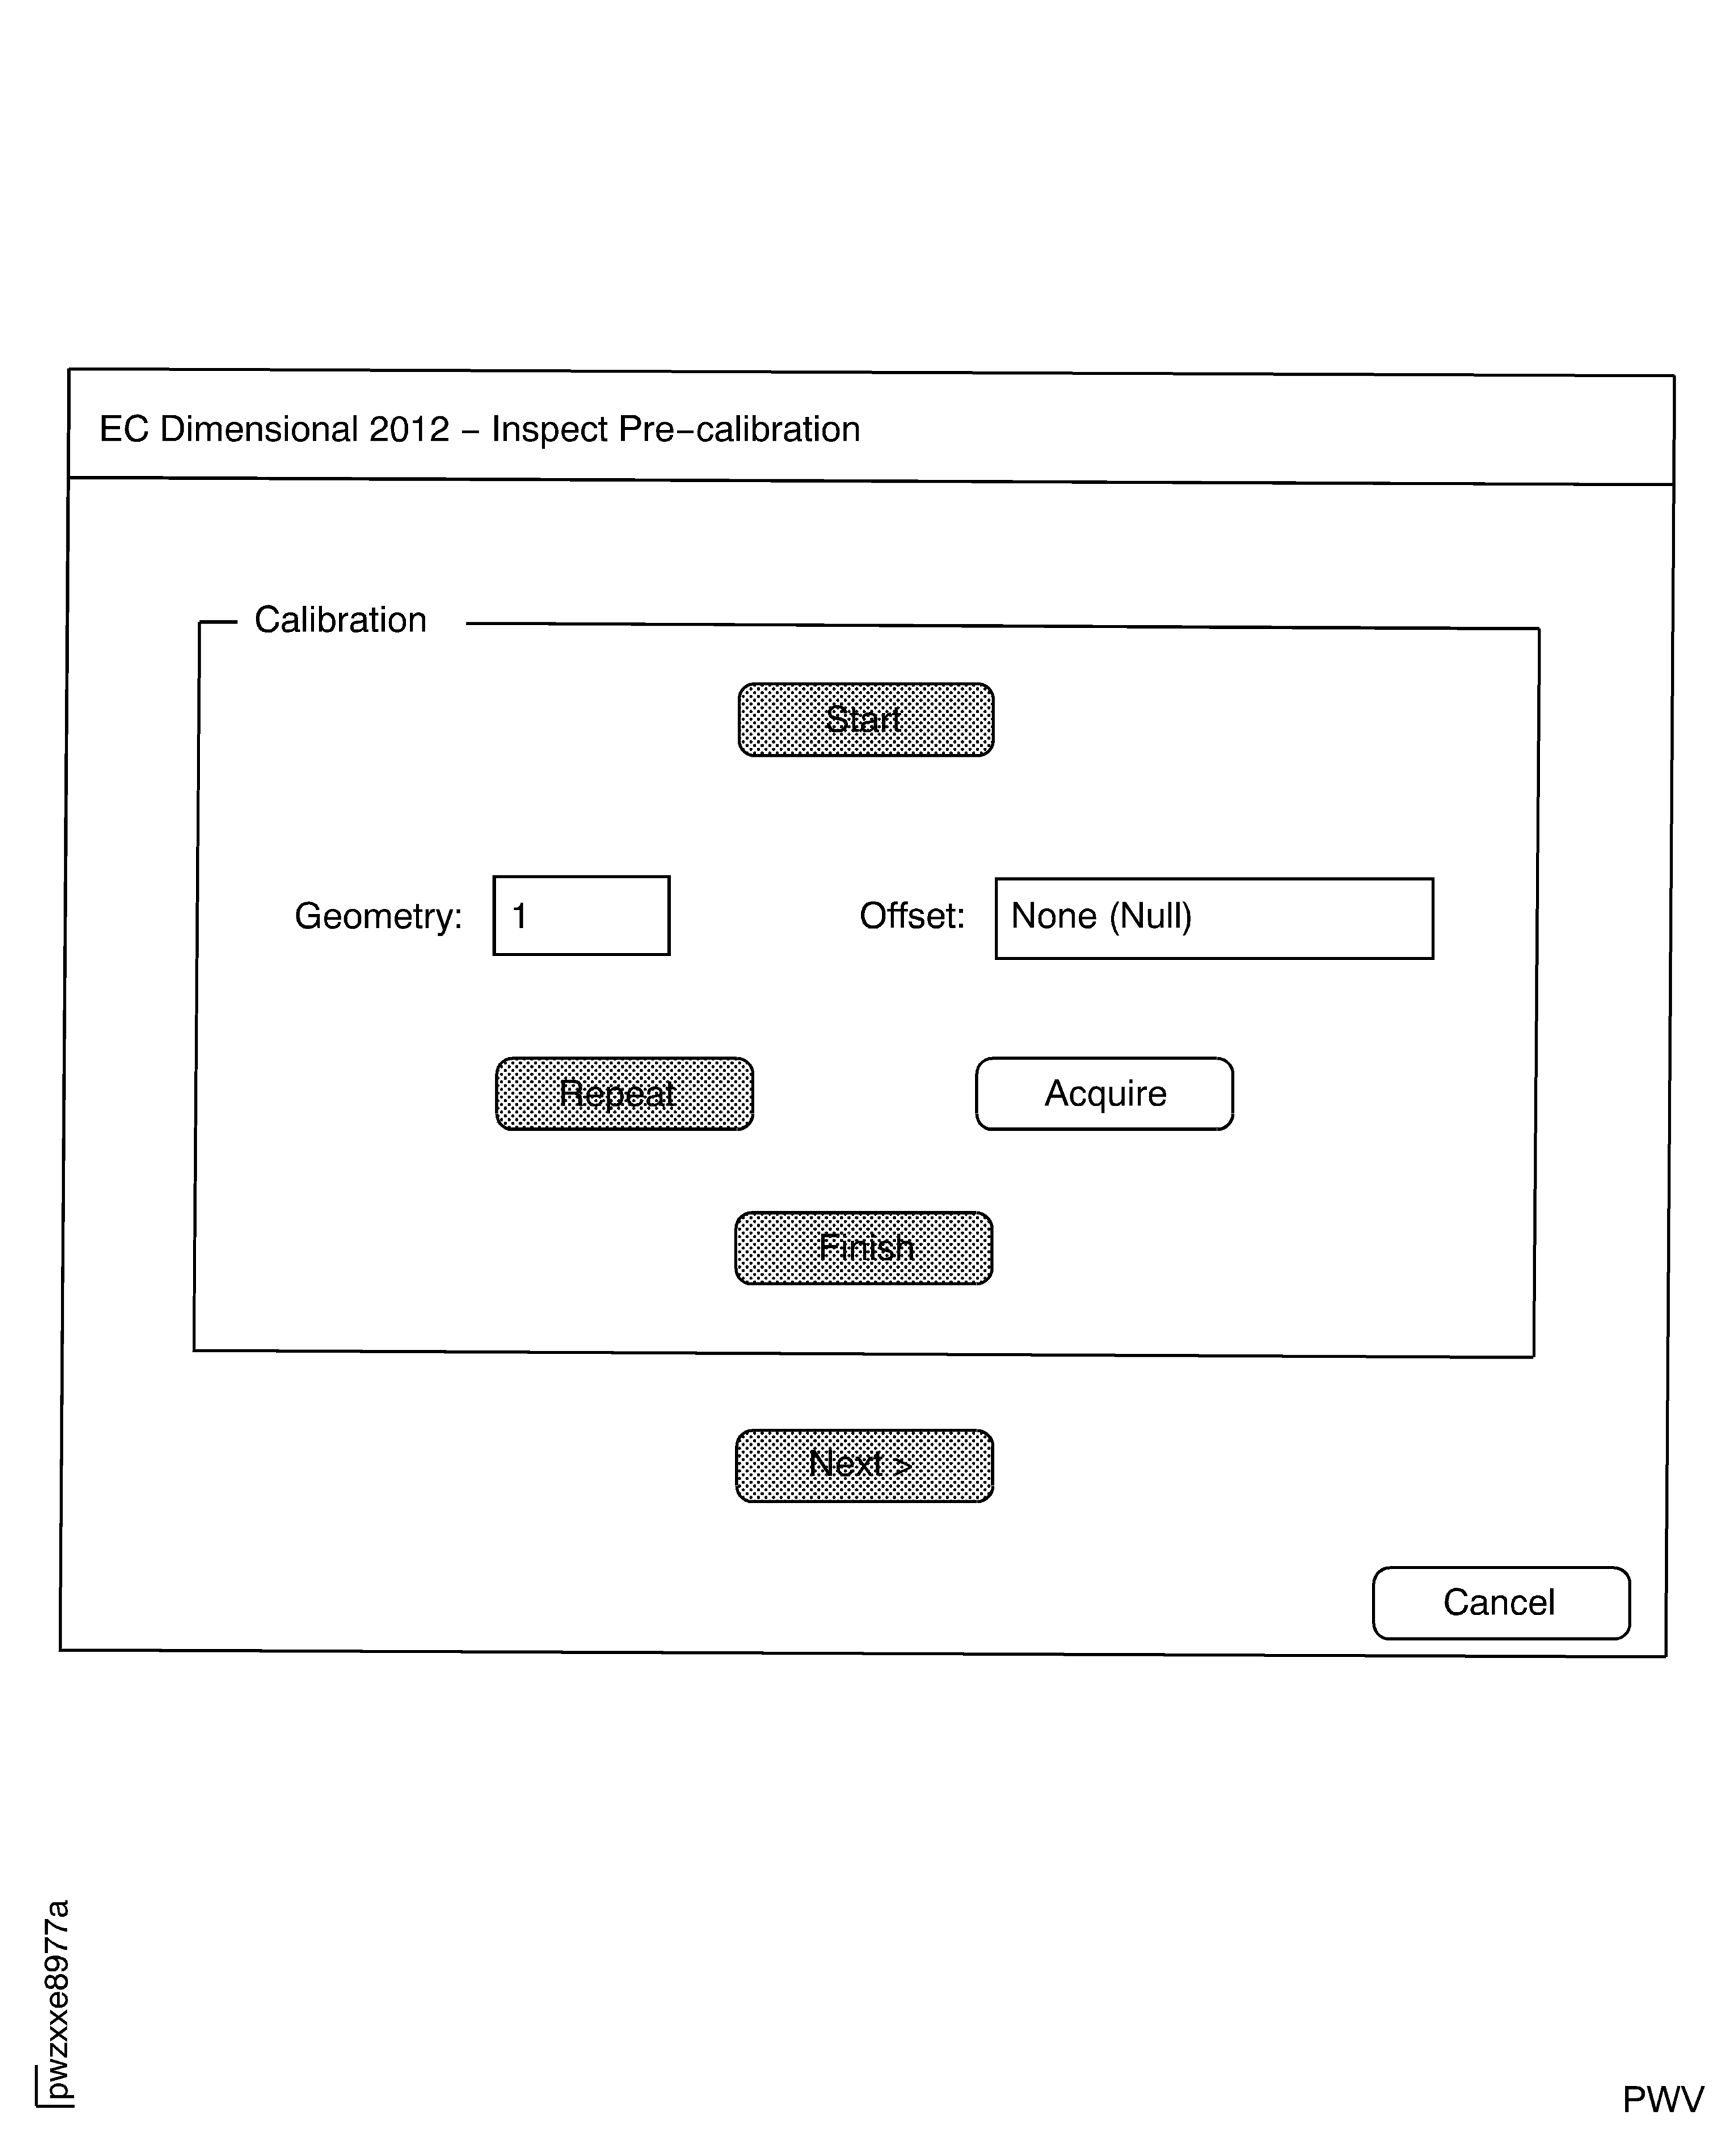
Figure: IAE 2P16588 Plastic Shims Inserted for Surface Calibration
IAE 2P16588 Plastic Shims Inserted for Surface Calibration

Figure: Display for 10 mil Lift-off Calibration
Display for 10 mil Lift-off Calibration
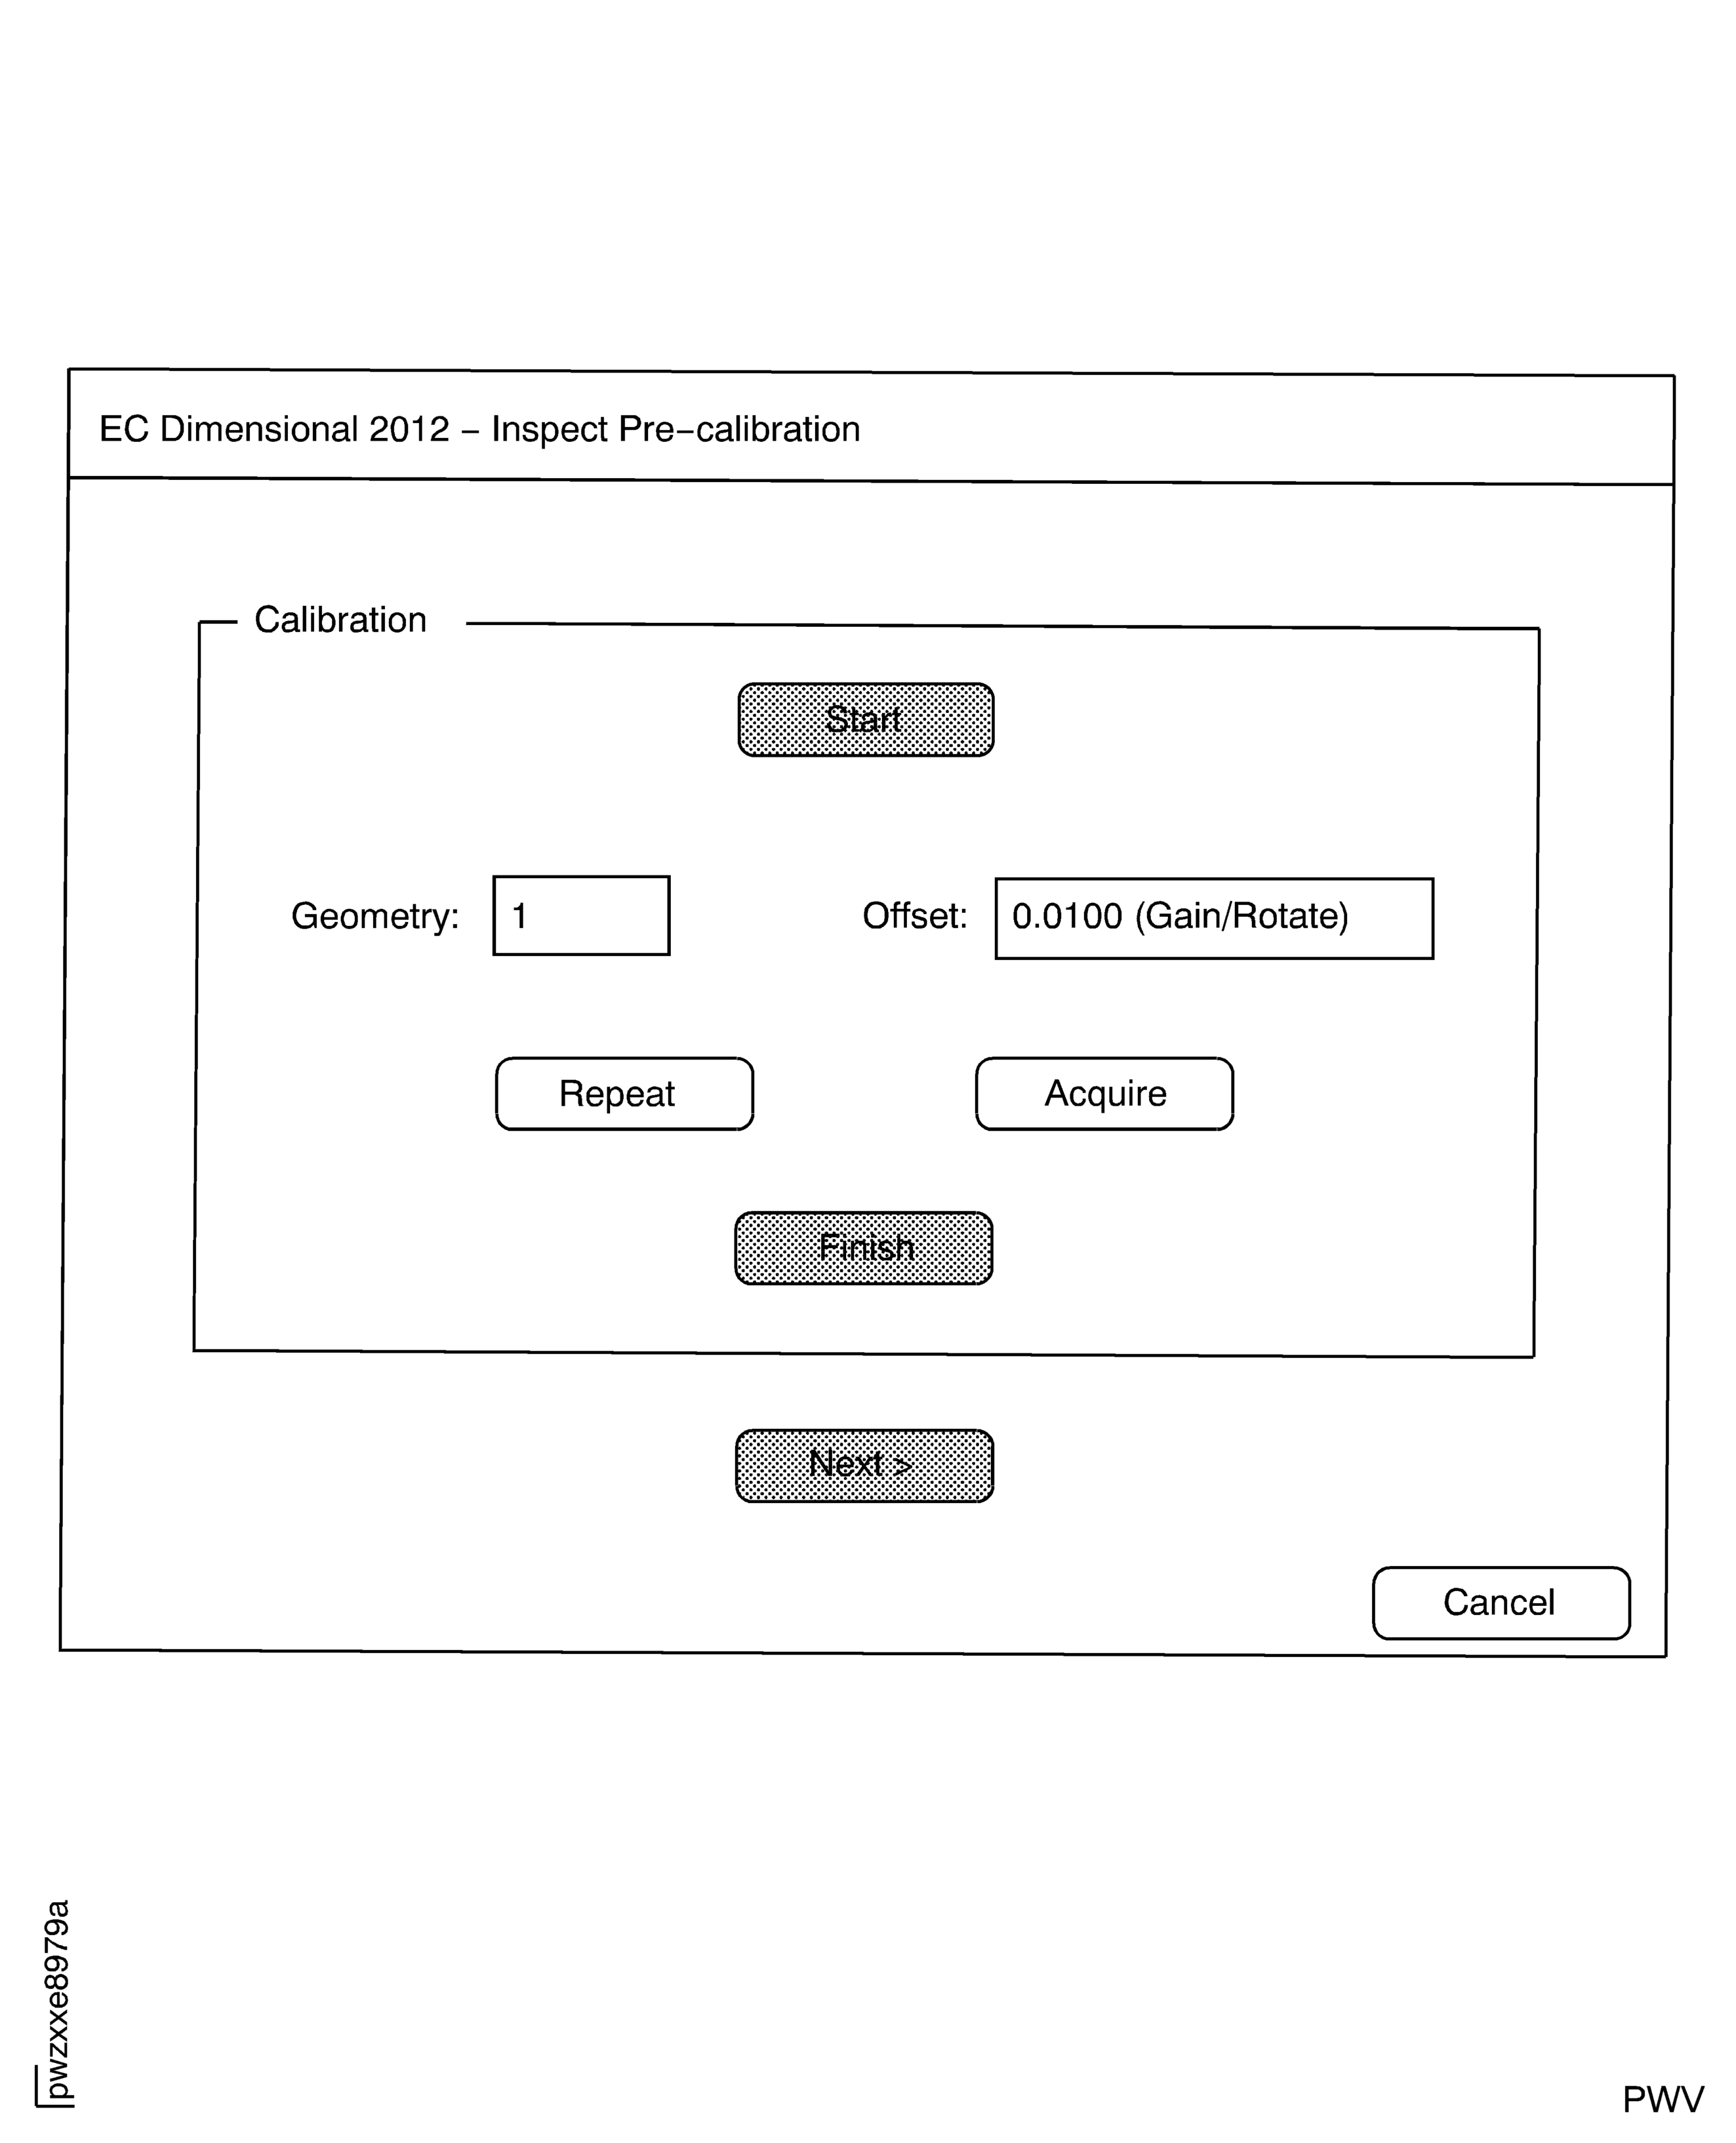
Figure: Probe Inserted in Blade Slot to be Examined
Probe Inserted in Blade Slot to be Examined
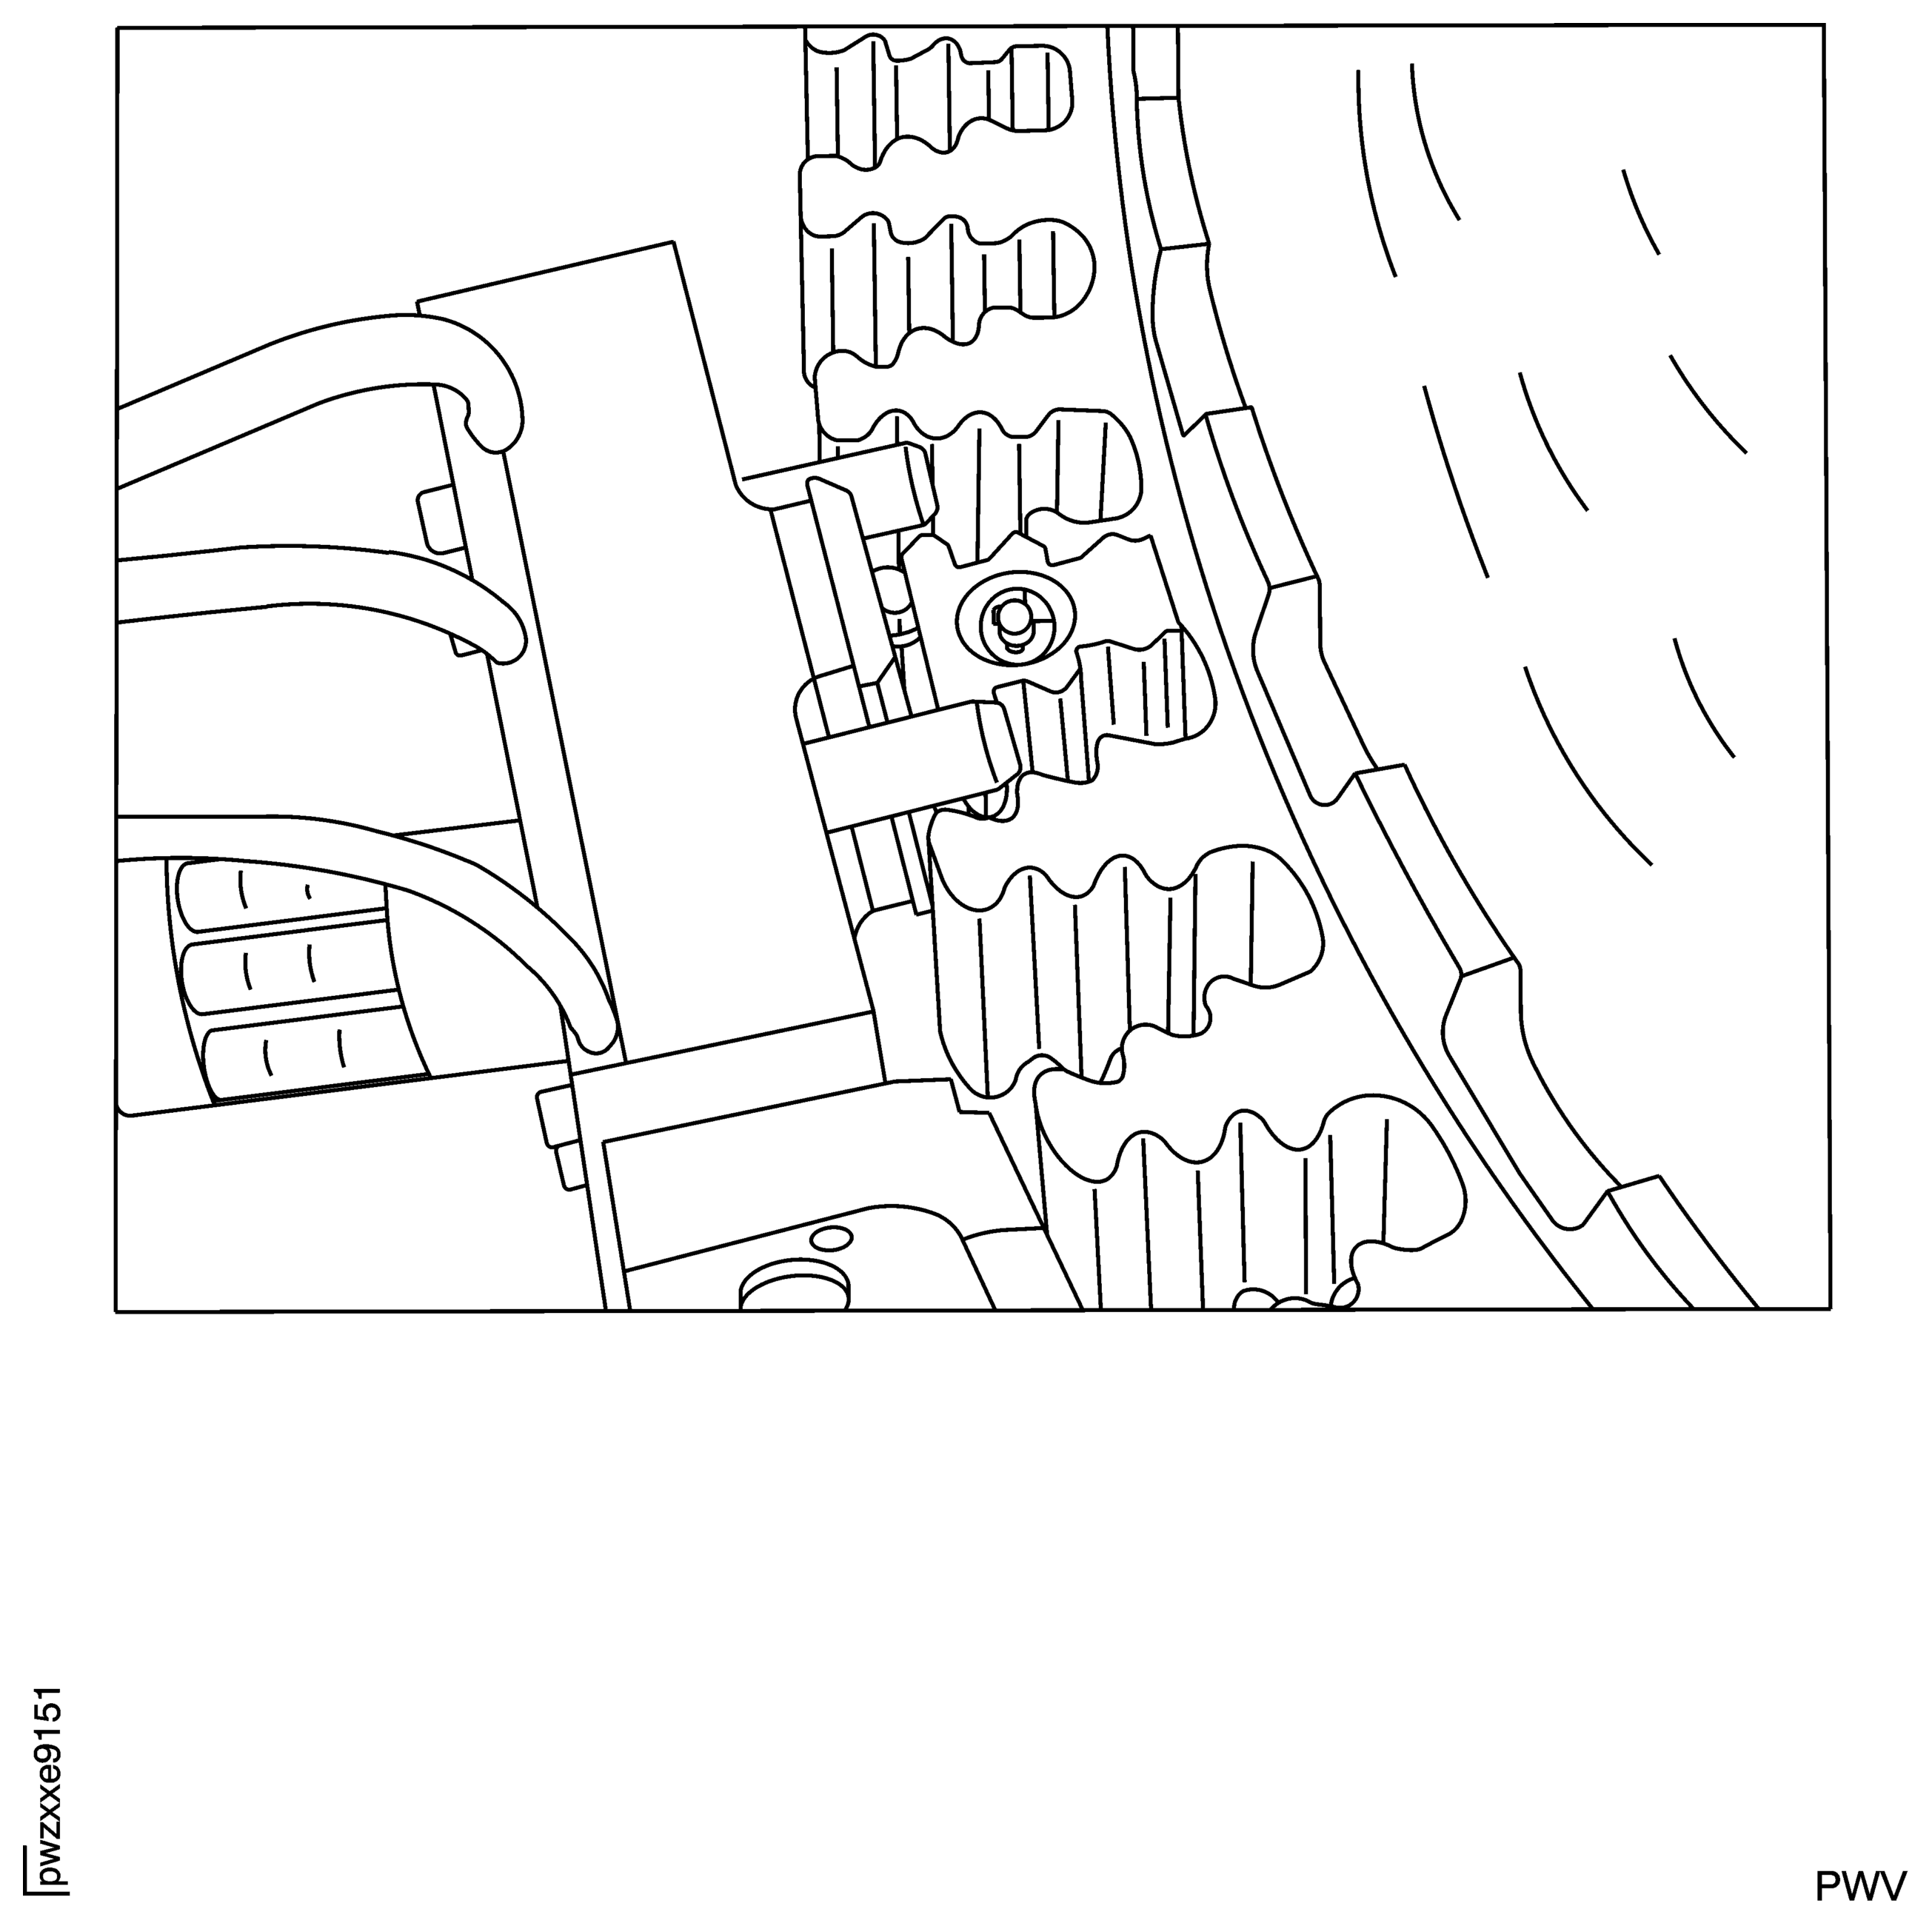
Figure: Probe Actuated in Blade Slot
Probe Actuated in Blade Slot
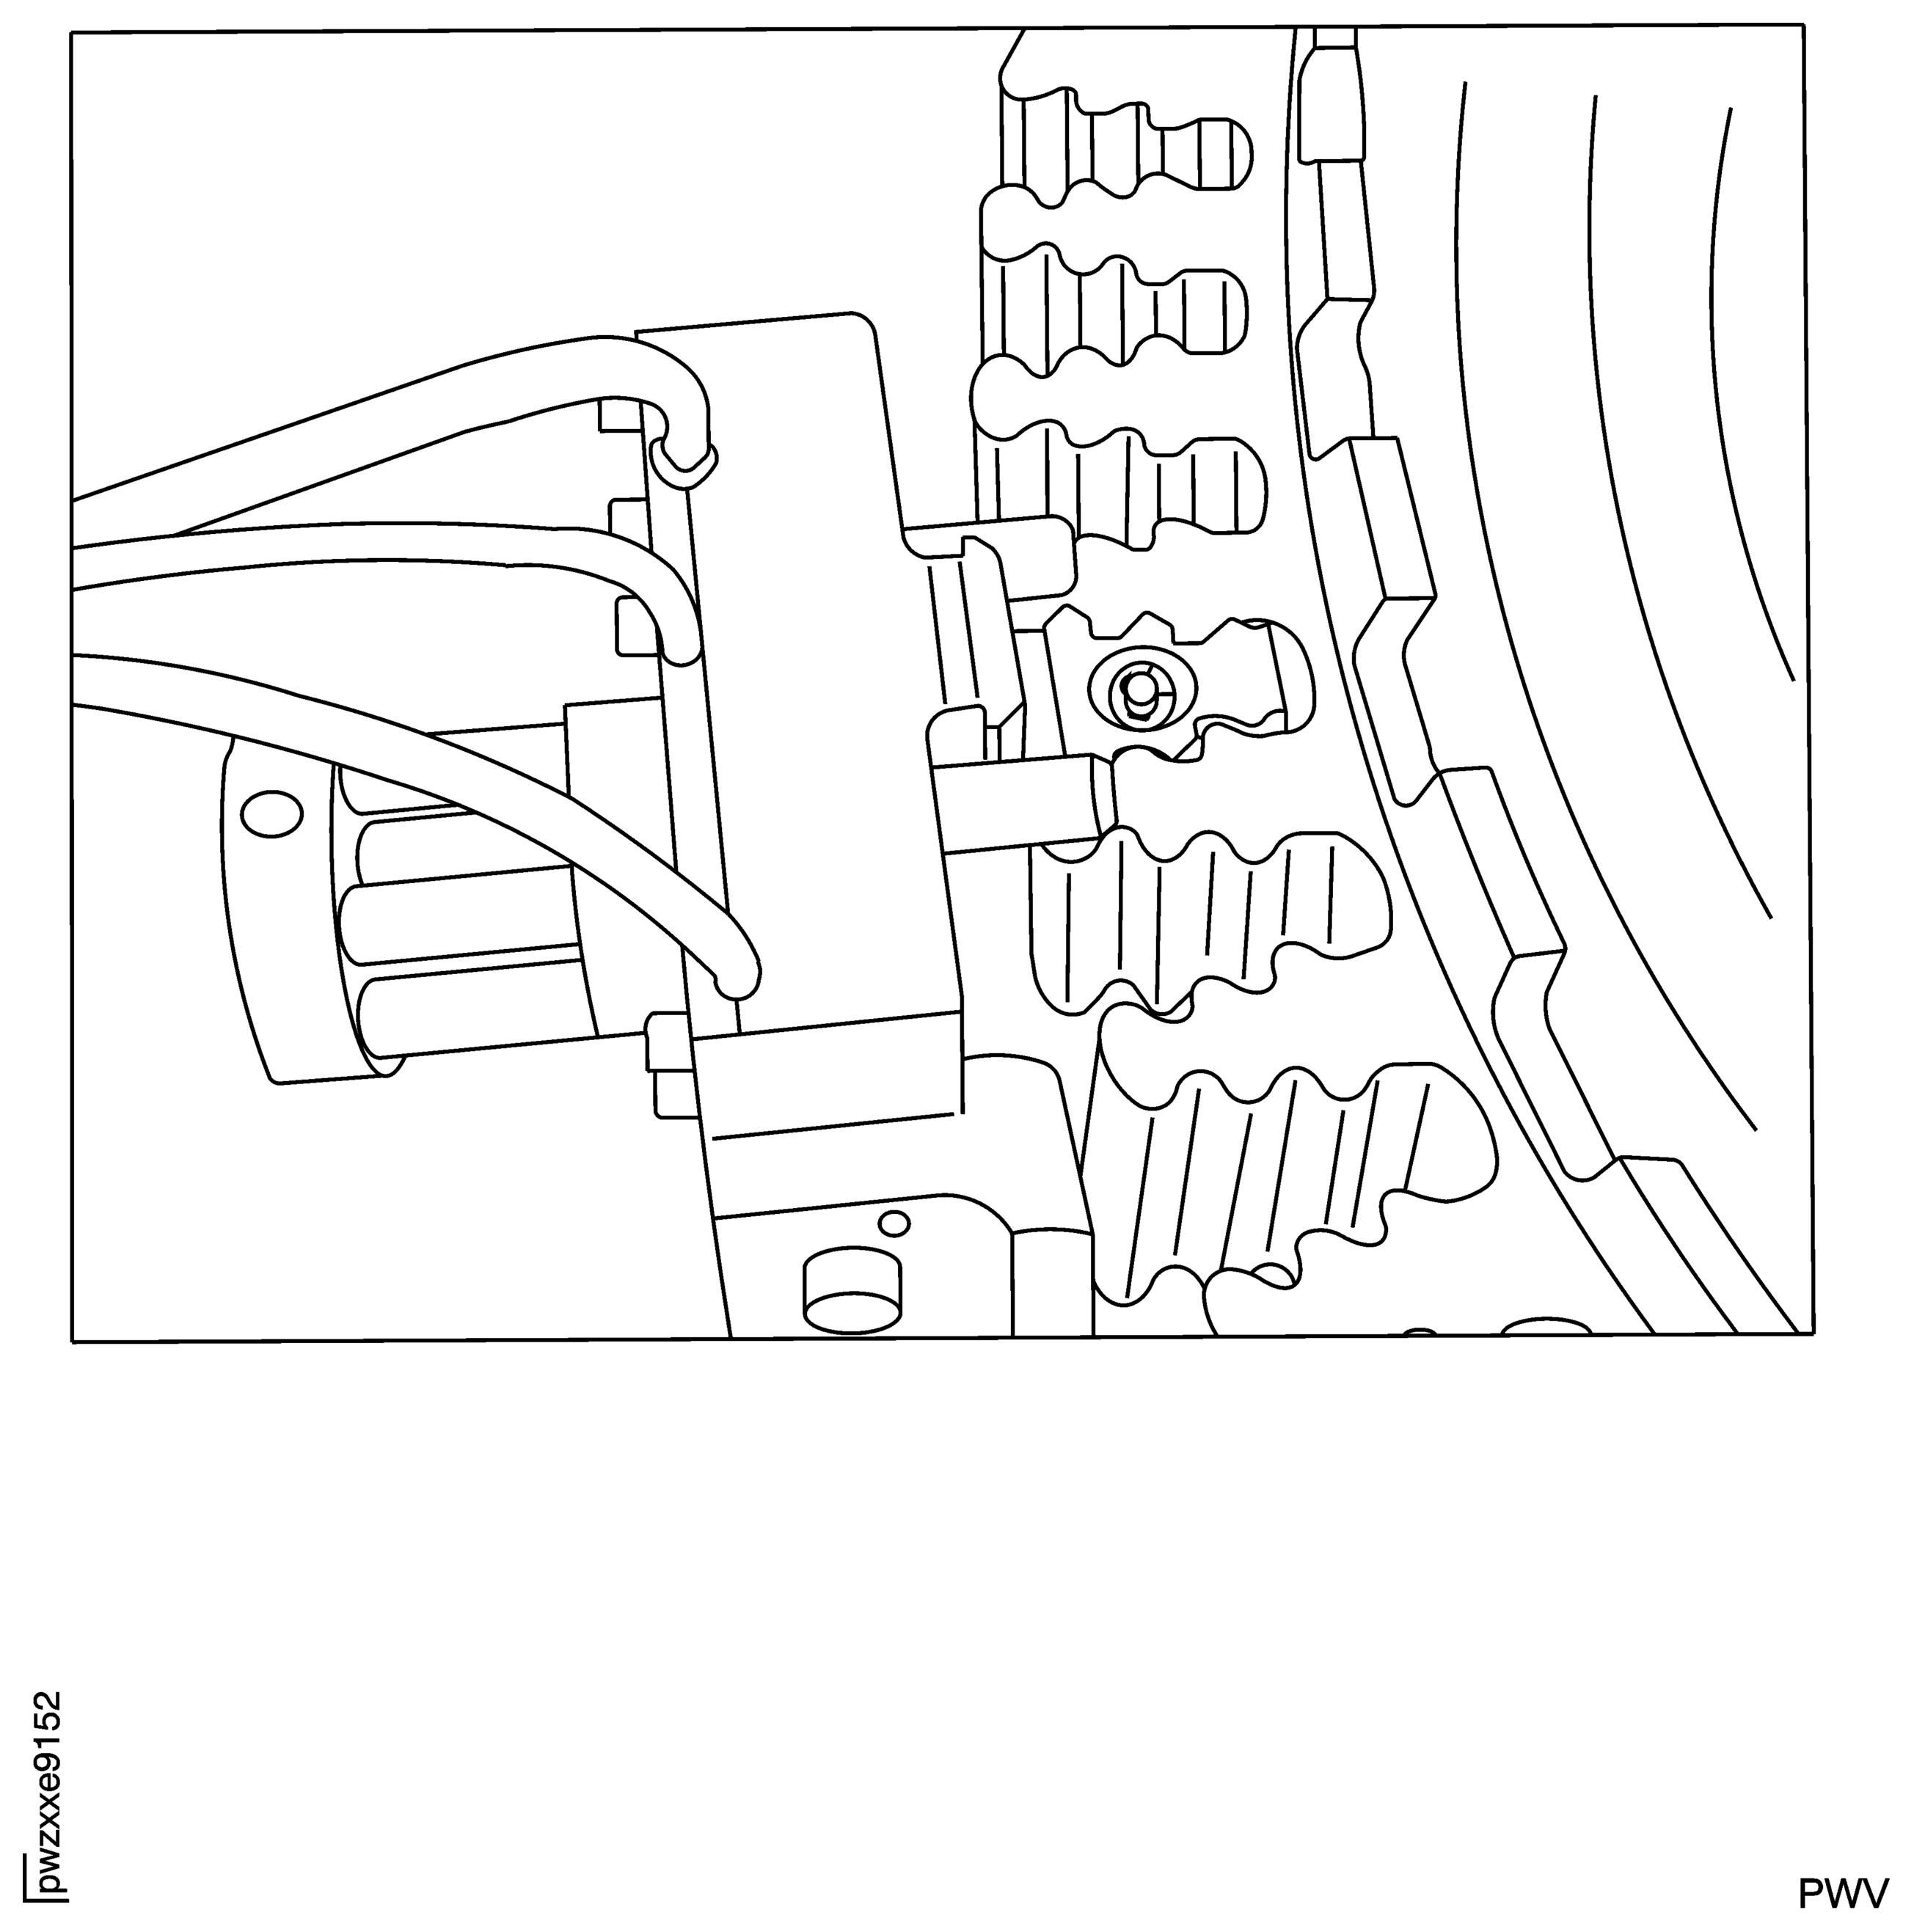
Figure: Start-up Screen for Inspection
Start-up Screen for Inspection
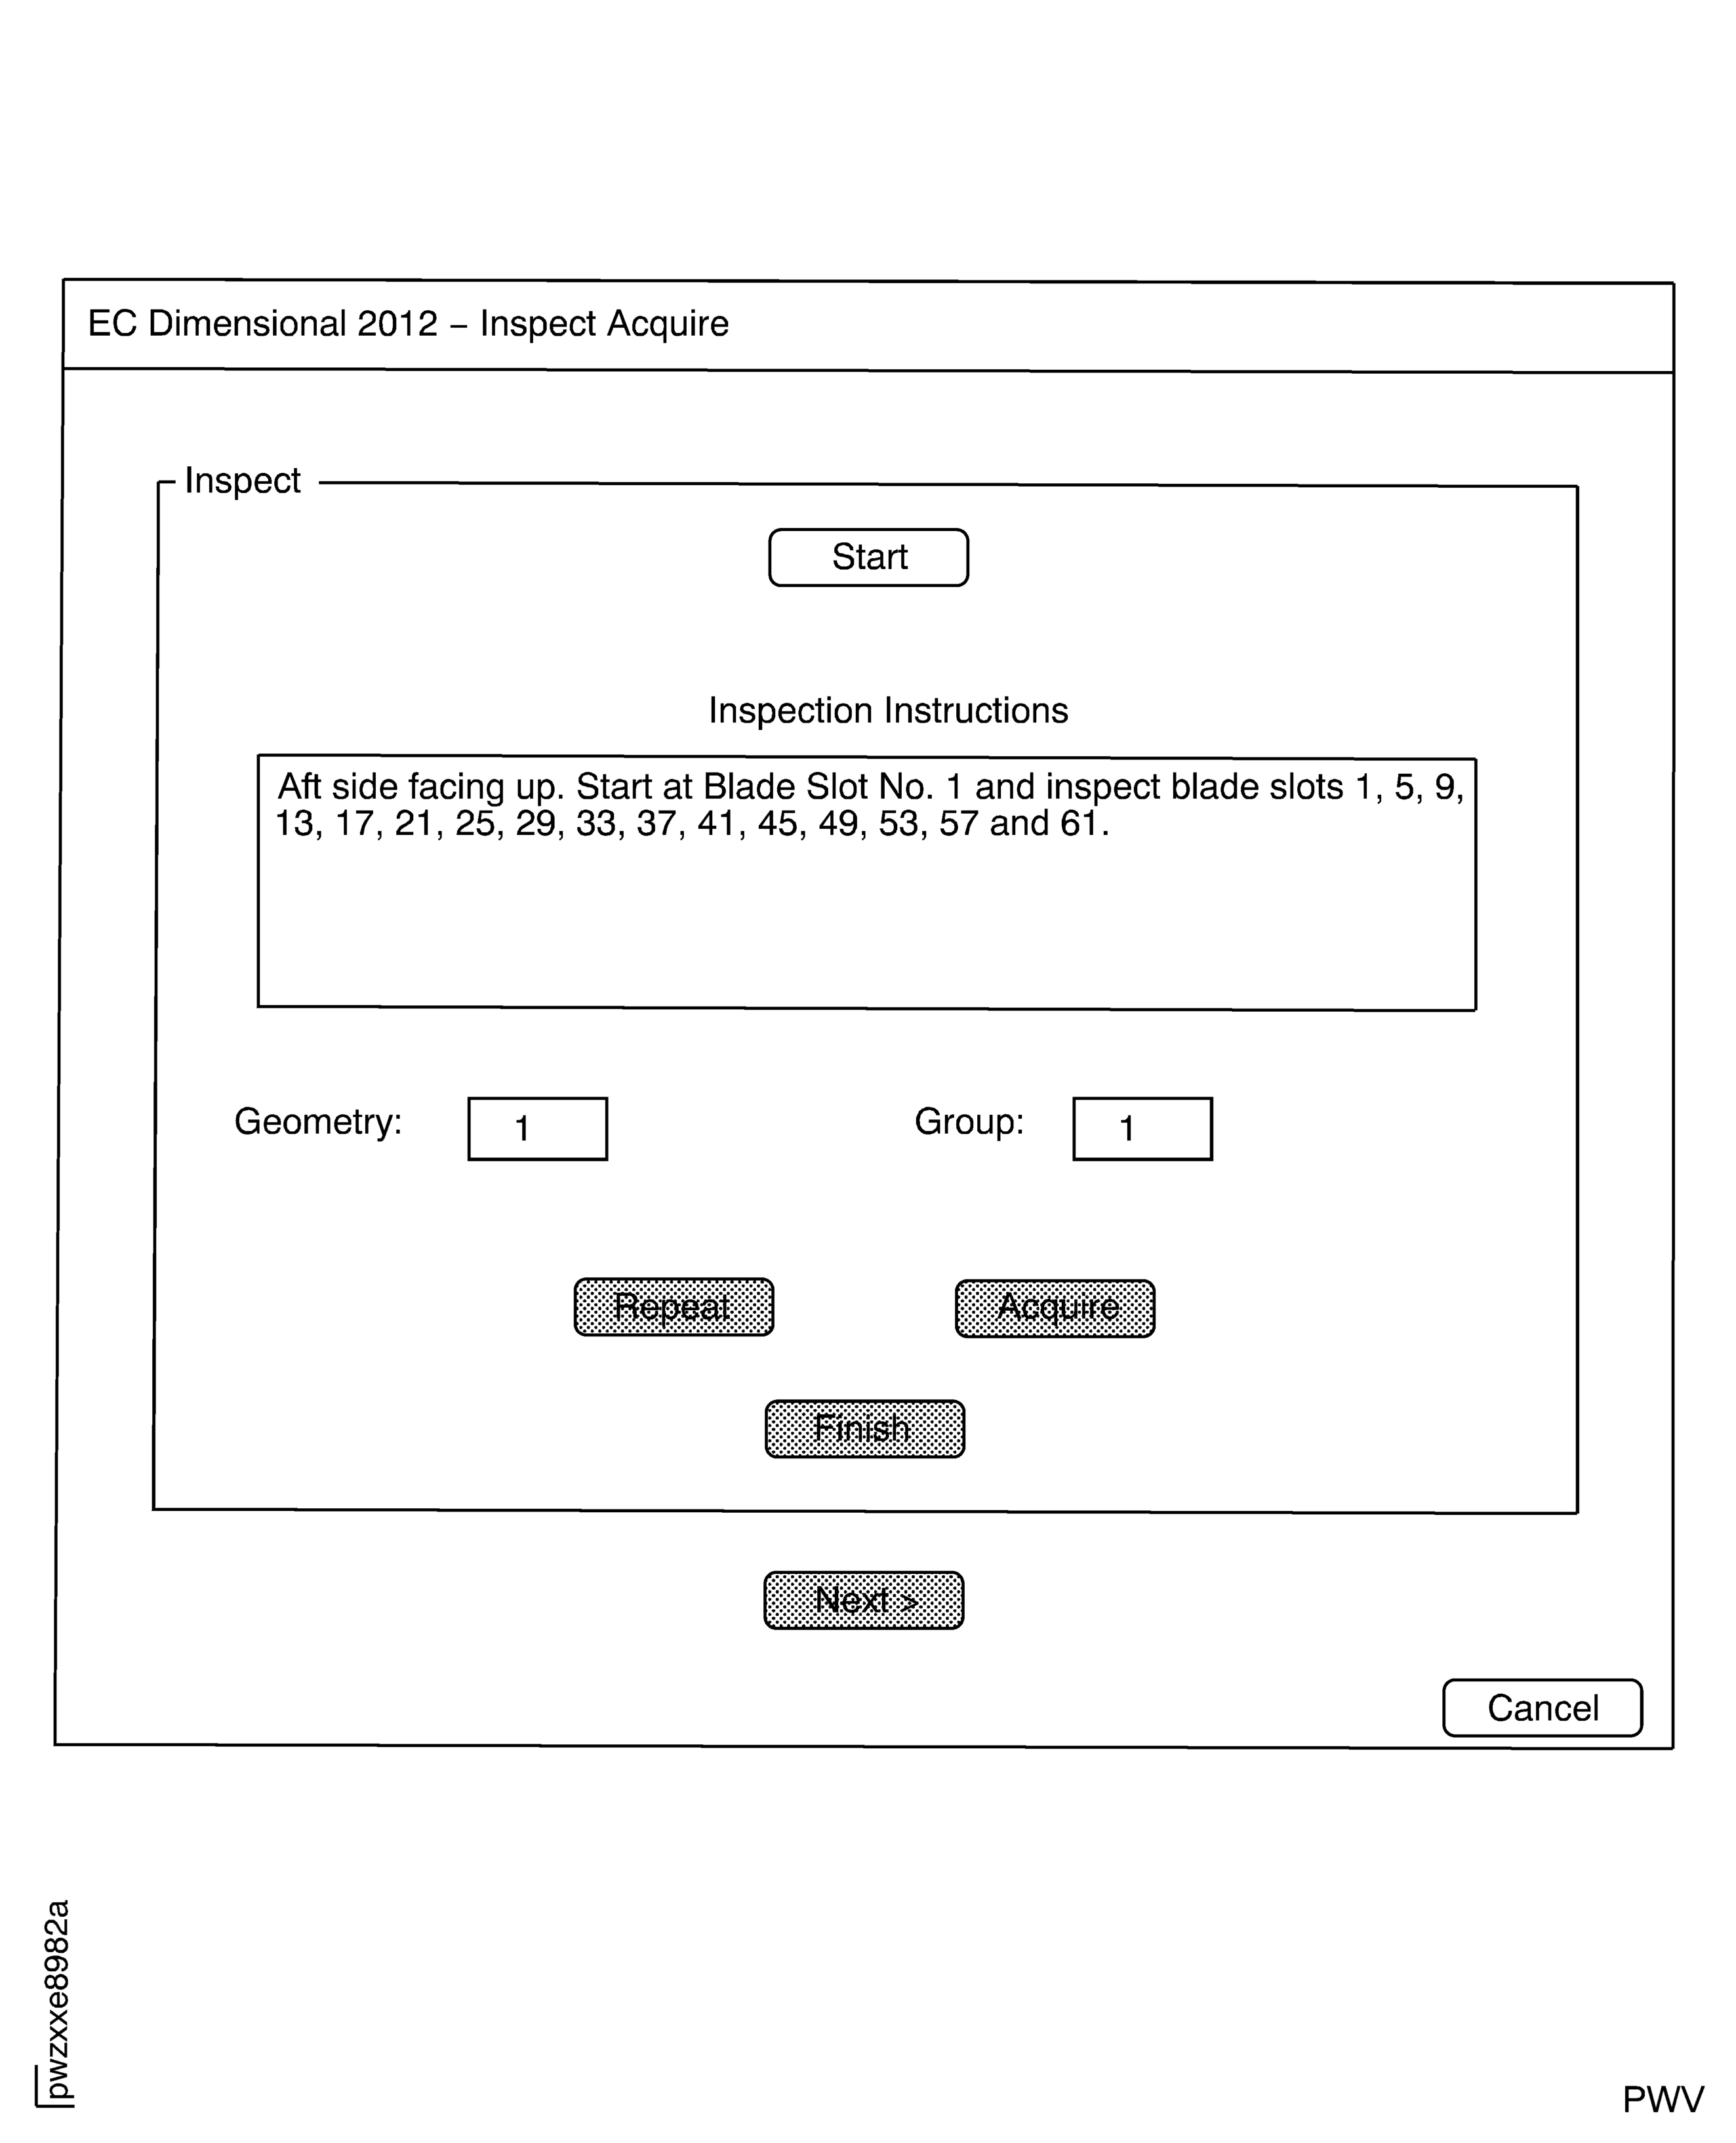
Figure: Inspection Screen on the Software
Inspection Screen on the Software
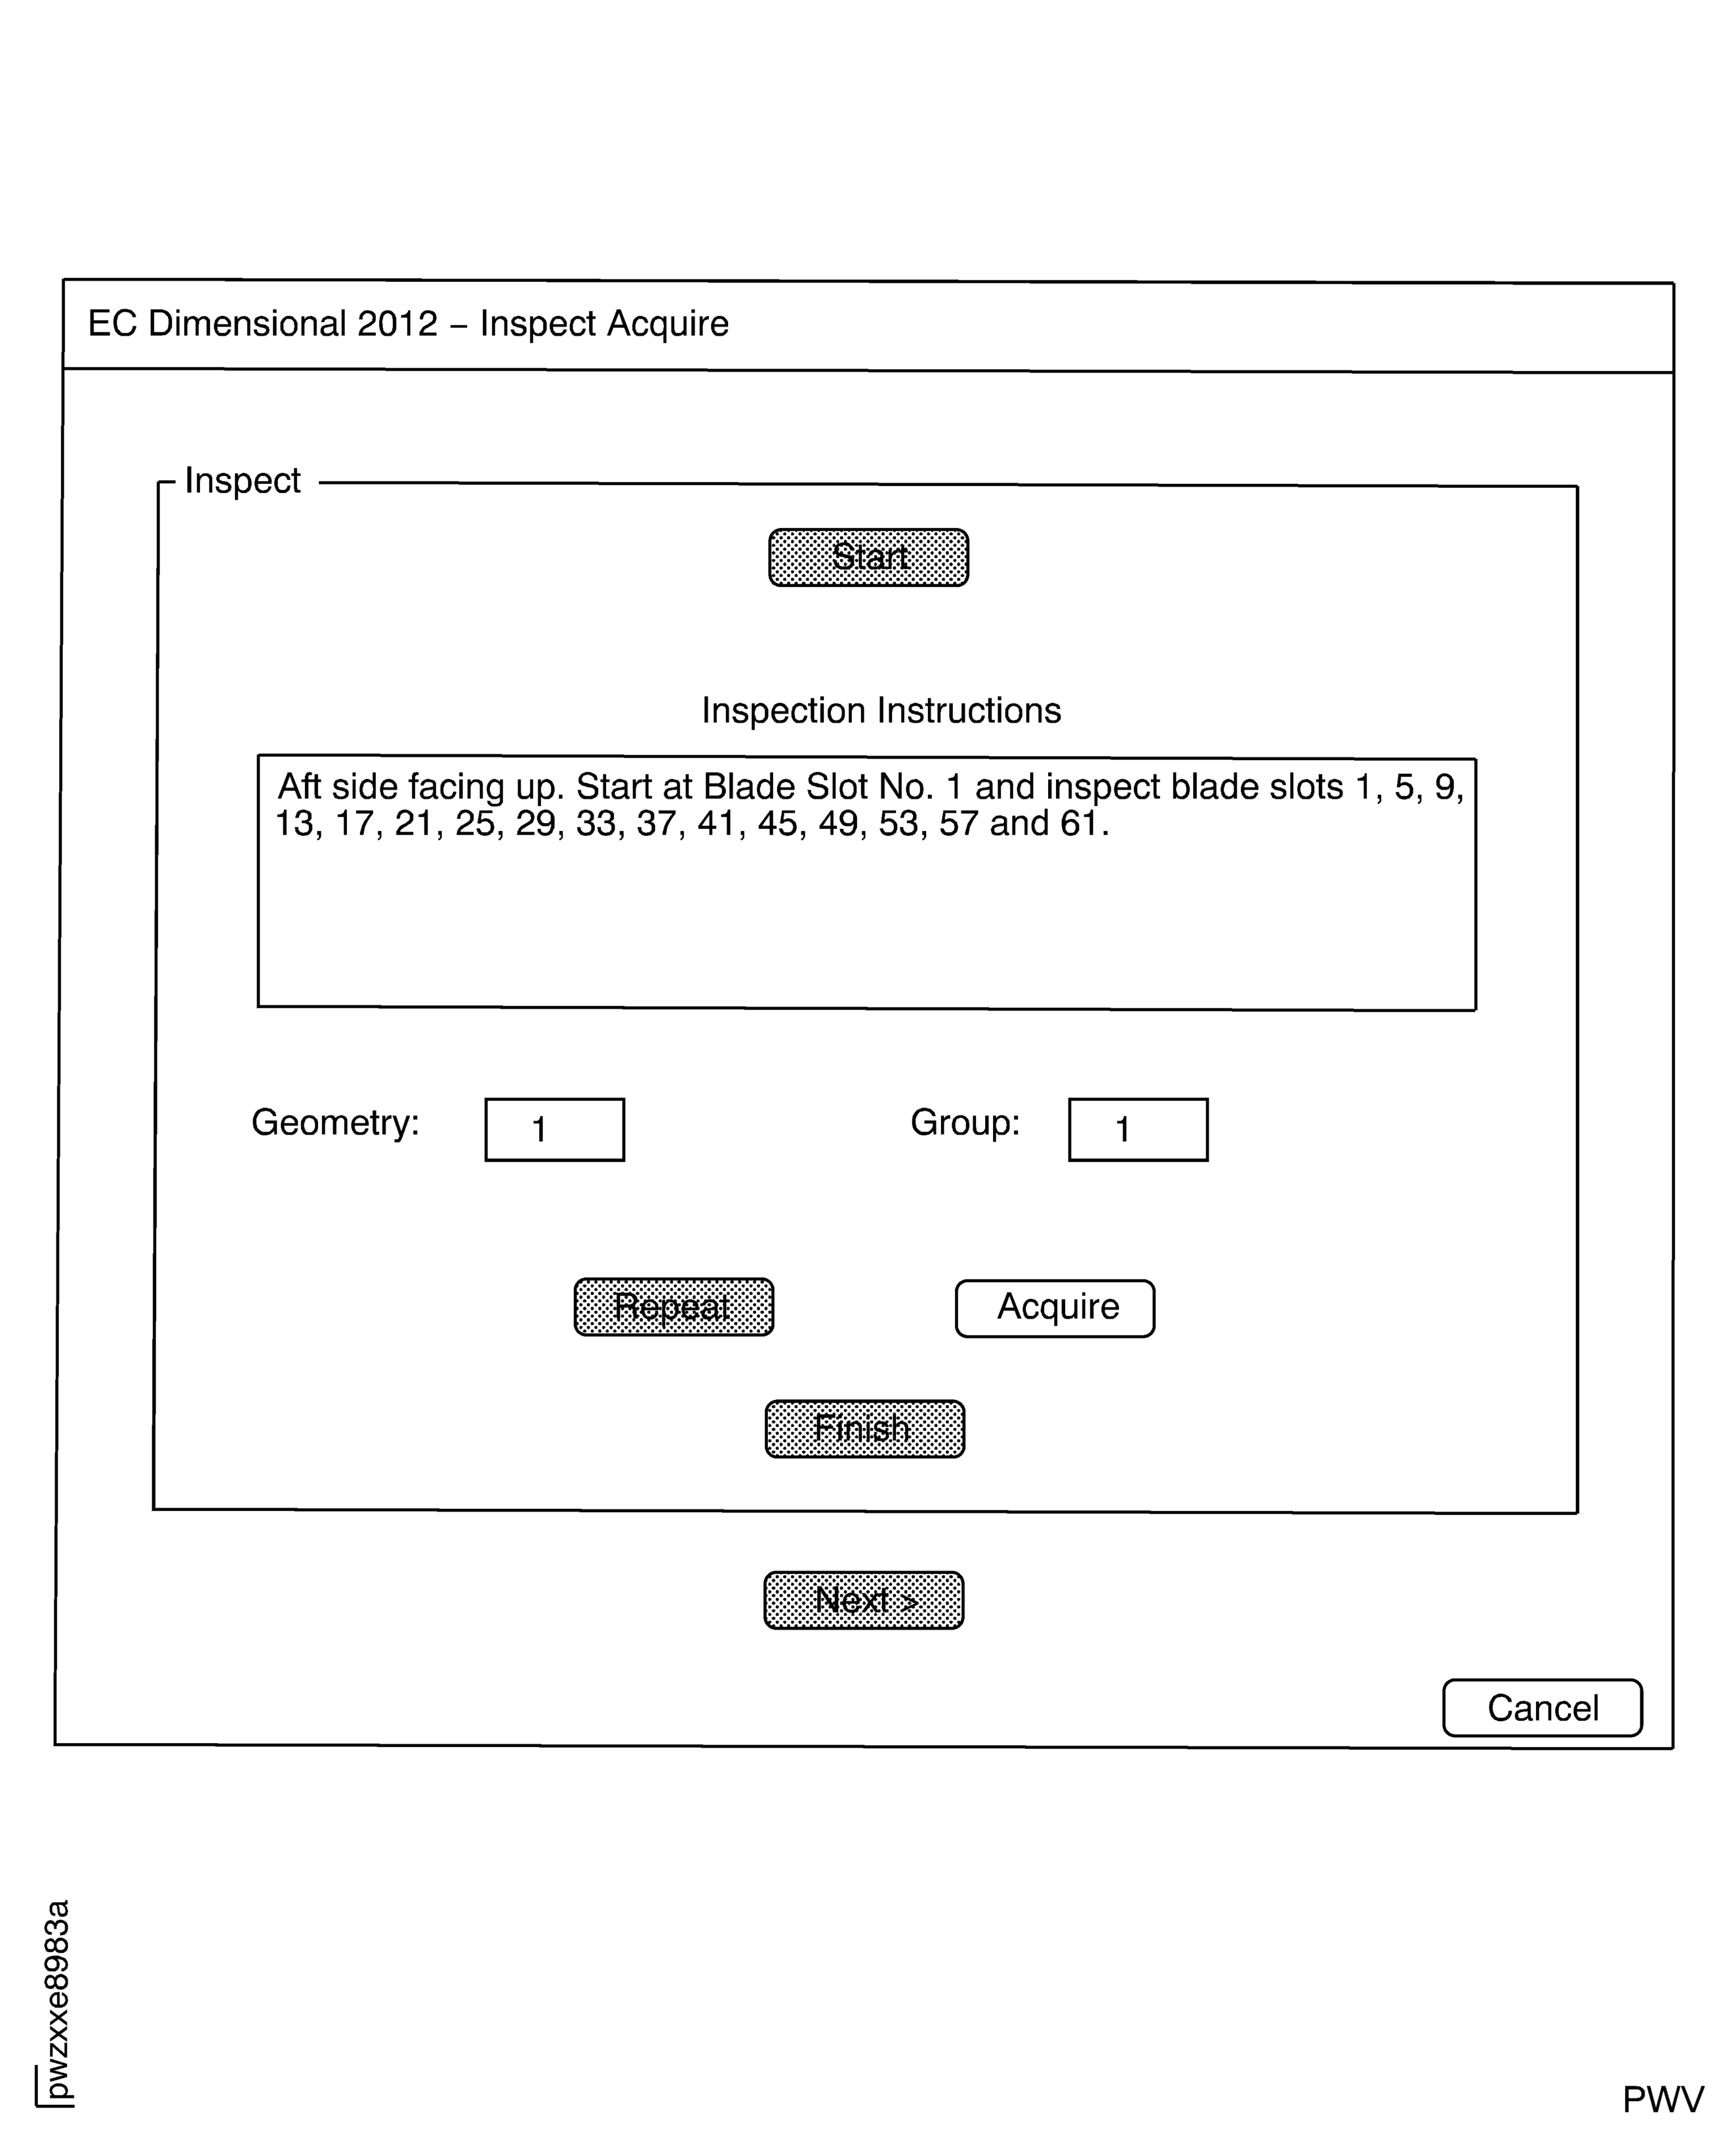
Figure: Start-up Screen for Post-Calibration
Start-up Screen for Post-Calibration
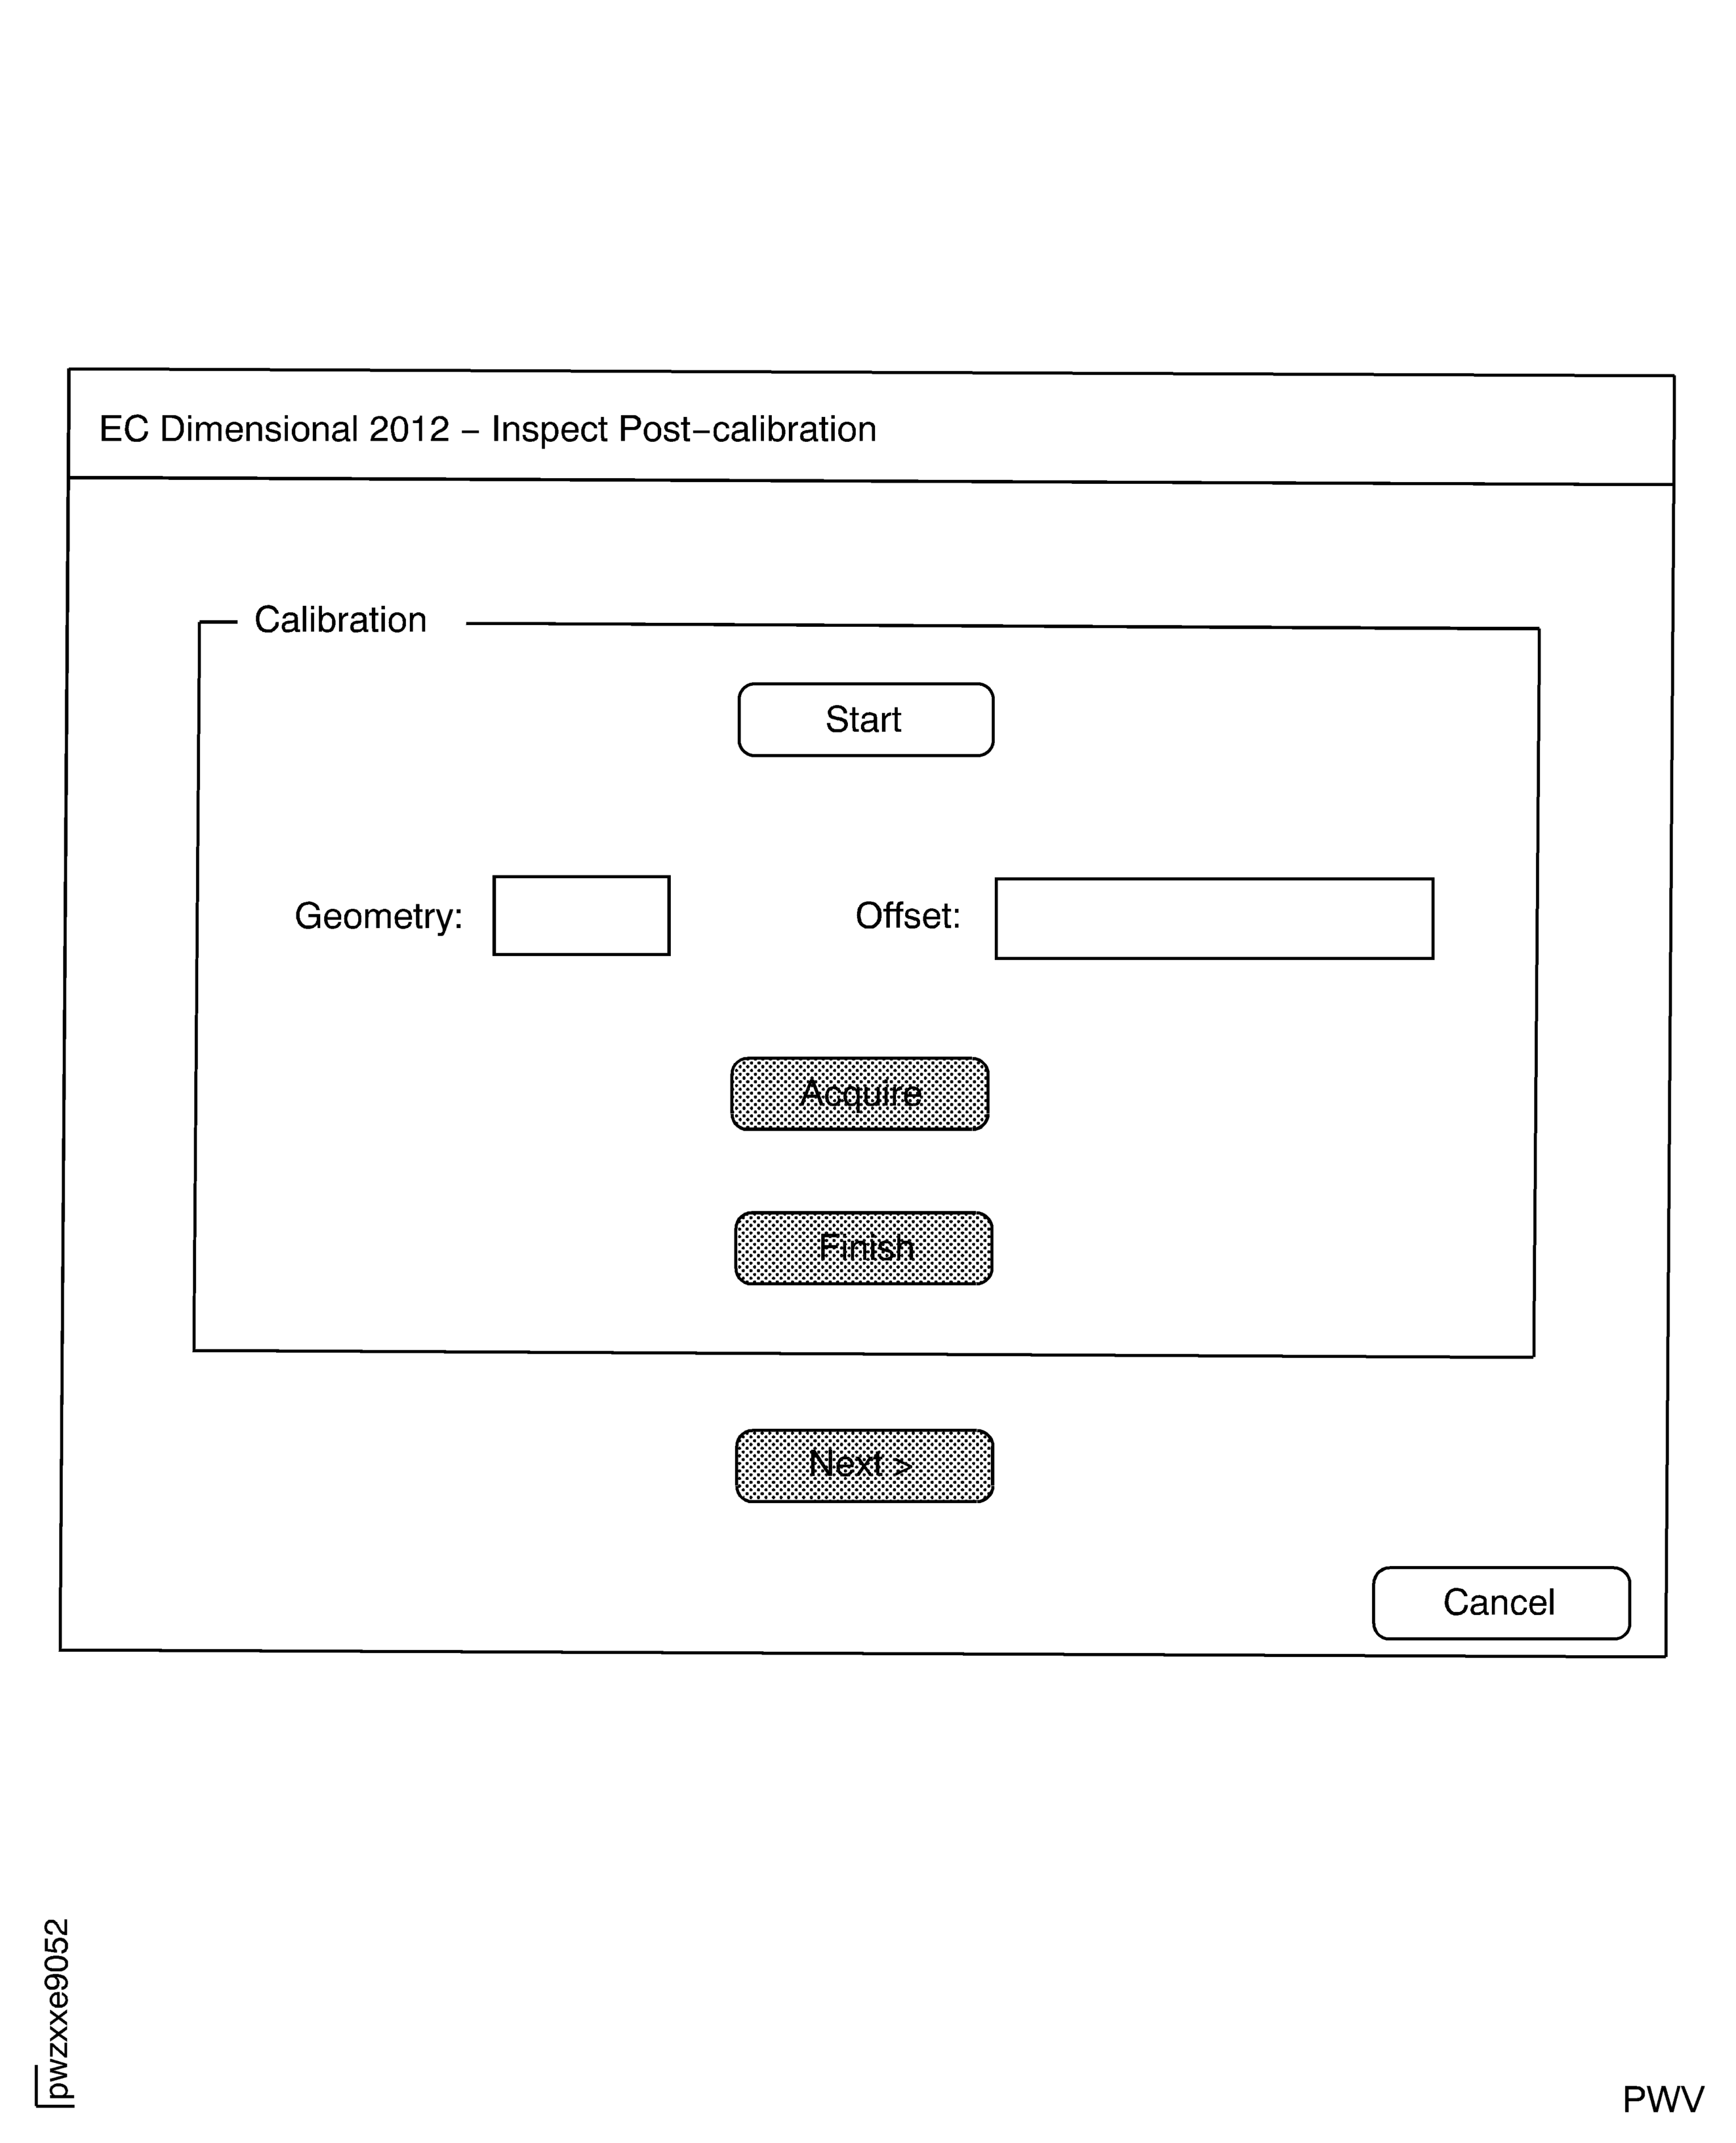
Figure: Display for 10 Mil Lift-off Post-Calibration
Display for 10 Mil Lift-off Post-Calibration
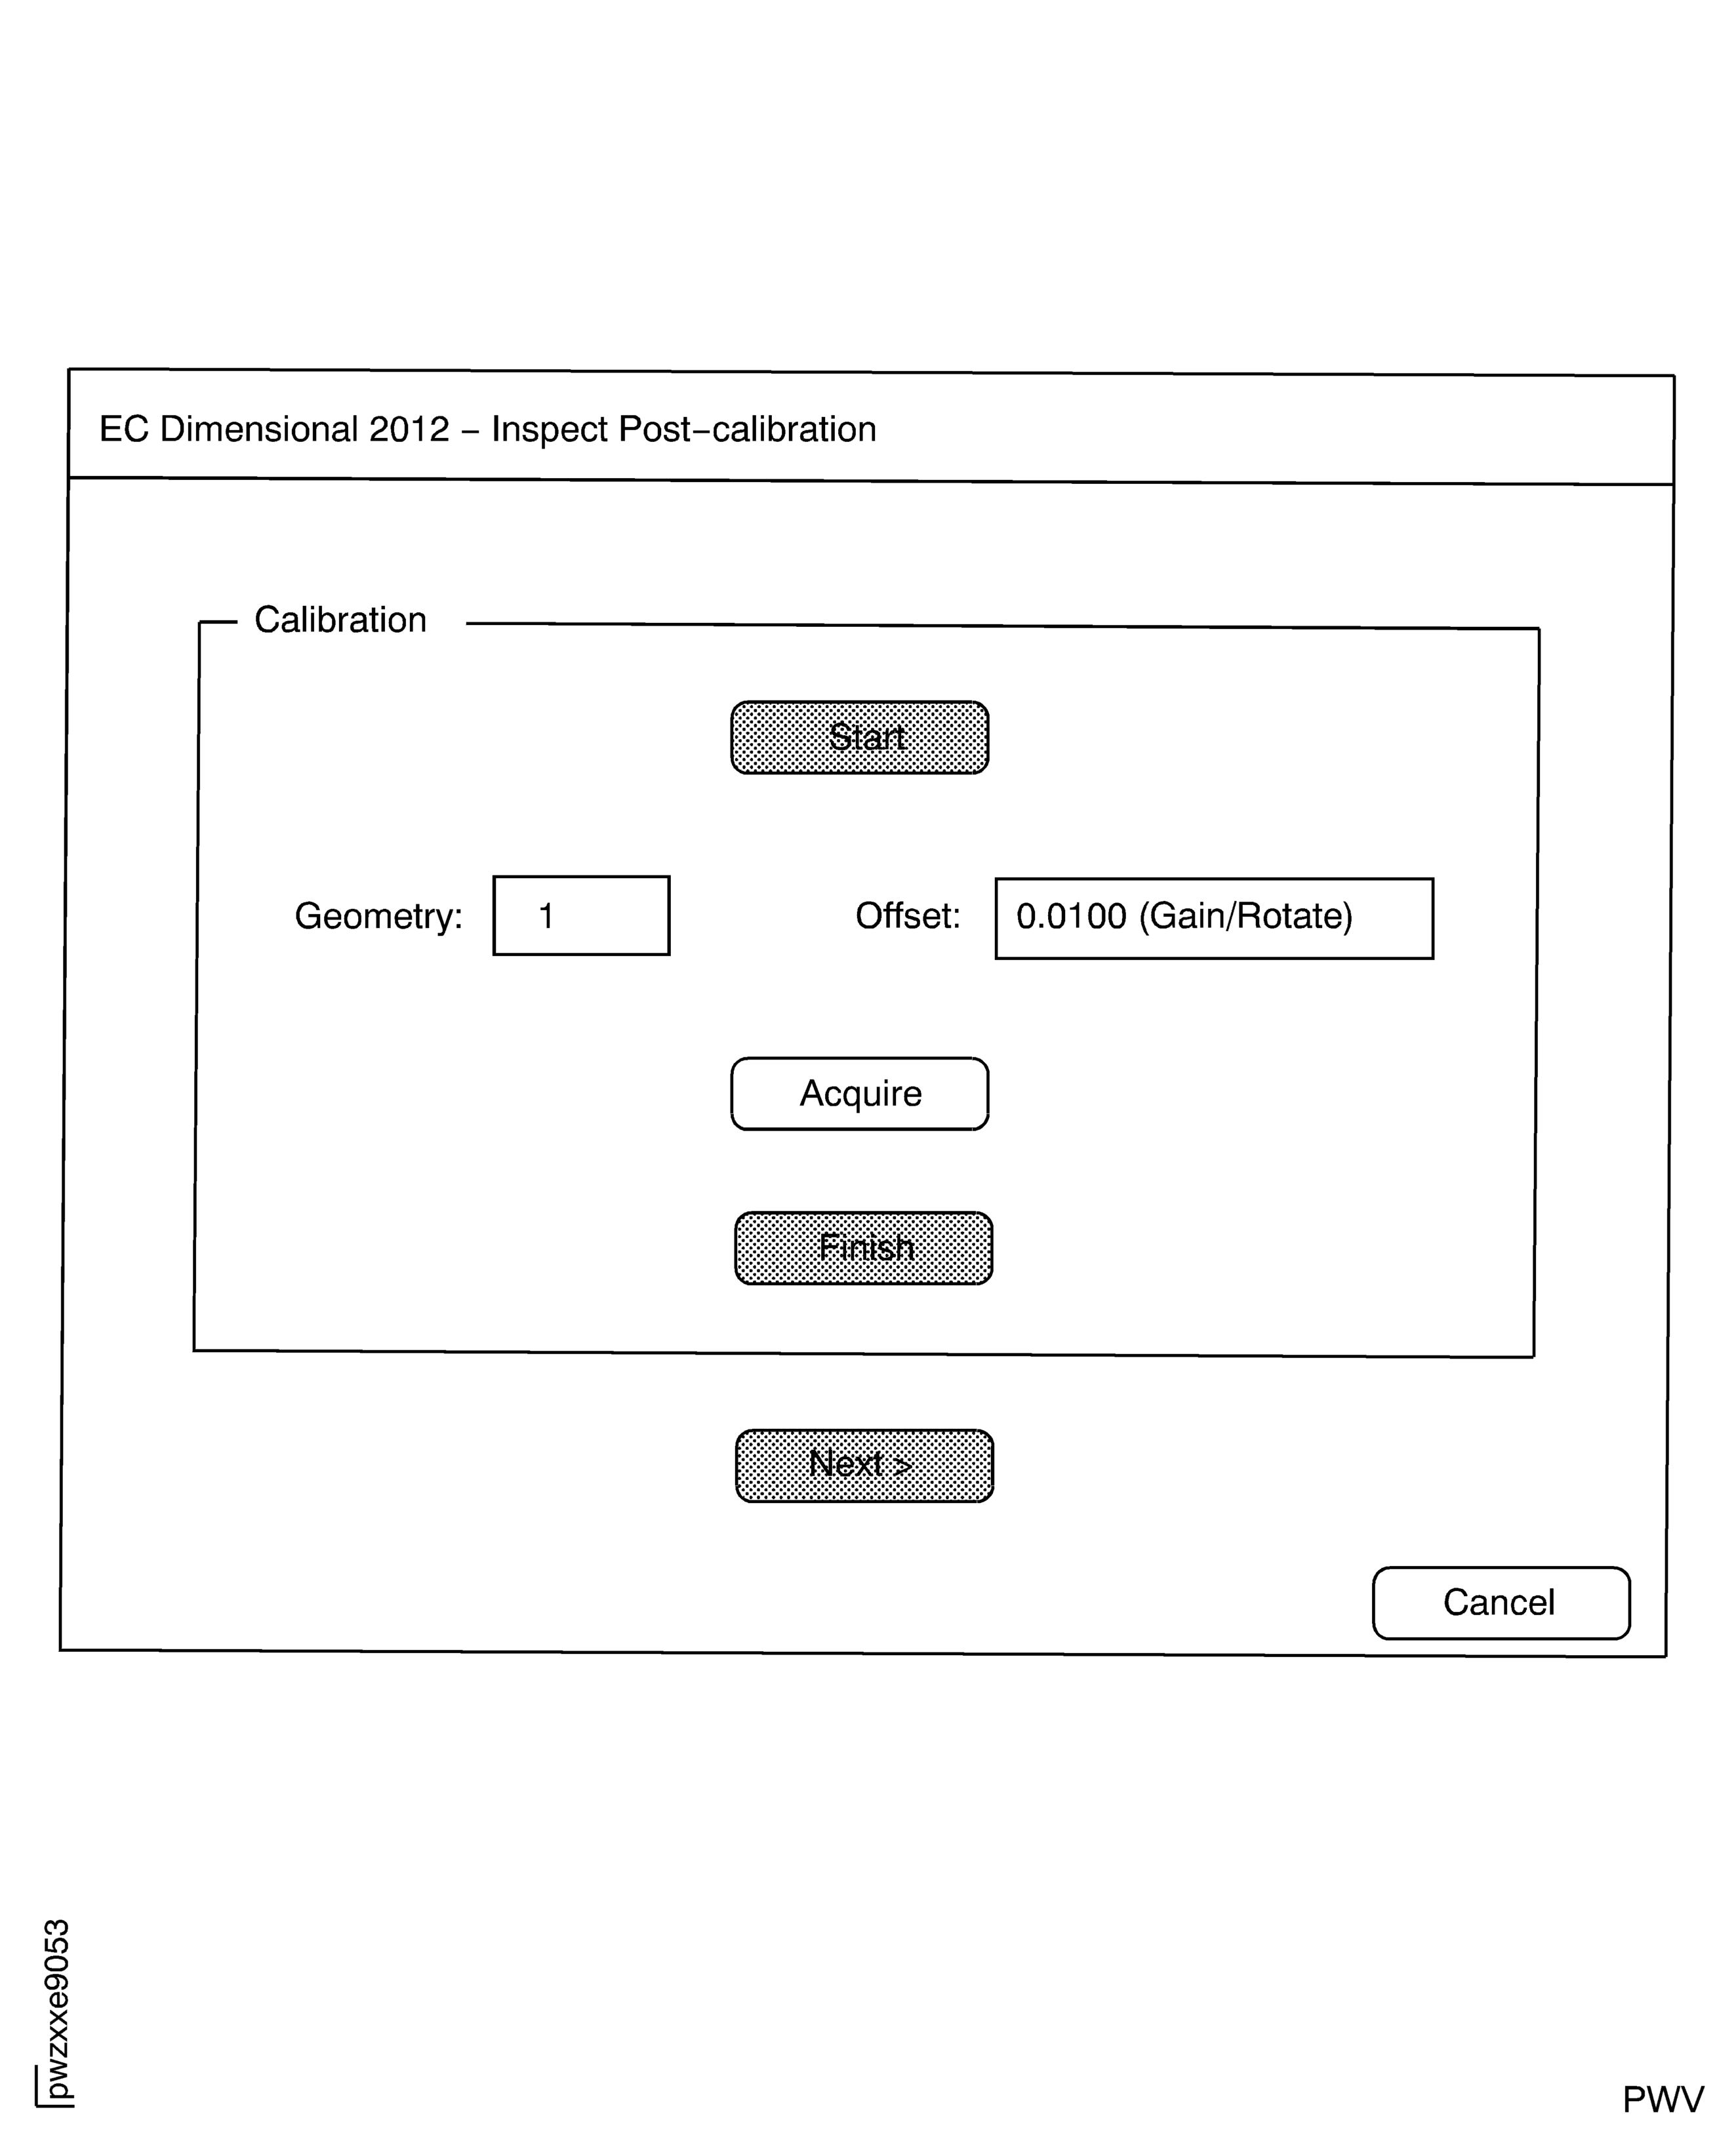
Figure: Example of Inspection Report for Failed Part Inspection
Example of Inspection Report for Failed Part Inspection

Figure: Example of Inspection Report for Acceptable Part Inspection
Example of Inspection Report for Acceptable Part Inspection
