Export Control
EAR Export Classification: Not subject to the EAR per 15 C.F.R. Chapter 1, Part 734.3(b)(3), except for the following Service Bulletins which are currently published as EAR Export Classification 9E991: SBE70-0992, SBE72-0483, SBE72-0580, SBE72-0588, SBE72-0640, SBE73-0209, SBE80-0024 and SBE80-0025.Copyright
© IAE International Aero Engines AG (2001, 2014 - 2021) The information contained in this document is the property of © IAE International Aero Engines AG and may not be copied or used for any purpose other than that for which it is supplied without the express written authority of © IAE International Aero Engines AG. (This does not preclude use by engine and aircraft operators for normal instructional, maintenance or overhaul purposes.).Applicability
All
Common Information
TASK 72-60-25-200-005 Fuel Pump Drive Bearings - Examine, Inspection-005
General
This TASK gives the procedure for the inspection of the roller bearing.
Fig/item numbers in parentheses in the procedure agree with those used in the IPC.
The policy that is necessary for inspection is given in SPM TASK 70-20-00-200-501.
All the parts must be cleaned before any part is examined. Refer to SPM TASK 70-10-00-100-501.
All parts must be visually examined for damage, corrosion and wear. Any defects that are not identified in the procedure must be referred to IAE.
The practices and processes referred to in the procedure by the TASK numbers are in SPM.
Reference
Refer to SPM for data on these items.
Definitions of Damage, TASK 70-02-02-350-501.
Record and Control of the Lives of Parts, TASK 70-05-00-220-501.
Inspection of Parts, TASK 70-20-00-200-501.
Some data on these items is contained in this TASK. For more data on these items refer to SPM.
Surface protection.
Preliminary Requirements
Pre-Conditions
NONESupport Equipment
| Name | Manufacturer | Part Number / Identification | Quantity | Remark |
|---|---|---|---|---|
| Workshop inspection equipment | LOCAL | Workshop inspection equipment | ||
| Bearing radial clearance gage | LOCAL | Bearing radial clearance gage |
Consumables, Materials and Expendables
NONESpares
NONESafety Requirements
NONEProcedure
Refer to SPM TASK 70-29-01-290-501.
Examine the roller bearing for general damages.
SUBTASK 72-60-25-220-101 Examine the Roller Bearing (01-180)
Refer to Figure.
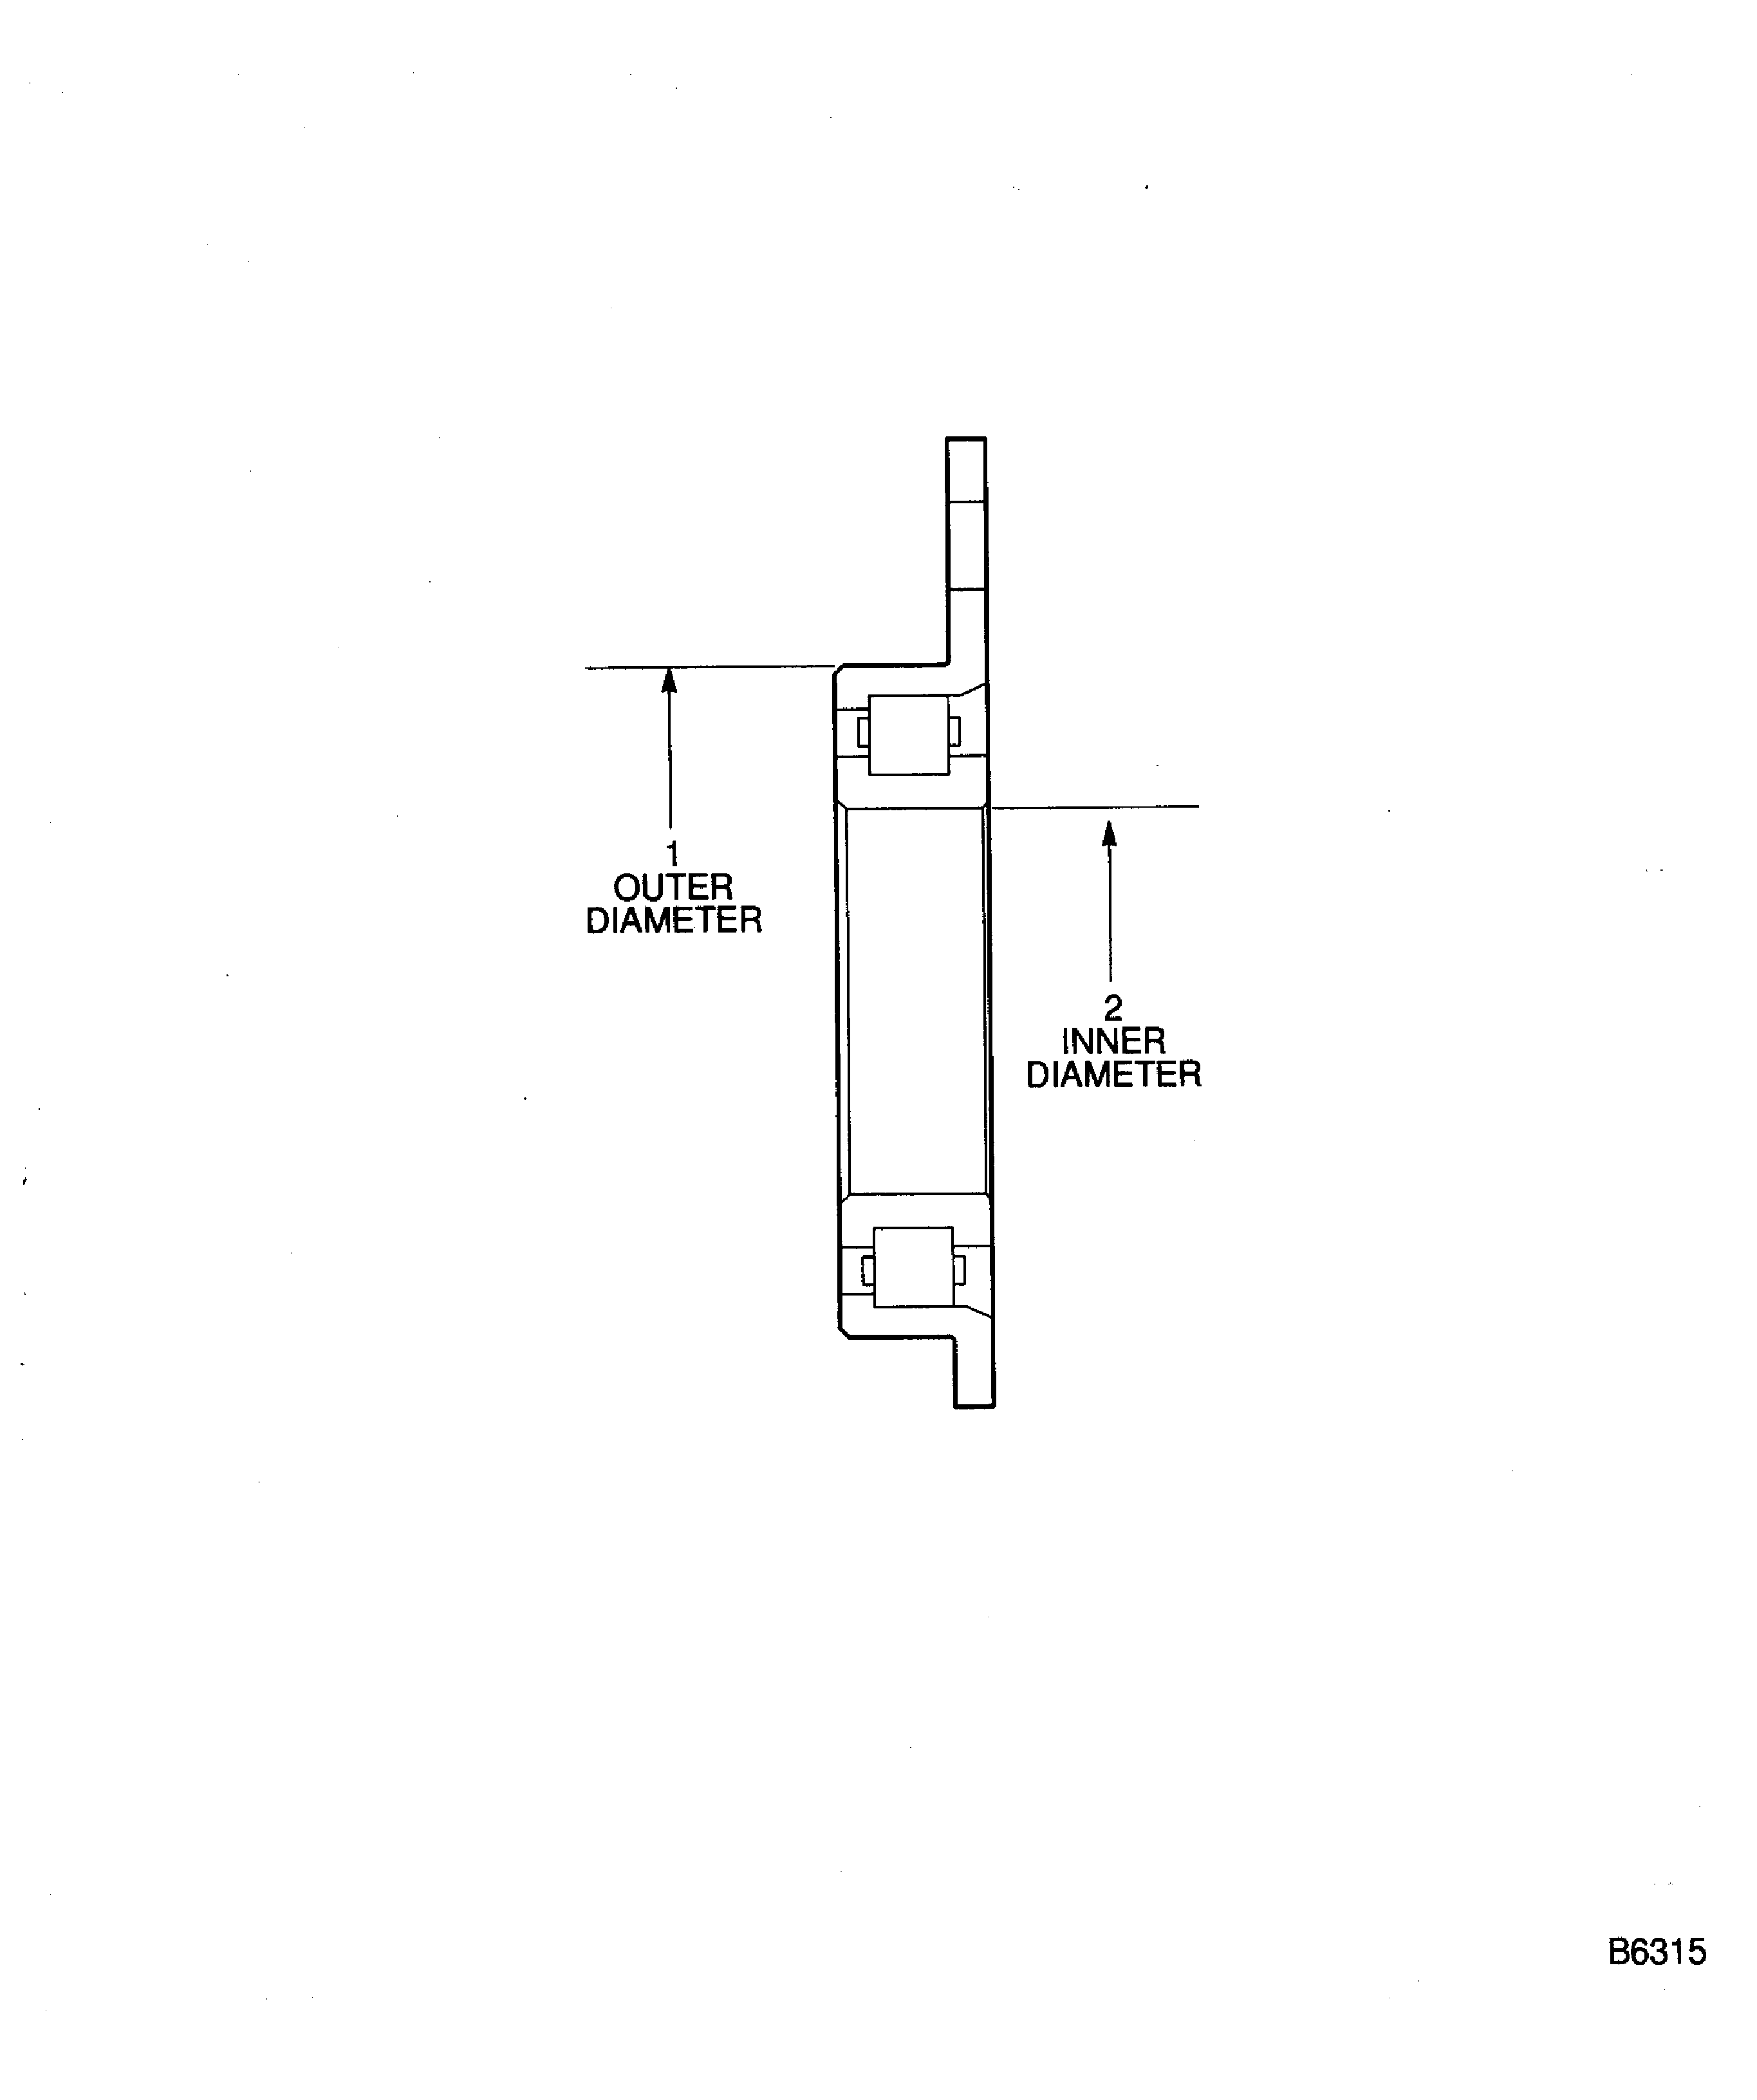
SUBTASK 72-60-25-220-102 Examine the Roller Bearing (01-180) Outer Diameter at Location 1
Refer to Figure.
SUBTASK 72-60-25-220-103 Examine the Roller Bearing (01-180) Inner Diameter at Location 2
Refer to Figure.
SUBTASK 72-60-25-220-104 Examine the Roller Bearing (01-180) Inner Radial Clearance
Refer to SPM TASK 70-53-01-620-501.
Preserve the bearing.
SUBTASK 72-60-25-620-052 Preserve the Roller Bearing (01-180)
Figure: Locations - Roller Bearing
Locations - Roller Bearing

