Export Control
EAR Export Classification: Not subject to the EAR per 15 C.F.R. Chapter 1, Part 734.3(b)(3), except for the following Service Bulletins which are currently published as EAR Export Classification 9E991: SBE70-0992, SBE72-0483, SBE72-0580, SBE72-0588, SBE72-0640, SBE73-0209, SBE80-0024 and SBE80-0025.Copyright
© IAE International Aero Engines AG (2001, 2014 - 2021) The information contained in this document is the property of © IAE International Aero Engines AG and may not be copied or used for any purpose other than that for which it is supplied without the express written authority of © IAE International Aero Engines AG. (This does not preclude use by engine and aircraft operators for normal instructional, maintenance or overhaul purposes.).Applicability
All
Common Information
TASK 79-22-41-200-404-A00 Oil Scavenge Pump - Related Parts - Examine The Spacer Assembly, Inspection-004
General
This TASK gives the procedure for the inspection of the spacer assembly. For the other parts of the oil scavenge pump assembly, refer to Inspection-000 TASK 79-22-41-200-400.
Fig/item numbers in parentheses in the procedure agree with those used in the IPC.
The policy that is necessary for inspection is given in SPM TASK 70-20-01-200-501.
All parts must be visually examined for damage, corrosion and wear. Any defects that are not identified in the procedure must be referred to IAE.
Do not discard any part until you are sure there are no repairs available. Refer to the instructions in repair before a discarded part is used again or oversize parts are installed.
Parts which should be discarded can be held although no repair is available. The repair of a discarded part could be shown to be necessary at a later date.
All parts must be examined to make sure that all the repairs have been completed satisfactorily.
Do dimensional inspections only if the visual inspection or some other condition makes it necessary.
The practices and processes referred to in the procedure by the TASK number are in the SPM.
References
Refer to the SPM for data on these items.
Definitions of Damage, SPM TASK 70-02-02-350-501.
Record and Control of the Lives of Parts, SPM TASK 70-05-00-220-501.
Inspection of Parts, SPM TASK 70-20-00-200-501.
Some data on these items is contained in this TASK. For more data on these items refer to the SPM.
Method of Testing for Crack Indications
Chemical Processes
Surface Protection
Preliminary Requirements
Pre-Conditions
NONESupport Equipment
| Name | Manufacturer | Part Number / Identification | Quantity | Remark |
|---|---|---|---|---|
| Workshop inspection equipment | LOCAL | Workshop inspection equipment |
Consumables, Materials and Expendables
NONESpares
NONESafety Requirements
NONEProcedure
Clean the part. Refer to Cleaning-000 TASK 79-22-41-100-400.
Reject
Cracked
Reject
Trough porosity
Spacer Assembly. Refer to SPM TASK 70-23-01-230-501.
Do the test for cracks on the part that is given below.
SUBTASK 79-22-41-230-166 Do a Crack Test on the Spacer Assembly (Fluorescent Penetrant)
Reject
Evident cracks
SUBTASK 79-22-41-220-192 Examine the Spacer Assembly All Areas
Repair, VRS5340 (Repair-007) TASK 79-22-41-300-007.
More than Step.
Surface finish
Accept
Pits less than 0.01 in. (0.2 mm) are acceptable providing they do not create a by-pass between different pressure areas.
Reject
Pits having the appearances of undermining, which might cause the loss of metal in sizable pieces.
Pitting
SUBTASK 79-22-41-220-194 Examine the Spacer Assembly Surfaces
Accept
Between 0.9844 and 0.9841 in. (25.005 and 24.995 mm).
Reject
Less than 0.9841 in. (24.995 mm).
Thickness
SUBTASK 79-22-41-220-197 Examine the Spacer Assembly Thickness
Repair, VRS5341 (Repair-008) TASK 79-22-41-300-008.
Light corrosion or pitting
SUBTASK 79-22-41-220-198 Examine the Spacer Assembly Protective Finish
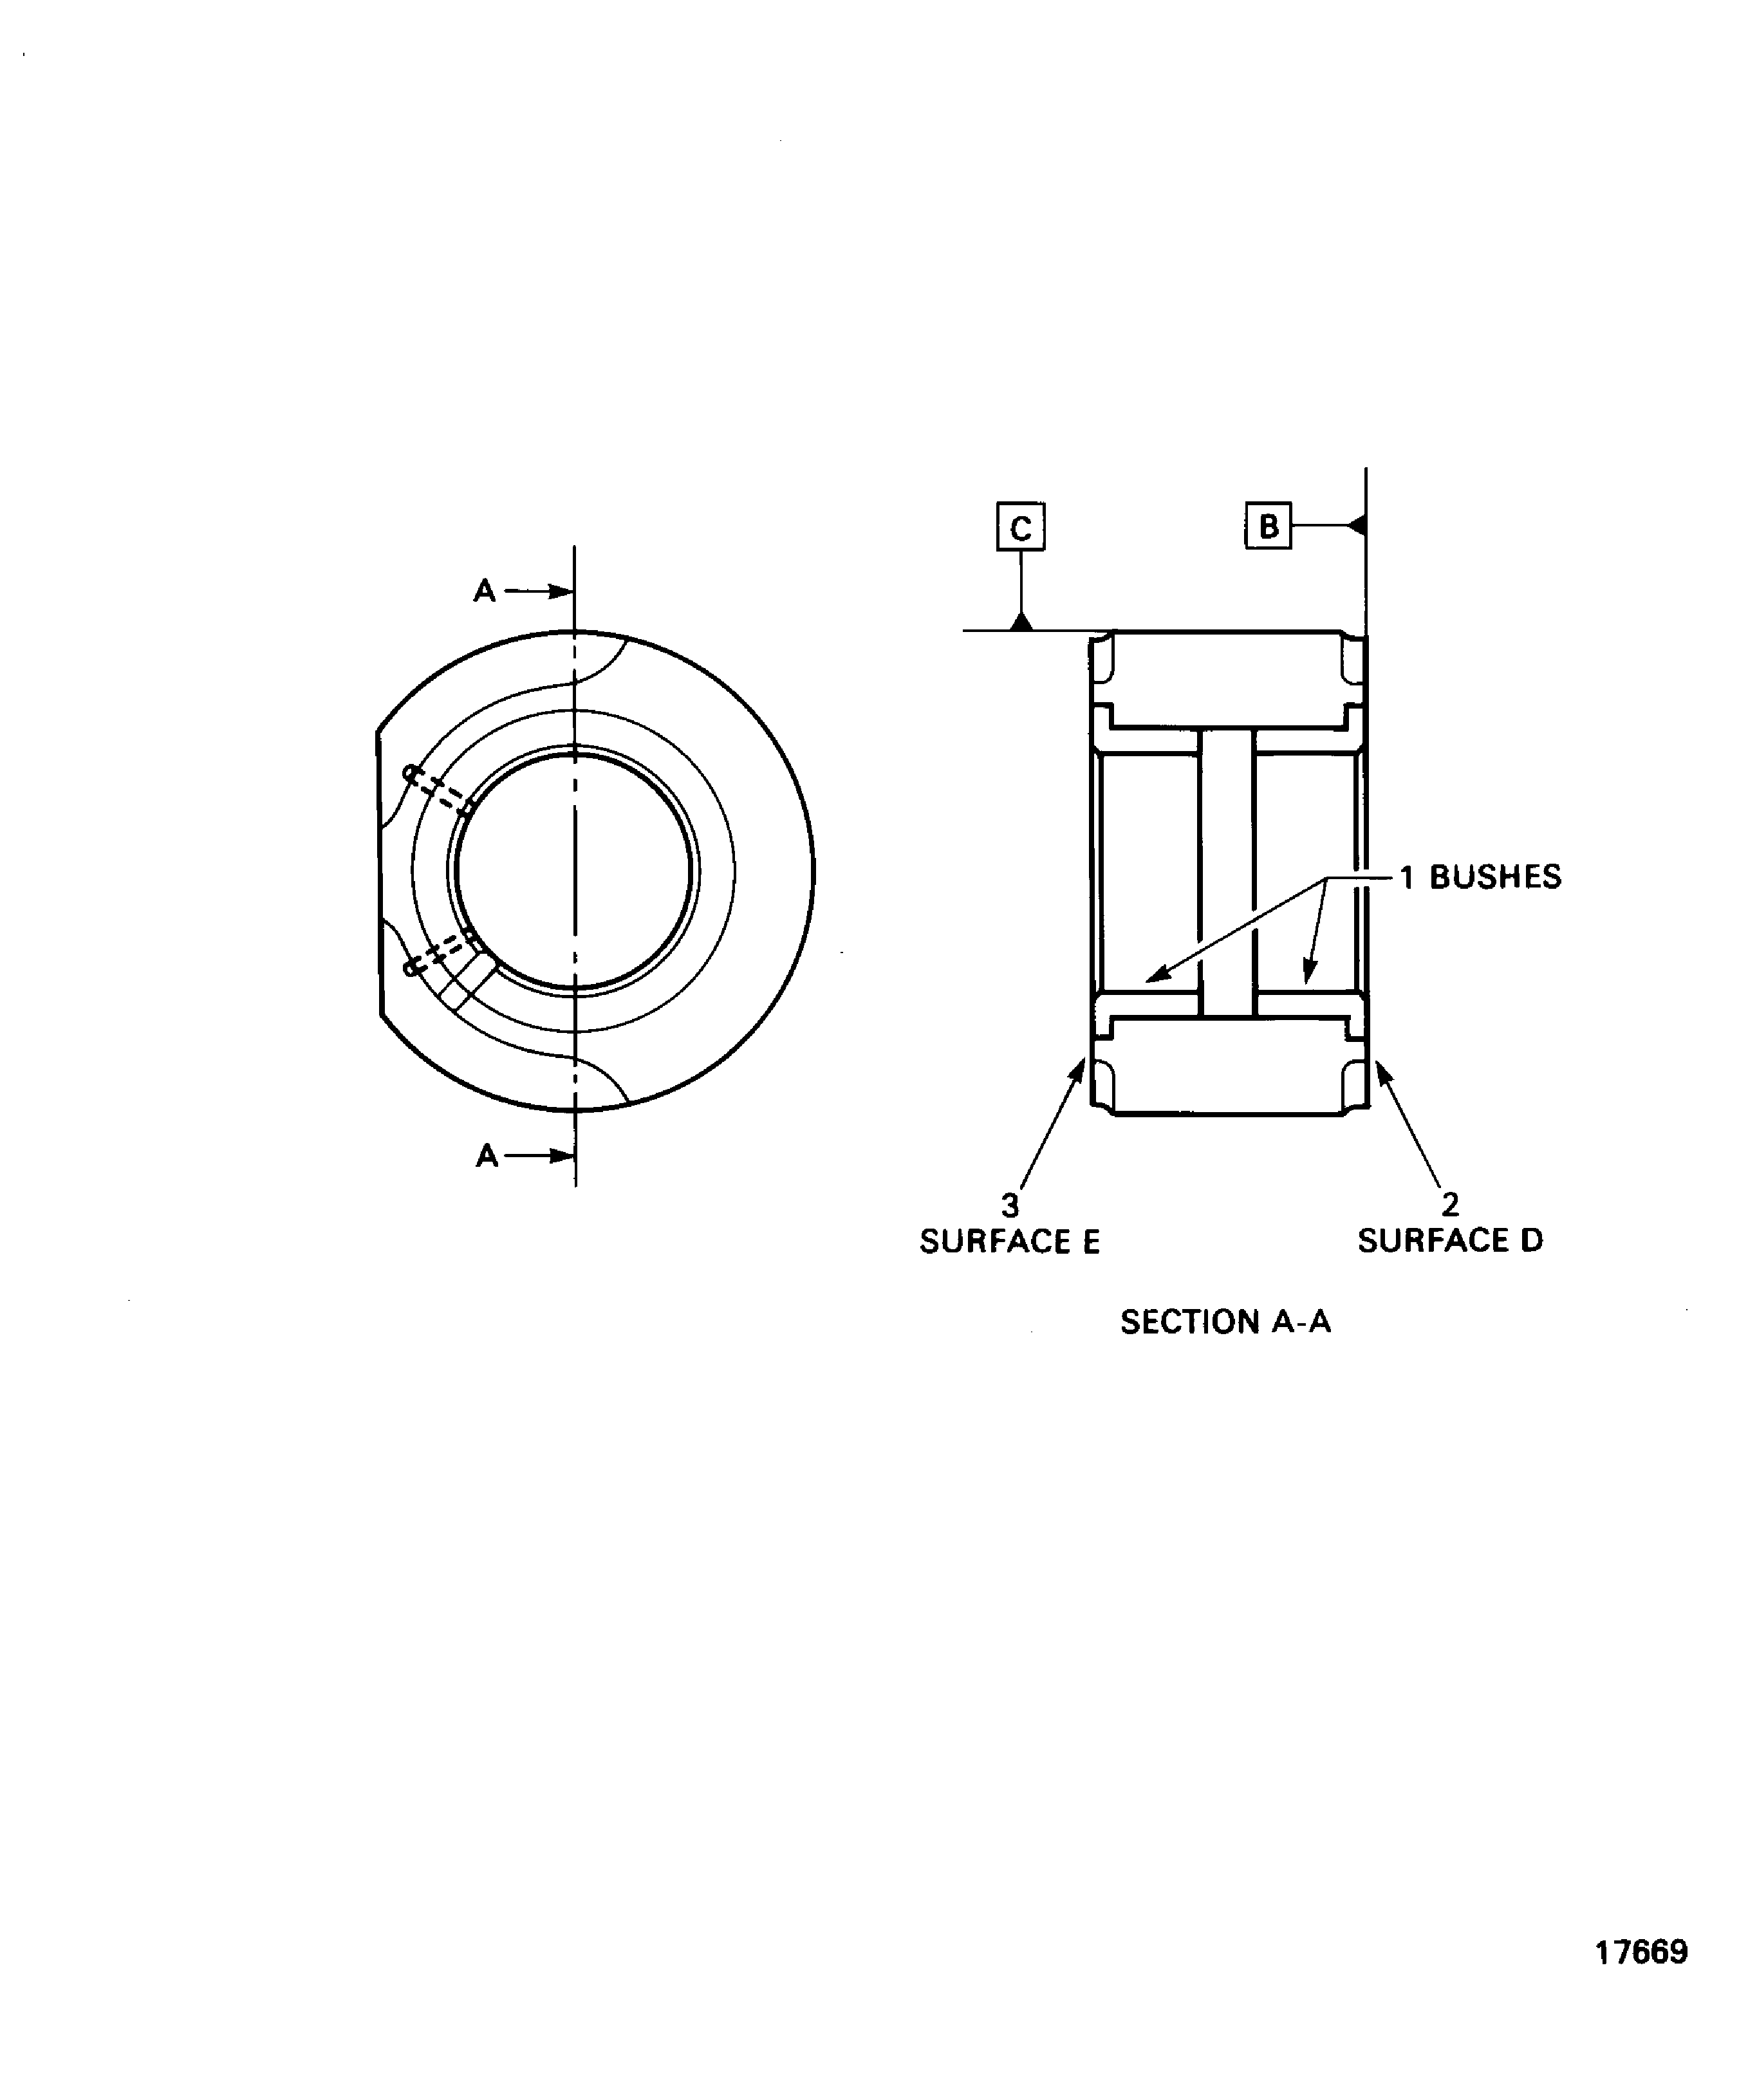
Figure: Locations on the Spacer Assembly
Locations on the Spacer Assembly

