Export Control
EAR Export Classification: Not subject to the EAR per 15 C.F.R. Chapter 1, Part 734.3(b)(3), except for the following Service Bulletins which are currently published as EAR Export Classification 9E991: SBE70-0992, SBE72-0483, SBE72-0580, SBE72-0588, SBE72-0640, SBE73-0209, SBE80-0024 and SBE80-0025.Copyright
© IAE International Aero Engines AG (2001, 2014 - 2021) The information contained in this document is the property of © IAE International Aero Engines AG and may not be copied or used for any purpose other than that for which it is supplied without the express written authority of © IAE International Aero Engines AG. (This does not preclude use by engine and aircraft operators for normal instructional, maintenance or overhaul purposes.).Applicability
All
Common Information
TASK 72-00-50-200-003 LPT Module - Adjust Ring - Examine, Inspection-003
Effectivity
FIG/ITEM | FIG/ITEM |
|---|---|
01-300 | 5A0371 |
01-300 | 5A0996 |
01-303 | 5A0344 |
01-303 | 5A0997 |
01-304 | 5A0345 |
01-304 | 5A0998 |
01-305 | 5A0346 |
01-305 | 5A0999 |
01-306 | 5A0414 |
01-306 | 5A1036 |
01-307 | 5A0415 |
01-307 | 5A1037 |
01-308 | 5A0416 |
01-308 | 5A1038 |
01-309 | 5A1839 |
01-315 | 5A1881 |
01-316 | 5A1882 |
01-317 | 5A1883 |
General
This TASK gives the procedure for the inspection of the adjust ring. For the other LP turbine module parts, refer to TASK 72-00-50-200-000 (INSPECTION/CHECK-000).
Fig/item numbers in parentheses in the procedure agree with those used in the IPC.
The policy that is necessary for inspection is given in SPM TASK 70-20-01-200-501.
All the parts must be cleaned before any part is examined. Refer to TASK 72-00-50-100-000 (CLEANING-000).
All parts must be visually examined for damage, corrosion and wear. Any defects that are not identified in the procedure must be referred to IAE.
The procedure for those parts which must have a crack test is given in Step. Do the test before the part is visually examined. Limits for cracks are given in the SUBTASK for each part.
Do not discard any part until you are sure there are no repairs available. Refer to the instructions in Repair before a discarded part is used again or oversize parts are installed.
Parts which should be discarded can be held although no repair is available. The repair of a discarded part could be shown to be necessary at a later date.
All parts must be examined to make sure that all the repairs have been completed satisfactorily.
The practices and processes referred to in the procedure by the TASK numbers are in the SPM.
References
Refer to the SPM for data on these items.
Definitions of Damage, SPM TASK 70-02-02-350-501
Inspection of Parts, SPM TASK 70-20-01-200-501
Some data on these items is contained in this TASK. For more data on these items refer to the SPM.
Method of Testing for Crack Indications
Chemical Processes
Surface Protection
NOTE
Preliminary Requirements
Pre-Conditions
NONESupport Equipment
NONEConsumables, Materials and Expendables
| Name | Manufacturer | Part Number / Identification | Quantity | Remark |
|---|---|---|---|---|
| CoMat 06-011 MAGNETIC PARTICLES, FLUORESCENT, DRY POWDER | LOCAL | CoMat 06-011 |
Spares
NONESafety Requirements
NONEProcedure
Clean the part. Refer to TASK 72-00-50-100-000 (CLEANING-000).
Do the crack test on the part that is given below. Use the applicable magnetic inspection procedure.
PART IDENT
PROCEDURE
CURRENT/INSPECT
TASK/OP
Adjust
TB using
500 amp
SPM TASK
ring
continuous
Ring outside
wet or
diameter.
simultaneous
Visually
inking with
examine for
longitudinal
fluorescent
and radial
magnetic ink
defects.
Do a check for
doubtful
indications using
low power
magnification.
If necessary,
examine under
white light at
15X binocular
1-turn
6000 A/T
solenoid
Do again the
wet or
magnetisation
simultaneous
and inspection
inking
along ring
length.
Visually
examine for
circumferential
defects.
Do a check for
doubtful
indications
using low power
magnification.
If necessary
examine under
white light at
15X binocular
SUBTASK 72-00-50-240-053 Examine the Adjust Ring for Cracks
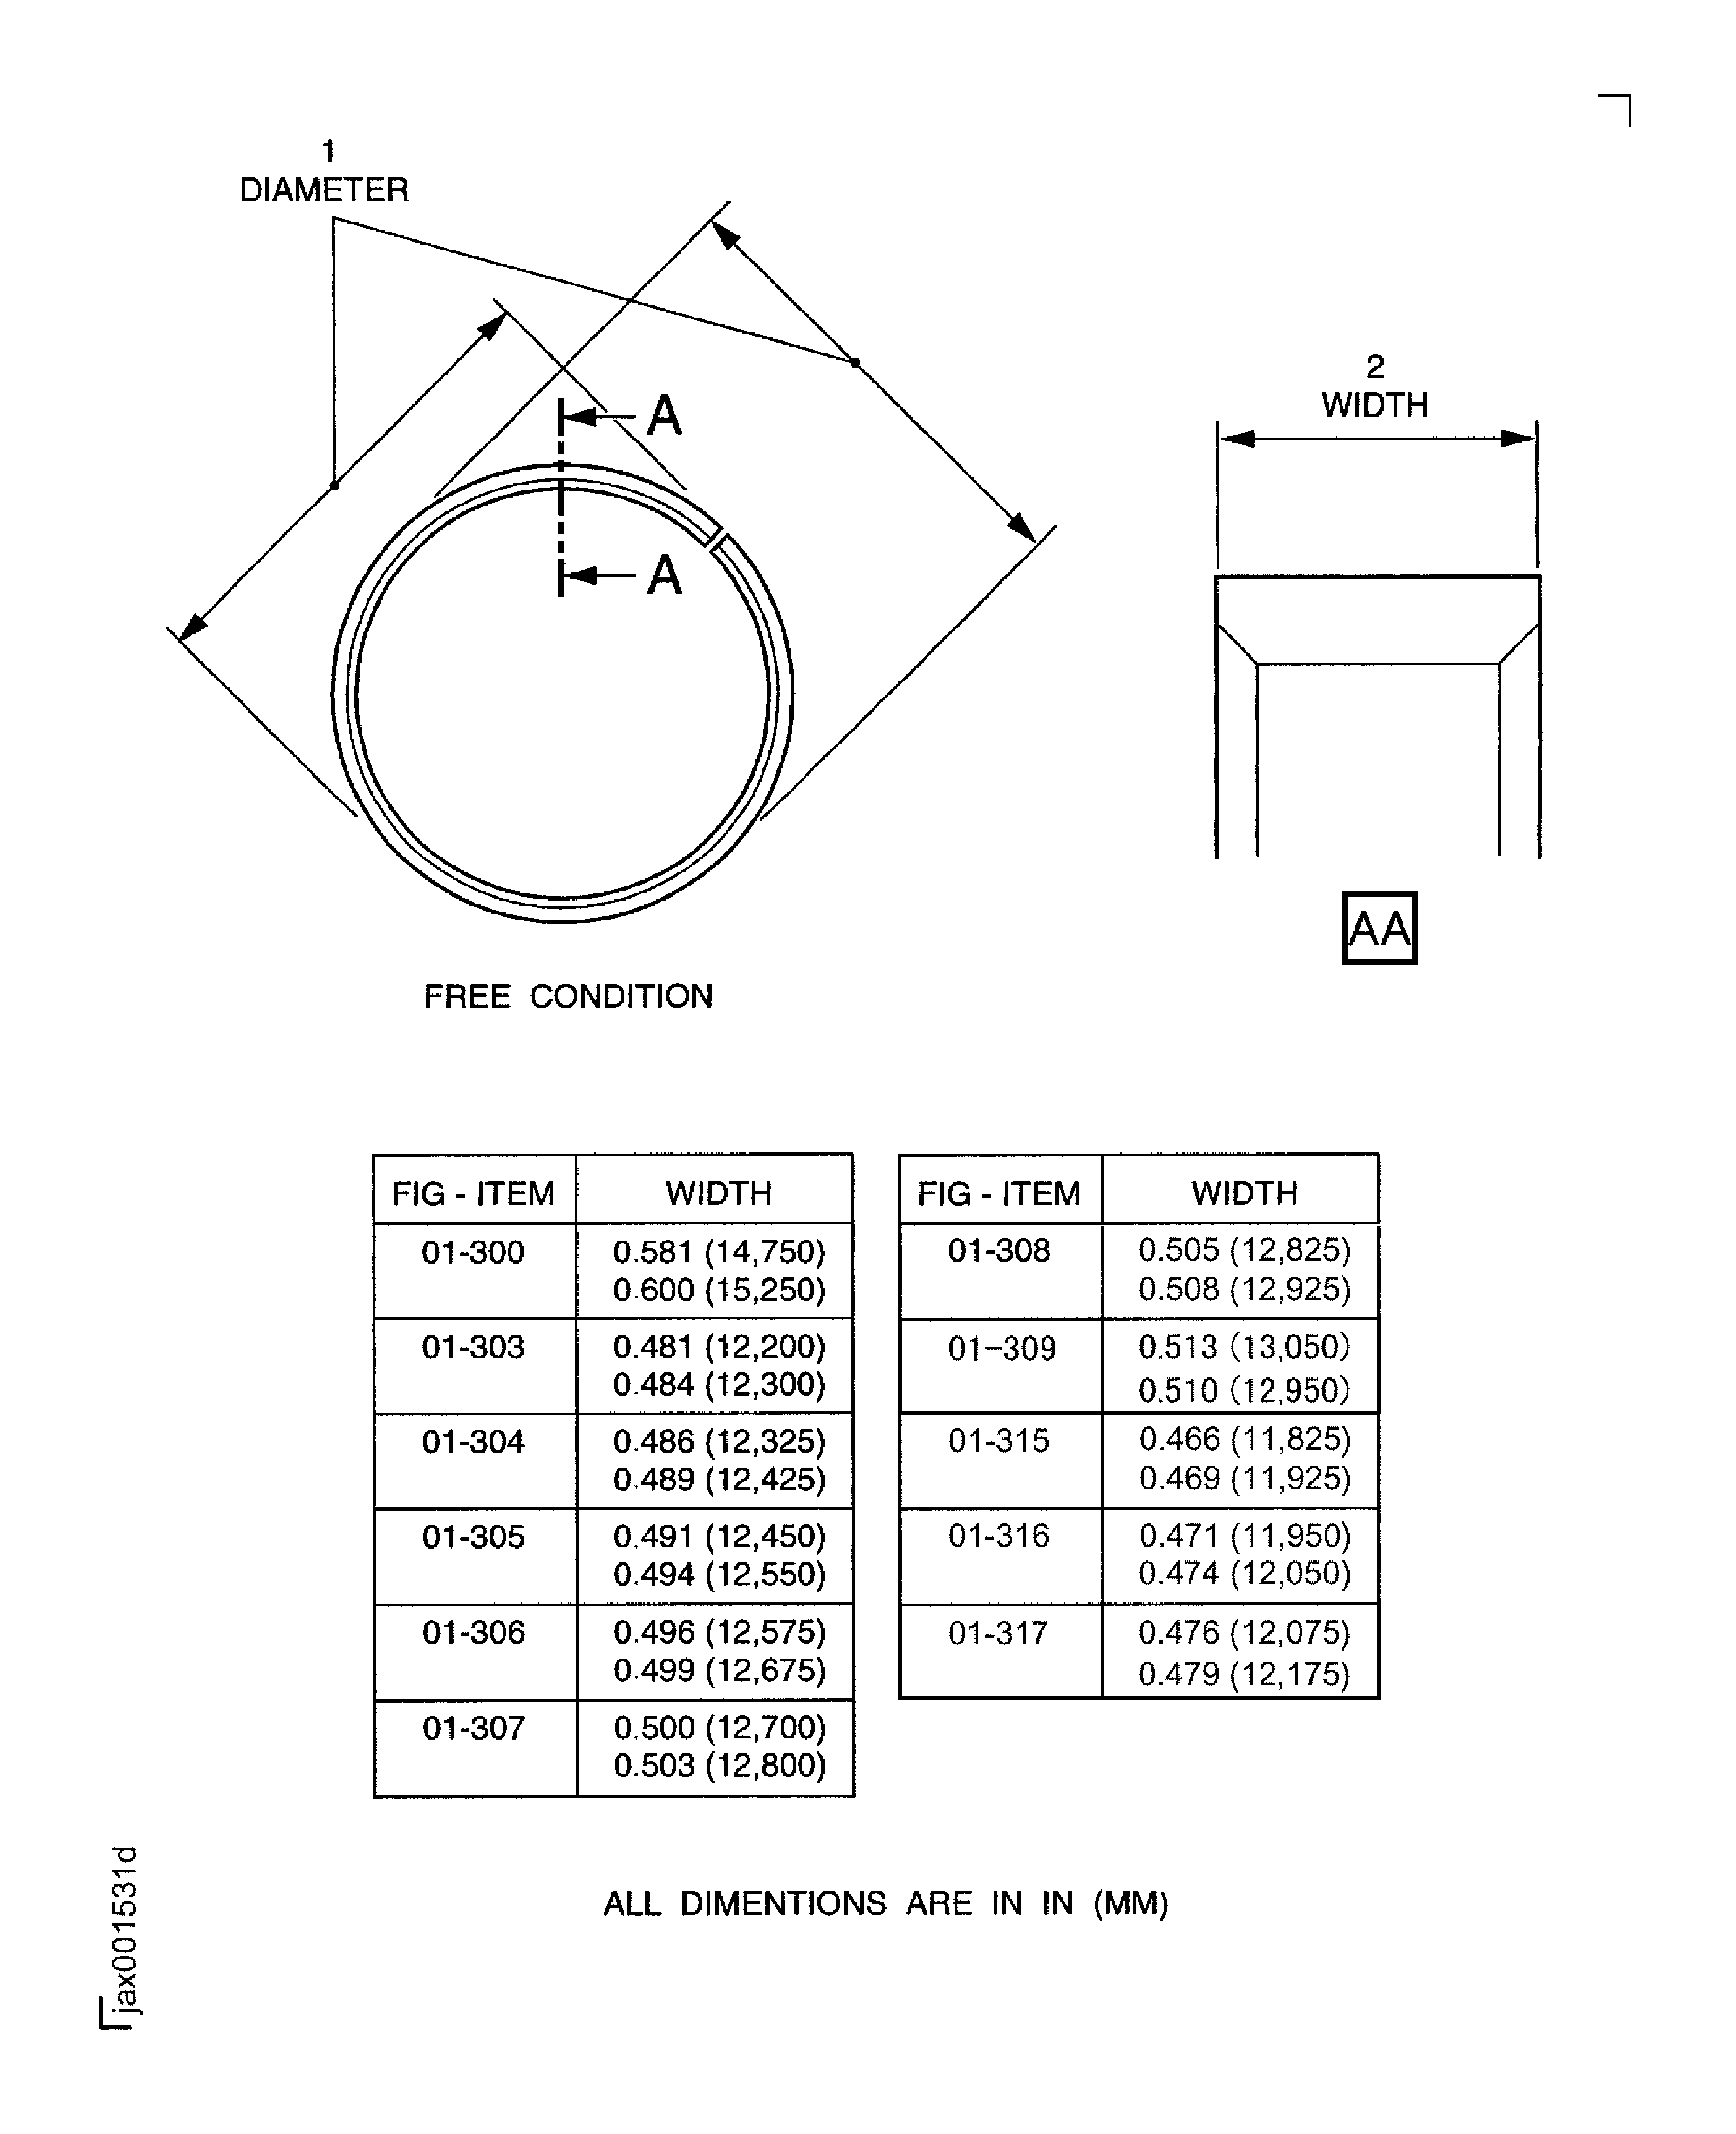
Refer to Figure.
Repair, VRS1121 TASK 72-00-50-300-004 (REPAIR-004)
Up to 0.003 in. (0.07 mm) in depth
More than in Step
Galled or scratched.
Examine all the surface.
SUBTASK 72-00-50-220-127 Examine the Adjust Ring Surface
Figure: Location on the adjust ring
Location on the adjust ring

