Export Control
EAR Export Classification: Not subject to the EAR per 15 C.F.R. Chapter 1, Part 734.3(b)(3), except for the following Service Bulletins which are currently published as EAR Export Classification 9E991: SBE70-0992, SBE72-0483, SBE72-0580, SBE72-0588, SBE72-0640, SBE73-0209, SBE80-0024 and SBE80-0025.Copyright
© IAE International Aero Engines AG (2001, 2014 - 2021) The information contained in this document is the property of © IAE International Aero Engines AG and may not be copied or used for any purpose other than that for which it is supplied without the express written authority of © IAE International Aero Engines AG. (This does not preclude use by engine and aircraft operators for normal instructional, maintenance or overhaul purposes.).Applicability
All
Common Information
TASK 72-50-53-300-065 No. 5 Bearing Front Heat Shield - Weld Repair, Repair-065 (VRS3325)
General
Price and availability - refer to IAE
The practices and processes referred to in the procedure by the TASK numbers are in the SPM.
Preliminary Requirements
Pre-Conditions
NONESupport Equipment
| Name | Manufacturer | Part Number / Identification | Quantity | Remark |
|---|---|---|---|---|
| Silicon carbide wheel | LOCAL | Silicon carbide wheel | ||
| Welding equipment | LOCAL | Welding equipment |
Consumables, Materials and Expendables
NONESpares
NONESafety Requirements
NONEProcedure
Refer to the SPM TASK 70-11-01-300-503, TASK 70-11-13-300-503, TASK 70-11-16-300-503, TASK 70-11-26-300-503 or TASK 70-11-03-300-503.
Clean the heat shield.
SUBTASK 72-50-53-110-105 Clean the No. 5 Bearing Heat Shield
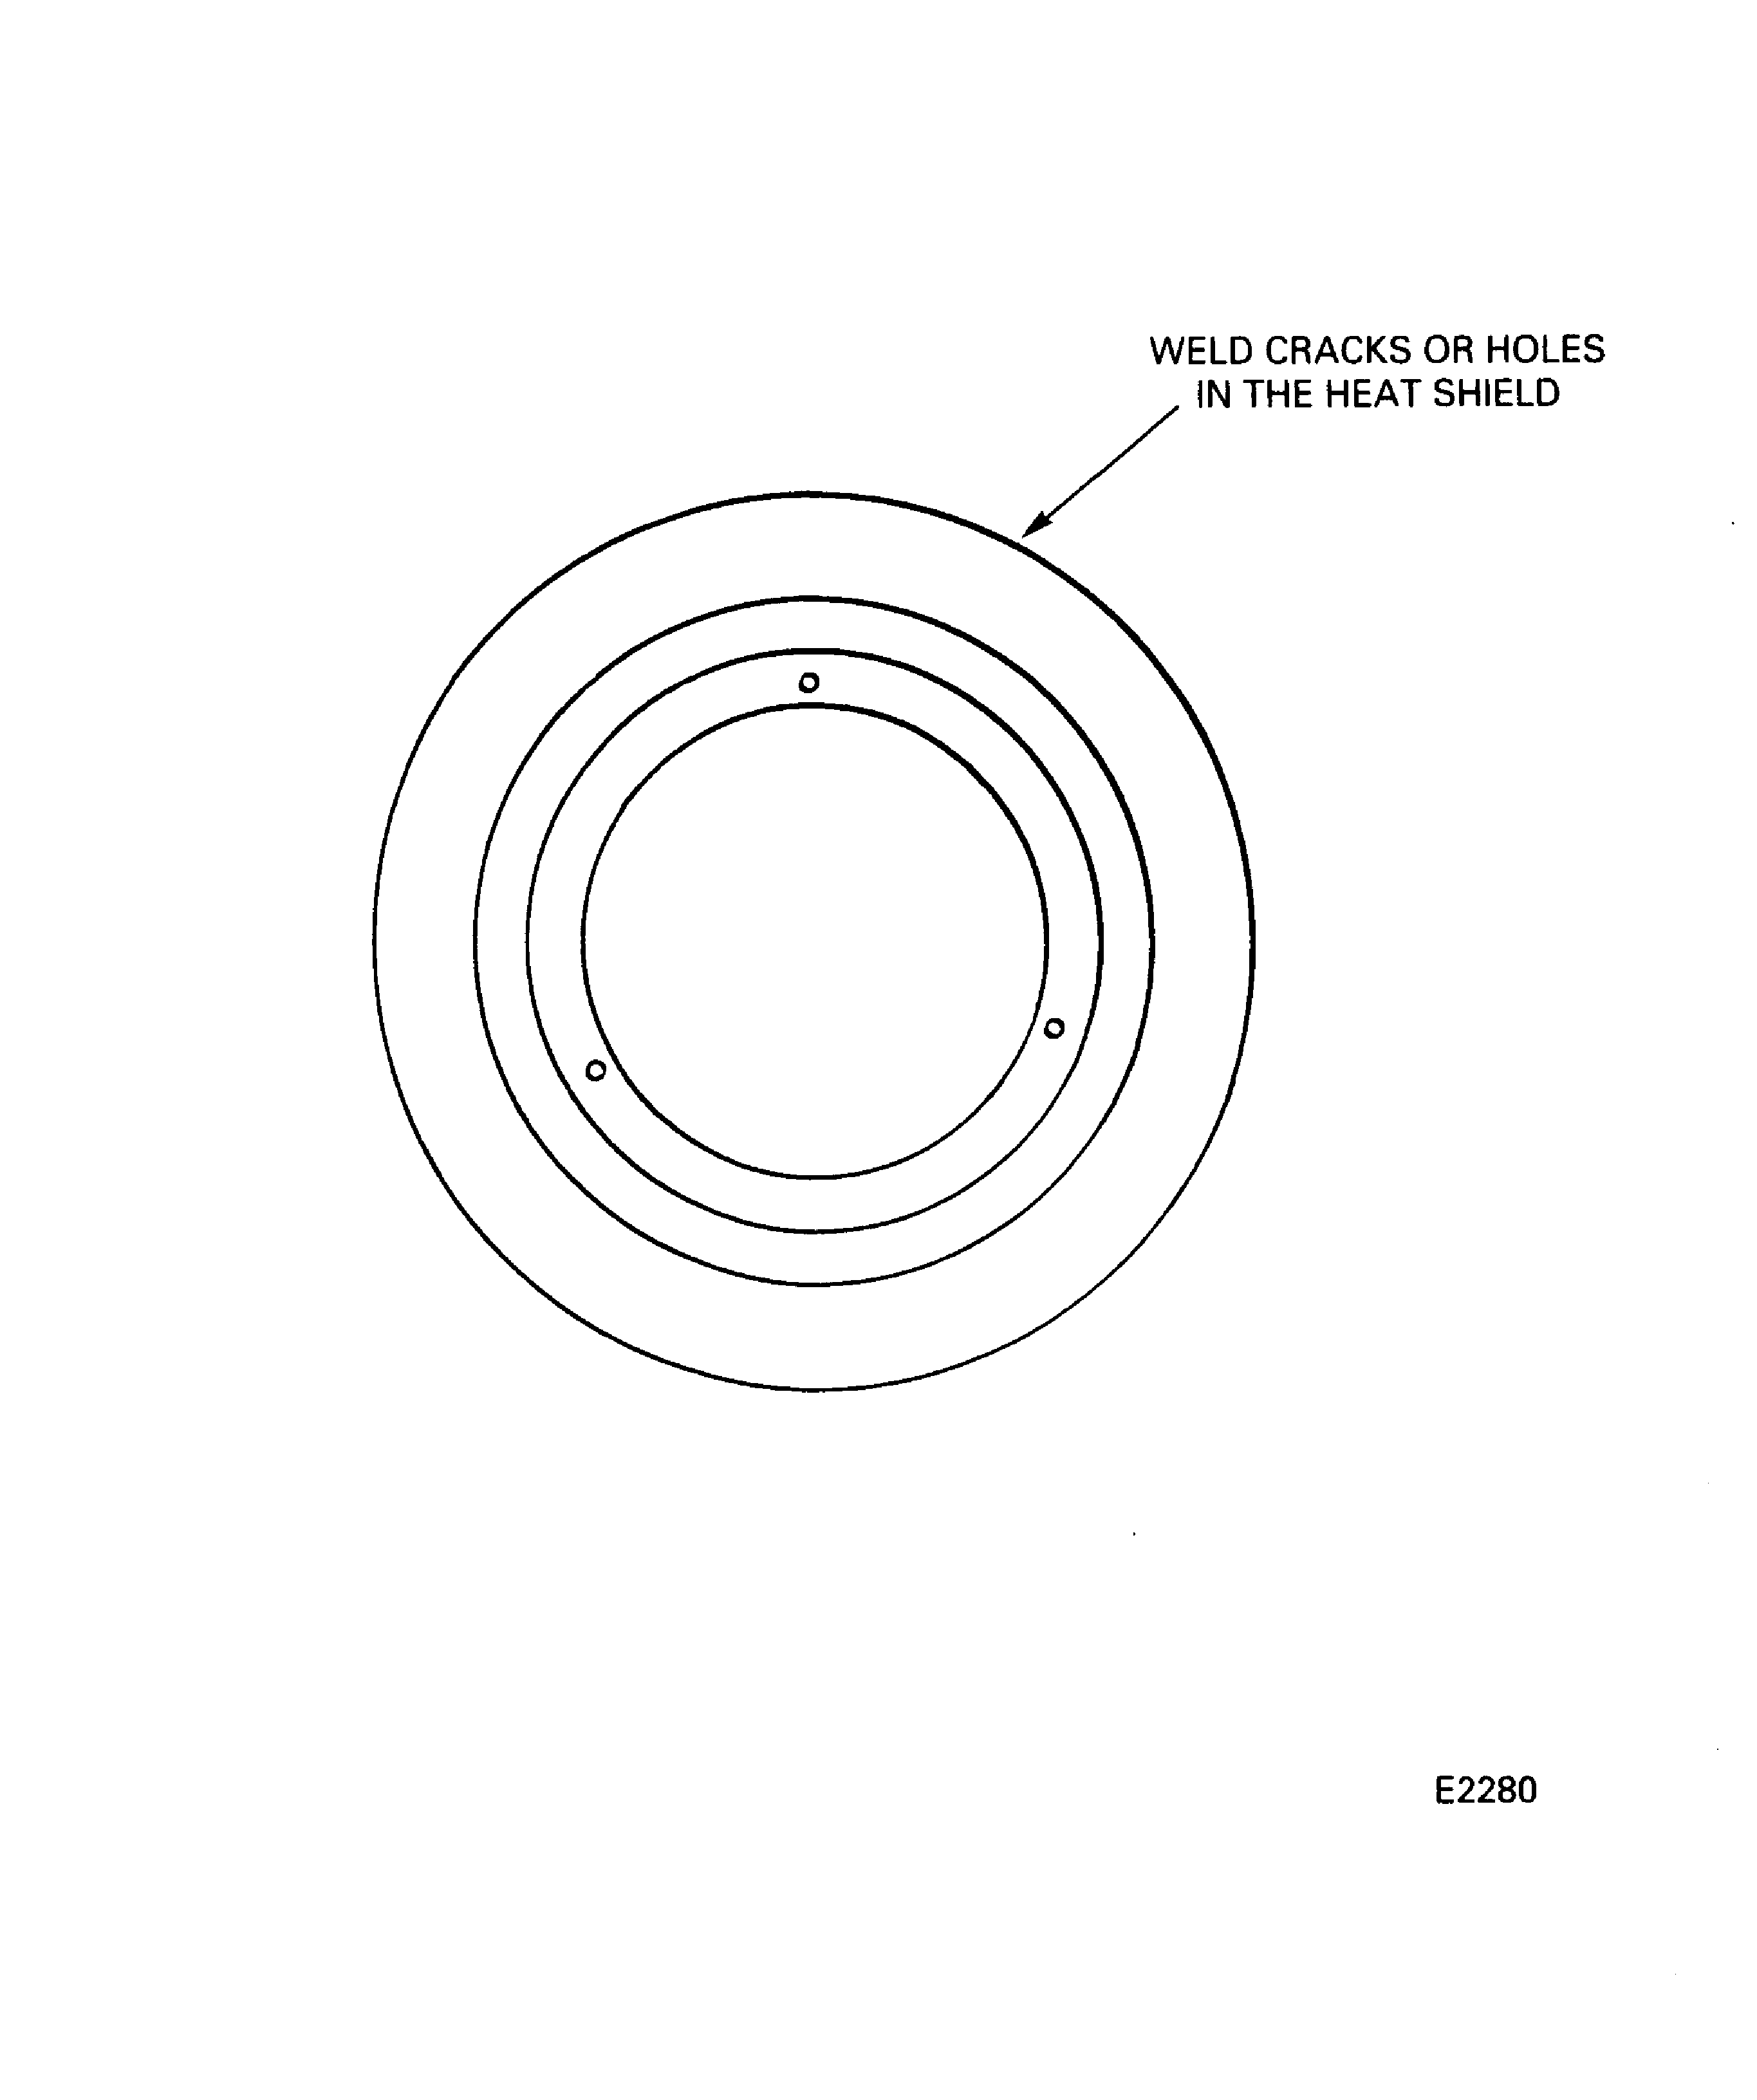
Refer to Figure.
There is no maximum length or quantity for cracks. Cracks in welds must be fully routed out. Cracks in the sheet metal do not have to be routed out.
Route out cracks in the welds.
Refer to the SPM TASK 70-31-13-310-501.
Weld the cracks by the manual gas tungsten arc method.
SUBTASK 72-50-53-310-063 Weld Repair the No. 5 Bearing Heat Shield
Refer to the SPM TASK 70-31-13-310-501 for size limits. The area you machine to remove damage can be any shape. The area must be in a 2.000 in. (50.800 mm) diameter circle.
Inner and outer corner radii must be 0.250 in. (6.350 mm) or larger.
Machine to remove rough edges or distortion around holes.
Refer to the SPM TASK 70-31-13-310-501.
Weld the patch in position.
SUBTASK 72-50-53-310-064 Weld Patches on Holes in the No. 5 Bearing Heat Shield
Refer to TASK 72-50-53-200-000 (INSPECTION-000).
Inspect the heat shield after weld repair.
SUBTASK 72-50-53-220-184 Examine the No. 5 Bearing Heat Shield after Weld Repair
Figure: Weld repair the No. 5 bearing heat shield
Weld repair the No. 5 bearing heat shield

