DMC:V2500-A0-72-60-2902-00A-300A-CIssue No:003.00Issue Date:2018-11-01
Export Control
EAR Export Classification: Not subject to the EAR per 15 C.F.R. Chapter 1, Part 734.3(b)(3), except for the following Service Bulletins which are currently published as EAR Export Classification 9E991: SBE70-0992, SBE72-0483, SBE72-0580, SBE72-0588, SBE72-0640, SBE73-0209, SBE80-0024 and SBE80-0025.Copyright
© IAE International Aero Engines AG (2001, 2014 - 2021) The information contained in this document is the property of © IAE International Aero Engines AG and may not be copied or used for any purpose other than that for which it is supplied without the express written authority of © IAE International Aero Engines AG. (This does not preclude use by engine and aircraft operators for normal instructional, maintenance or overhaul purposes.).Applicability
All
Common Information
TASK 72-60-29-200-004 Deoiler Gear Bearings - Examine The Ball Bearing, Inspection-004
General
The policy that is necessary for inspection is given in SPM TASK 70-20-01-200-501.
All the parts must be cleaned before any part is examined. Refer to SPM TASK 70-10-00-100-501.
References
Definition of Damage, SPM TASK 70-02-02-350-501,
Record and Control of the Lives of the Parts, SPM TASK 70-05-00-220-501,
Inspection of Parts, SPM TASK 70-20-01-200-501.
Preliminary Requirements
Pre-Conditions
NONESupport Equipment
| Name | Manufacturer | Part Number / Identification | Quantity | Remark |
|---|---|---|---|---|
| Workshop inspection equipment | LOCAL | Workshop inspection equipment | ||
| Bearing radial clearance gage | LOCAL | Bearing radial clearance gage |
Consumables, Materials and Expendables
NONESpares
NONESafety Requirements
NONEProcedure
Refer to SPM TASK 70-29-01-290-501.
SUBTASK 72-60-29-220-101 Examine the Ball Bearing (01-250)
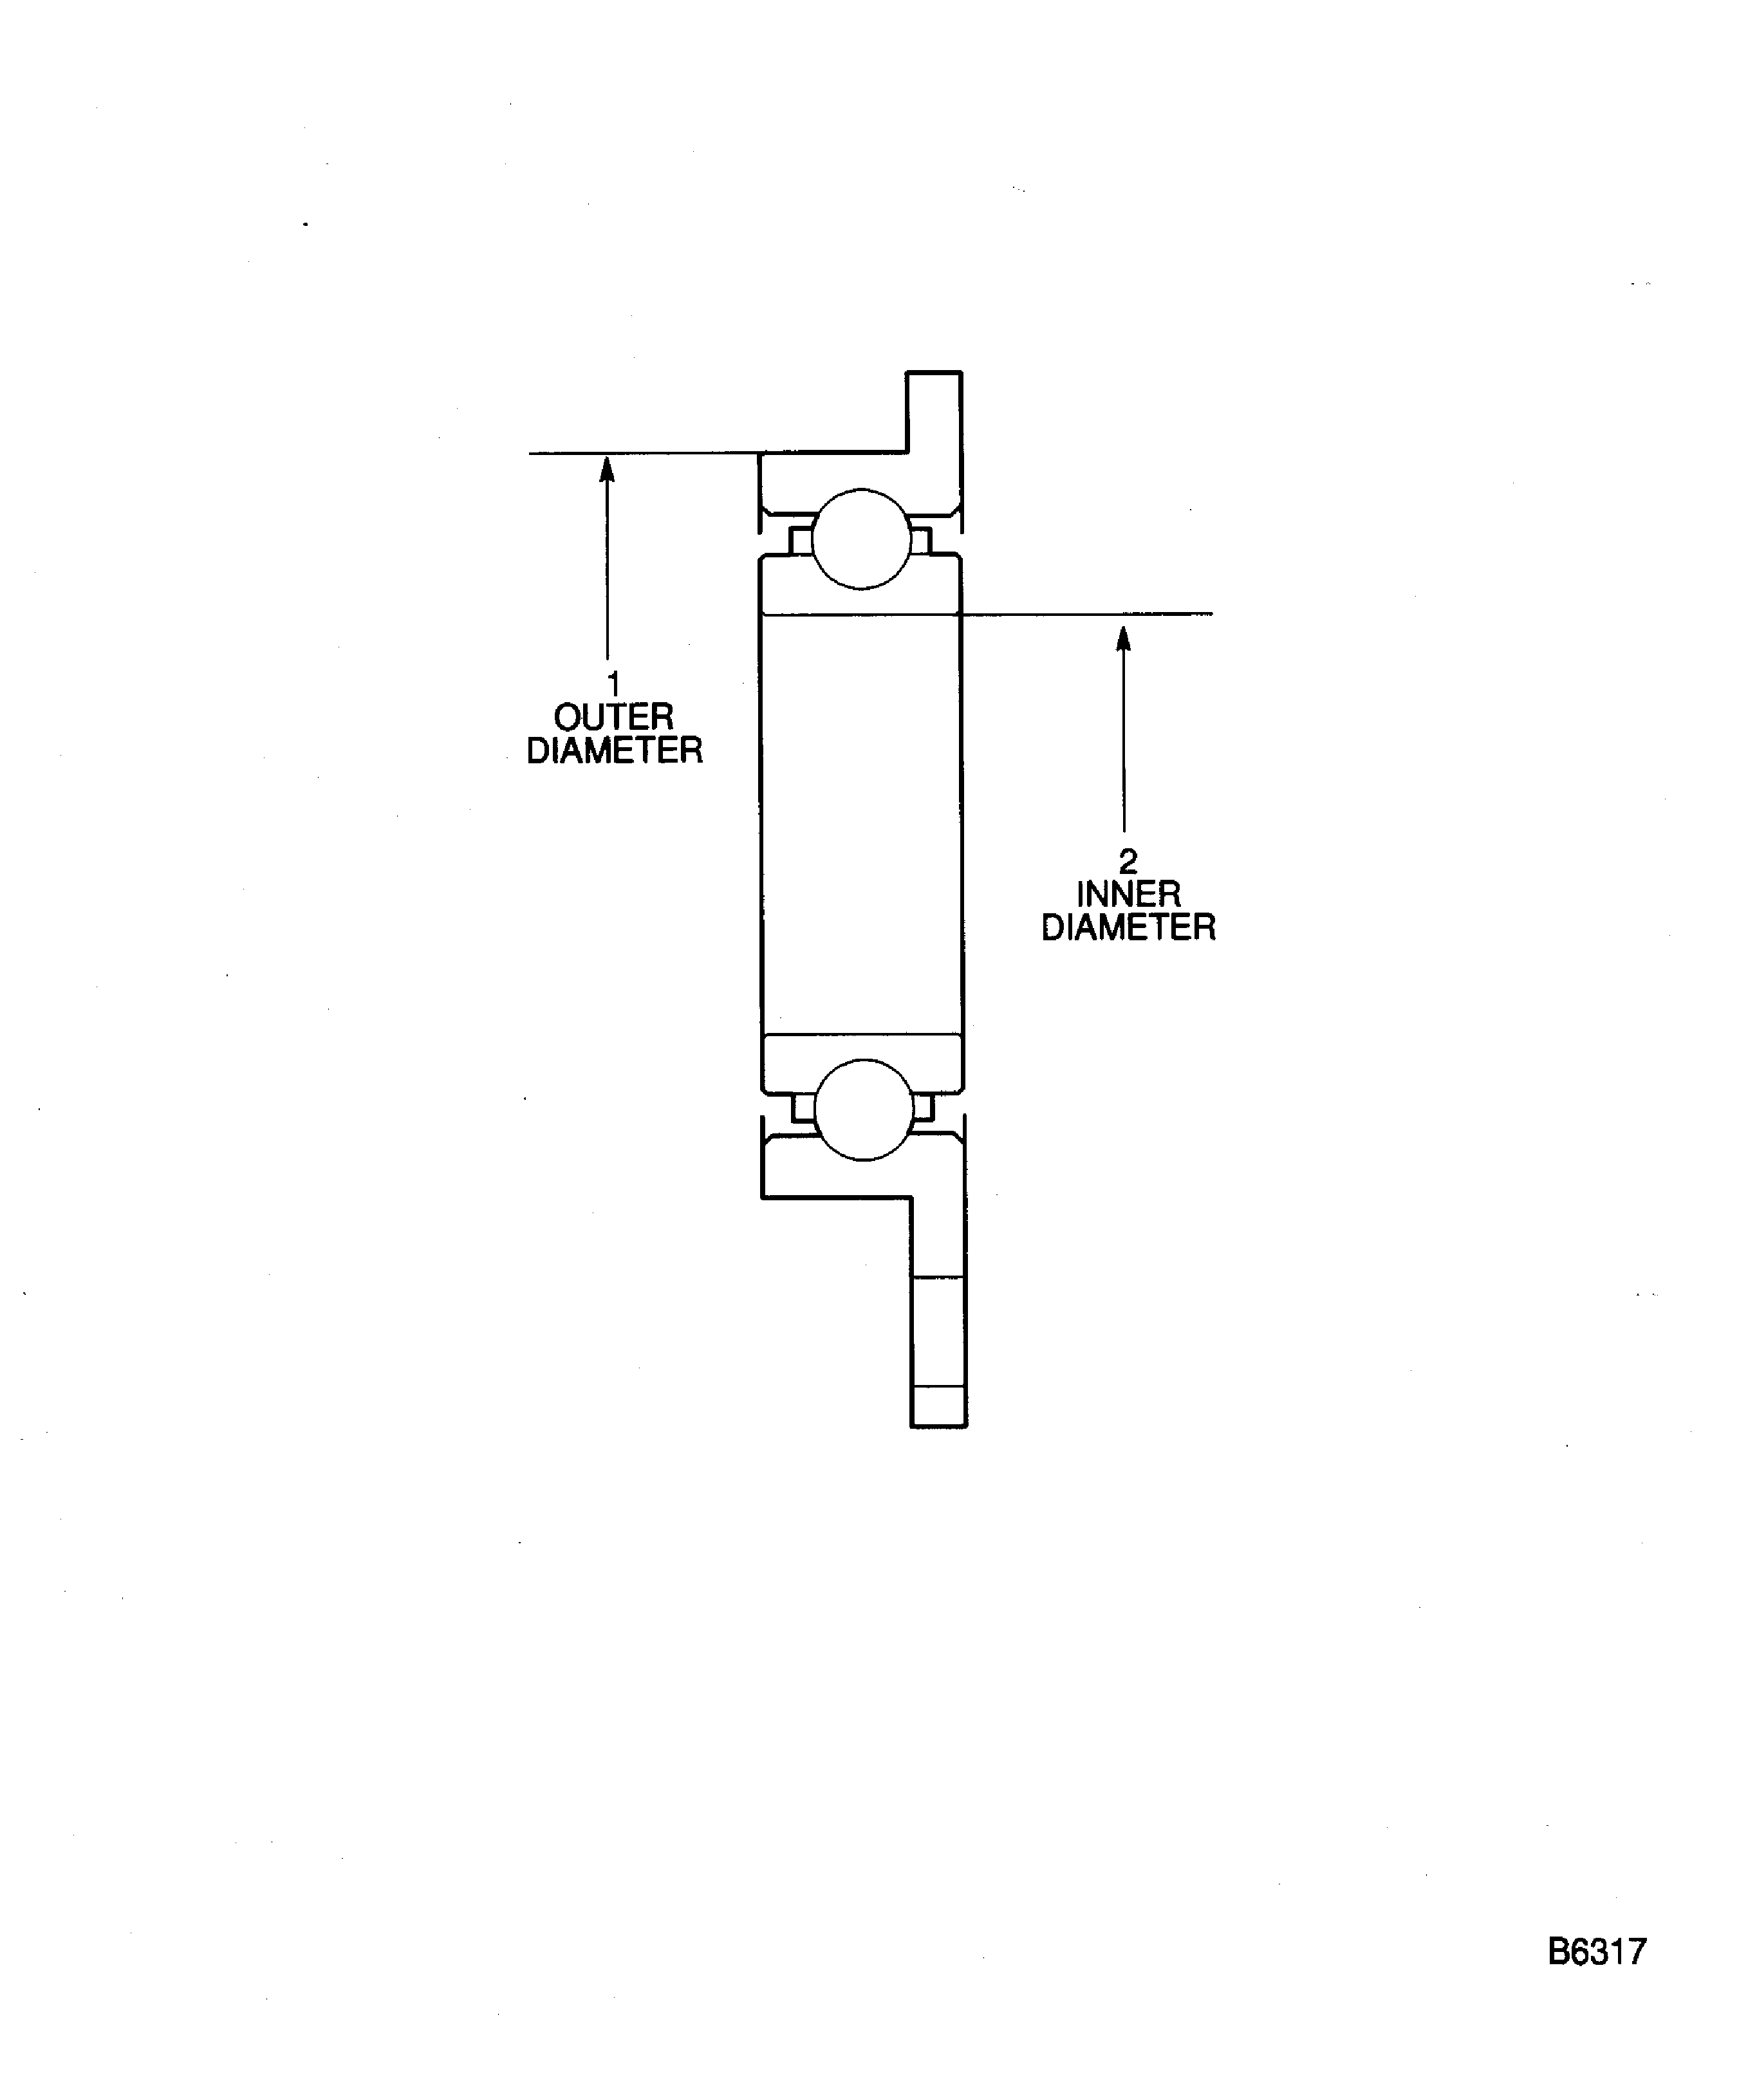
Refer to Figure.
SUBTASK 72-60-29-220-102 Examine the Ball Bearing (01-250) Outer Diameter at Location 1
Refer to Figure.
SUBTASK 72-60-29-220-103 Examine the Ball Bearing (01-250) Inner Diameter at Location 2
Refer to Figure.
SUBTASK 72-60-29-220-104 Examine the Ball Bearing (01-250) Inner Radial Clearance
Refer to Figure.
SUBTASK 72-60-29-220-105-A Examine the Ball Bearing (72-60-29,01-250) Axial Clearance (Pre SBE 72-0244)
Refer to Figure.
SUBTASK 72-60-29-220-105-B Examine the Ball Bearing (72-60-29,01-250) Axial Clearance (SBE 72-0244, SBE 72-0414)
Refer to SPM TASK 70-53-01-620-501.
SUBTASK 72-60-29-620-052 Preserve the Ball Bearing (01-250)
Figure: Locations - Ball bearing
Locations - Ball bearing

