Export Control
EAR Export Classification: Not subject to the EAR per 15 C.F.R. Chapter 1, Part 734.3(b)(3), except for the following Service Bulletins which are currently published as EAR Export Classification 9E991: SBE70-0992, SBE72-0483, SBE72-0580, SBE72-0588, SBE72-0640, SBE73-0209, SBE80-0024 and SBE80-0025.Copyright
© IAE International Aero Engines AG (2001, 2014 - 2021) The information contained in this document is the property of © IAE International Aero Engines AG and may not be copied or used for any purpose other than that for which it is supplied without the express written authority of © IAE International Aero Engines AG. (This does not preclude use by engine and aircraft operators for normal instructional, maintenance or overhaul purposes.).Applicability
All
Common Information
TASK 72-00-00-200-013 Engine General - Do A C-Scan Inspection Of The LPC Fan Blades, Inspection-013
General
This TASK gives the procedure for the C-Scan ultrasonic inspection of the LP compressor fan blades utilizing the Midas Ultrasonic Immersion System or Ultrasonic Immersion System ultrasonic scanning system with software patch to allow single probe operation. For the inspection of the other parts of the engine, refer to TASK 72-00-00-200-000 (INSPECTION-000).
Primary clean the LP compressor blades in accordance with TASK 72-31-11-100-002-A00 or TASK 72-31-11-100-002-B00 (CLEANING-002).
Disassembly is included in TASK 72-31-00-030-001 (DISASSEMBLY-001). Assembly is included in TASK 72-31-00-430-001 (ASSEMBLY-001).
Preliminary Requirements
Pre-Conditions
NONESupport Equipment
| Name | Manufacturer | Part Number / Identification | Quantity | Remark |
|---|---|---|---|---|
| Ultrasonic Immersion System | LOCAL | M401 V | 1 | Alternate to M403V |
| Ultrasonic Immersion System | LOCAL | M403 V | 1 | Alternate to M401V |
| Fan Blade Root Locating Tool | LOCAL | M403V-R-BA | 1 | |
| Fan Blade Root Locating Tool | LOCAL | M403V-T-MT | 1 | |
| IAE 2R19741 Method 2 - Calibration Blade | 0AM53 | IAE 2R19741 | 1 | QC6808 (Alternative to IAE 2R19741) |
Consumables, Materials and Expendables
NONESpares
NONESafety Requirements
NONEProcedure
Refer to Figure.
Ensure the power is turned off.
Move the scanning head to the centerline of the tank approximately 7.874 in. (200.000 mm) from the root clamp end.
Hold a straight edge to the front face of the holder and ensure that the front face of the probe holder is parallel with the end of the tank.
Loosen the grub screw on the probe holder shaft and adjust the holder until the alignment is correct.
Make sure that the grub screw is fully tightened and check that the probe holder is aligned correctly.
Check alignment of the probe holder.
Refer to Figure.
Carry out a check for play in the scanning head bearings and make sure there is no sideways movement. Movement will indicate possible wear or corrosion in the bearings.
Check for excessive play in the scanning head bearings.
Refer to Figure.
Move the probe holder up and down manually and check for full and free movement.
If sticking or binding is found, disassemble, inspect and assemble as necessary as given in the procedure detailed in D.
Examine the Z Axis vertical shafts and bearings.
Refer to Figure.
Turn the power on.
Ensure any blade or calibration standard is removed from the tank.
Loosen the retention screw and remove the probe from the probe holder. This must be done before the shaft assembly is removed to prevent damage to the probe.
Lower the Z axis by clicking on the calibrate icon on the start screen.
With the Z axis lowered and at the tank center, click on the pause button on the screen. Refer to Figure.
Switch off the power. This is necessary to prevent injury and movement during Z axis bearing assembly removal.
Remove the two screws holding the assembly to the stainless steel box section. When removing the final screw support the profile follower.
Slide the bearing assembly out of the Z axis tube.
Remove the shaft retention collar from the larger diameter shaft.
Remove the three screws and slide the large bearing housing off the shaft.
Remove the two screws at the top of the assembly and remove the bearing retaining plate.
Remove the two bearings from the housing.
Do an inspection of the bearings and shaft. Replace unserviceable parts as necessary.
Remove the two nylock nuts and slide the small bearing housing off the small diameter shaft.
Remove the bearing from the housing.
Do an inspection of the bearings and shaft. Replace unserviceable parts as necessary.
On completion of disassembly, inspection and replacement, assemble the parts to achieve the following required standard.
Slide the shafts back through the bearing housing and ensure the shaft retention collar is installed on the larger diameter shaft.
The Nylock nuts on the small bearing housing must not be fully tightened such that there is no movement. Sufficiently tighten the nuts to allow slight sideways movement which prevents binding during use.
Install the bearing assembly into the Z axis tube.
Refit the probe and ensure it is fully seated on the location ring in the holder and tighten the retaining screw to prevent movement.
Removal and replacement of the Z axis shafts and bearings.
NOTE
When changing one bearing in this assembly it is advisable to change all the bearings as experience of cleaning of bearings has shown limited success.Switch off the electrical supply to the equipment.
Disconnect and remove the ultrasonic transducer from the profile follower.
Remove the profile follower from the manipulator by removing the grub screw in the metal adjustment component on top of the black L-shaped bracket. Refer to Figure.
Pull the profile follower downwards, out of its locating hole. The shaft may be tight within the bracket, if this is the case rotate the follower whilst pulling downwards. Refer to Figure.
Install new ball bearings into the follower and re-assemble.
NOTE
Following any maintenance procedures including probe removal it is necessary to carry out the inspection calibration procedure as detailed in Step prior to fan blade inspection.
Removal and replacement of the profile follower ruby ball bearings.
System maintenance or problems with calibration of the equipment shall be documented and archived for the life of the in-house inspection requirement. IAE or its appointed maintenance agents must be notified of any maintenance or calibration problems outside the scope of this procedure. Maintenance and calibration problems existing outside the scope of this procedure shall prevent further fan blade inspection unless written agreement to proceed has been received from IAE or its appointed maintenance agents.
Changes to equipment location must be notified to IAE and appropriate control procedures implemented including a risk review. Equivalence of inspection capability must be demonstrated and recorded before and after equipment re-location.
The same calibration blade must be inspected before and after relocation and satisfactory results within the limits of this procedure documented and kept for review.
If there are differences in results outside the limits of this procedure advice should be sought from IAE or its appointed maintenance agents before any fan blade inspection is carried out.
Equipment software shall not be modified unless written agreement is obtained from IAE or its appointed maintenance agent.
The facility responsible NDT level 3 shall ensure compliance with the contents of this procedure and take part in any risk assessment relating to equipment relocation.
NOTE
When the system is not in use for periods greater than 24 hours the computer must be turned off and the probe held out of the water to extend probe life. The C-Scan probe is high frequency and by leaving the computer switched on the probe is continuously energized which shortens probe life.
Ongoing management of C-Scan equipment.
SUBTASK 72-00-00-350-052 Preparation and Maintenance of the C-Scan Ultrasonic Equipment (Figure, Figure, Figure, Figure, Figure, Figure)

WARNING
NO MAINTENANCE OUTSIDE THE SCOPE OF THE APPROVED INSTRUCTIONS OR THE LATEST MACHINE OPERATING/MAINTENANCE MANUAL IS TO BE ATTEMPTED OR CARRIED OUT. CONTACT IAE AND THE MACHINE MANUFACTURER WITH ANY ISSUE THAT CANNOT BE RESOLVED USING THE APPROVED INSTRUCTIONS.
CAUTION
THE ULTRASONIC INSPECTION DEFINED IN THIS ENGINE MANUAL TASK MUST ONLY BE PERFORMED BY PERSONNEL WHO HAVE RECEIVED RELEVANT TRAINING EITHER DIRECTLY BY IAE PERSONNEL OR FROM PERSONNEL TRAINED BY AN APPROVED COMPANY ON BEHALF OF IAE. TRAINING RECORDS ARE TO BE RETAINED AND KEPT UP TO DATE ACCORDING TO BOTH LOCAL AND ANY IAE POLICIES
CAUTION
NDT LEVEL 3 PERSONNEL WHO HAVE RECEIVED THE RELEVANT TRAINING SHALL BE RESPONSIBLE FOR CONTROL OF THE PROCESS AND SHALL CARRY OUT AN ANNUAL REVIEW FOR EACH OPERATOR TO DETERMINE SUITABILITY FOR CONTINUED C-SCAN OPERATION. RECORDS OF ANNUAL REVIEW MUST BE HELD.NOTE
Ensure that the latest copy of the tieval operating and maintenance manual is available for all equipment operators.NOTE
The Ultrasonic Immersion System or Ultrasonic Immersion System C-Scan tanks must be calibrated annually by tieval or its appointed agents.Switch on system power and allow 30 minutes for system variations during warm up.
Check for air bubbles under the probe by gently the wiping the front face of the probe while the probe is under the water.
Log on to the system by completing the operator name and password details in the operator details window.
NOTE
There are three operator permission levels and these are set by following the tieval operating manual. Permissions for higher levels cannot be granted by lower level permission holders.Load the IAE 2R19741 Method 2 - Calibration Blade QC6808 or IAE2R19741 (refer to Figure) without the V2500 fan blade locating tool Fan Blade Root Locating Tool being fitted.
When loaded click on the OK button and the system will scan the calibration blade, analyze the results and display in the Thresholds dialog window. (Refer to Figure). The center readings shall be reviewed.
Center threshold values shall be between 40 minimum and 95 maximum values for continued satisfactory operation. Thresholds outside these limits shall be cause to replace the probe.
The thresholds for the date and shift shall be recorded for review.
Type Test in the serial number box and select "Calibration blade" from the drop down menu. Click scan and the load calibration blade box will appear. As the calibration blade is already loaded click OK and the system will scan the calibration blade. Refer to Figure.
When the scan is complete the system will automatically fail the calibration blade and the user will be prompted to archive the scan. Click No to archive and the system will present the fail window which displays the scan result (Refer to Figure).
Review the results and take action in accordance with the requirements of Table.
Every four hours and at the end of the scanning session load the calibration blade and repeat Step to Step.
Number of Defects
LOCATION OF DEFECTS
Check
Action
4 plus
Greater than four
N/A
4
Two above 50 percent and two below 50 percent
If the weighting of the smallest defect above 50 percent and/or the smallest defect below 50 percent are seven or greater
4
Two above 50 percent and two below 50 percent
If the weighting of both the smallest defect above 50 percent and the smallest defect below 50 percent are less than seven
Continue
3
Two above 50 percent and two below 50 percent
If the weighting of the smallest defect above 50 percent is seven or greater
3
Two above 50 percent and two below 50 percent
If the weighting of the smallest defect above 50 percent is less than seven
Continue
3
Two below 50 percent and one above 50 percent
If the weighting of the smallest defect below 50 percent is seven or greater
3
Two below 50 percent and one above 50 percent
If the weighting of the smallest defect below 50 percent is less than seven
Continue
2
One below 50 percent and one above 50 percent
N/A
Continue
None of the above
N/A
SUBTASK 72-00-00-820-051 Calibration of the C-Scan Ultrasonic Equipment
Install the V2500 fan blade locating tool Fan Blade Root Locating Tool onto the system root clamp (Refer to Figure). This ensures that the fan blade is correctly aligned along the scanning axis (Refer to Figure).
The tip end of the blade should be carefully clamped using the Fan Blade Root Locating Tool positioning tool.
The positioning tool should be placed over the tip end nearest the operator side of the blade and positioned just touching the tip clamp (Refer to Figure).
Tighten the tip clamp.
Click Scan and the system will automatically scan and analyze the data.
When the scan finishes the system will automatically accept or reject the blade.
Blades rejected by the system shall be archived and the system will prompt the operator to archive the scan by presenting an archive window if a blade fails the inspection criteria.
SUBTASK 72-00-00-220-146 Examine the Aerofoil of the LP Compressor Fan Blades
If the C-Scan system rejects a blade the reason must be investigated. Rejections can be caused by system faults, surface damage or cracks and internal damage.
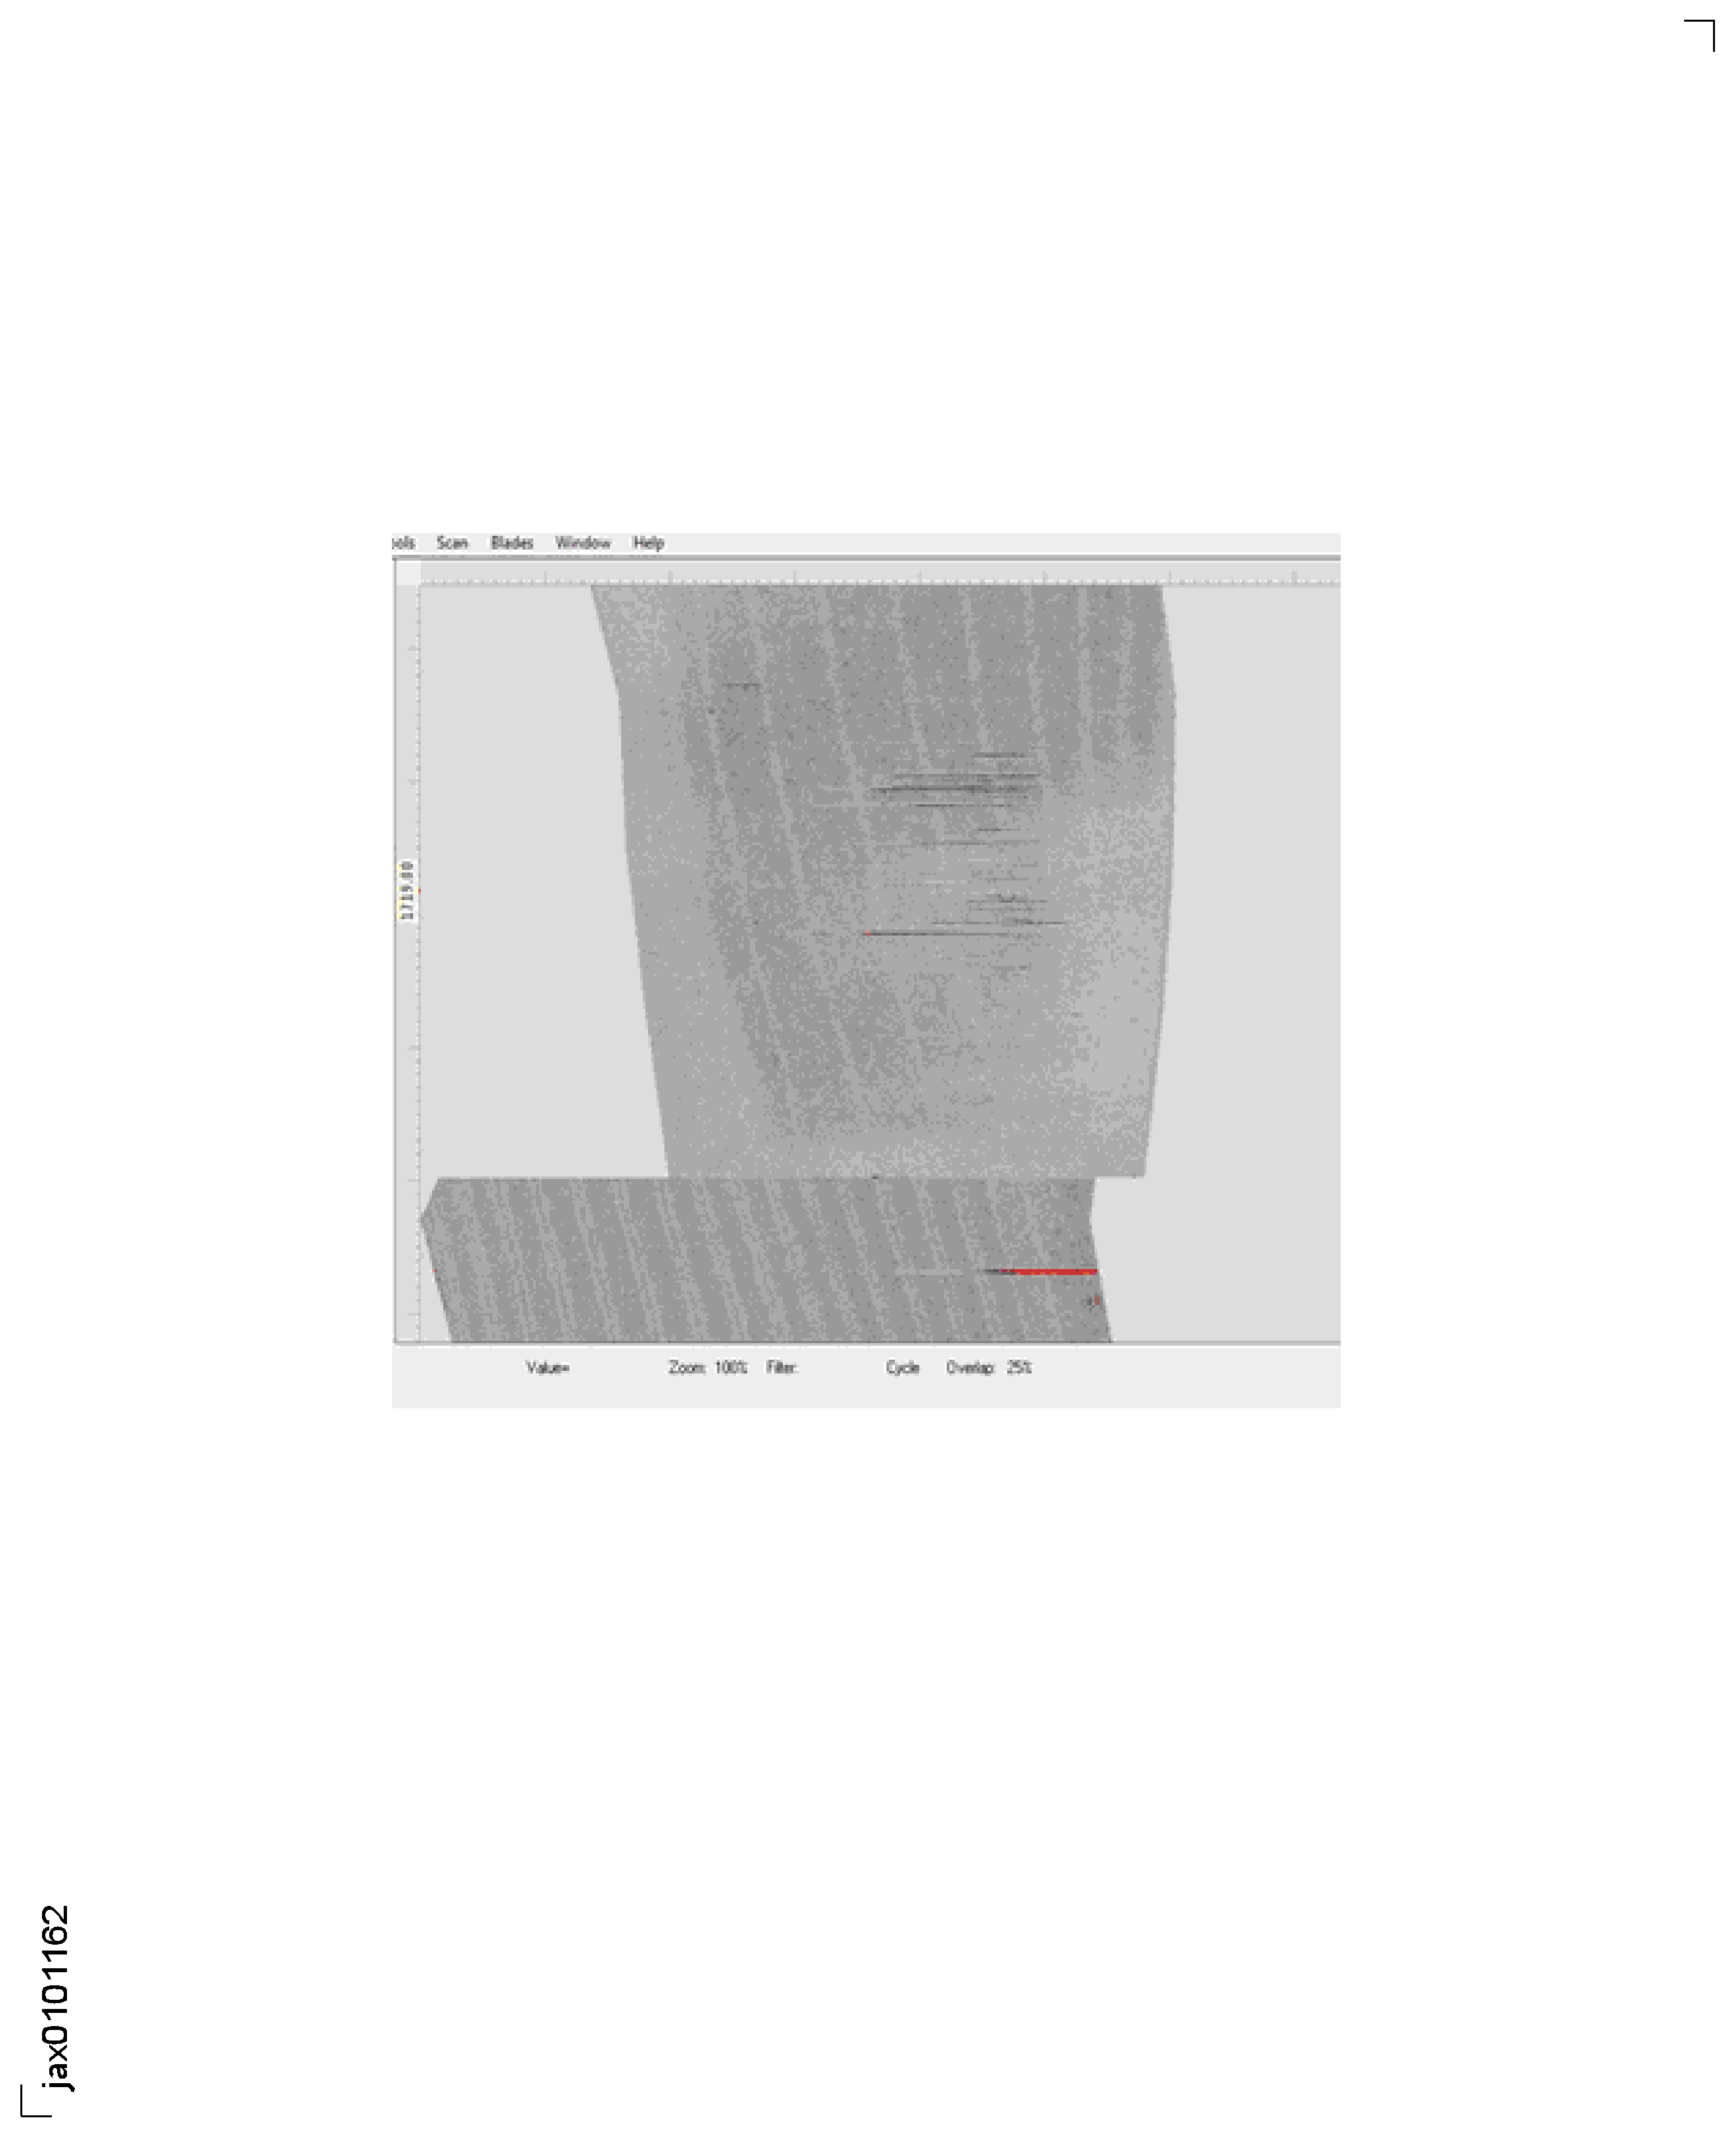
Indications that show as red or grey lines across the scan are usually caused by wear or corrosion in the Z-axis shafts and bearings or ruby ball bearing wear. To correct the fault, do the routine checks and maintenance specified in Step. Following inspection and repair to the tank as necessary, the blade shall be scanned in the same tank and if the system passes on the re-scan, the blade can be accepted and continue with processing.
Indications caused by surface damage to the outside of the blade aerofoil may show as a rejection and give the appearance of genuine defects. The blade shall be inspected for surface defects and mechanical damages in the area of the indication and dressed as per appropriate Engine Manual procedure. The blade shall be re-scanned in the same tank and if the system passes on the re-scan then the blade can be accepted and continue with processing. Any blade failing a second inspection shall be rejected and the rejection proforma completed.
Blades with rejectable indications without corresponding surface damage shall be rejected and the reject proforma completed.
Details of rejected blades must be supplied to IAE using the rejection proforma shown in Figure.
All scans of rejected blades must be archived. The system will prompt the user to archive rejected blades.
SUBTASK 72-00-00-220-147 Acceptance and Rejection of LP Compressor Fan Blades
Refer to Figure.
If the blade is rejected, the system prompts to archive the blade C-Scan data with blade serial number as the file name in an archive directory. IAE may require the copies of archived C-Scan data post review of the rejected blade proforma (Refer to Figure). All data should be passed to an IAE Representative
SUBTASK 72-00-00-220-148 C-Scan System Data Retrival and Archiving
Figure: Probe Holder Assembly
Probe Holder Assembly

Figure: Scanning Head
Scanning Head

Figure: Shaft Assembly
Shaft Assembly
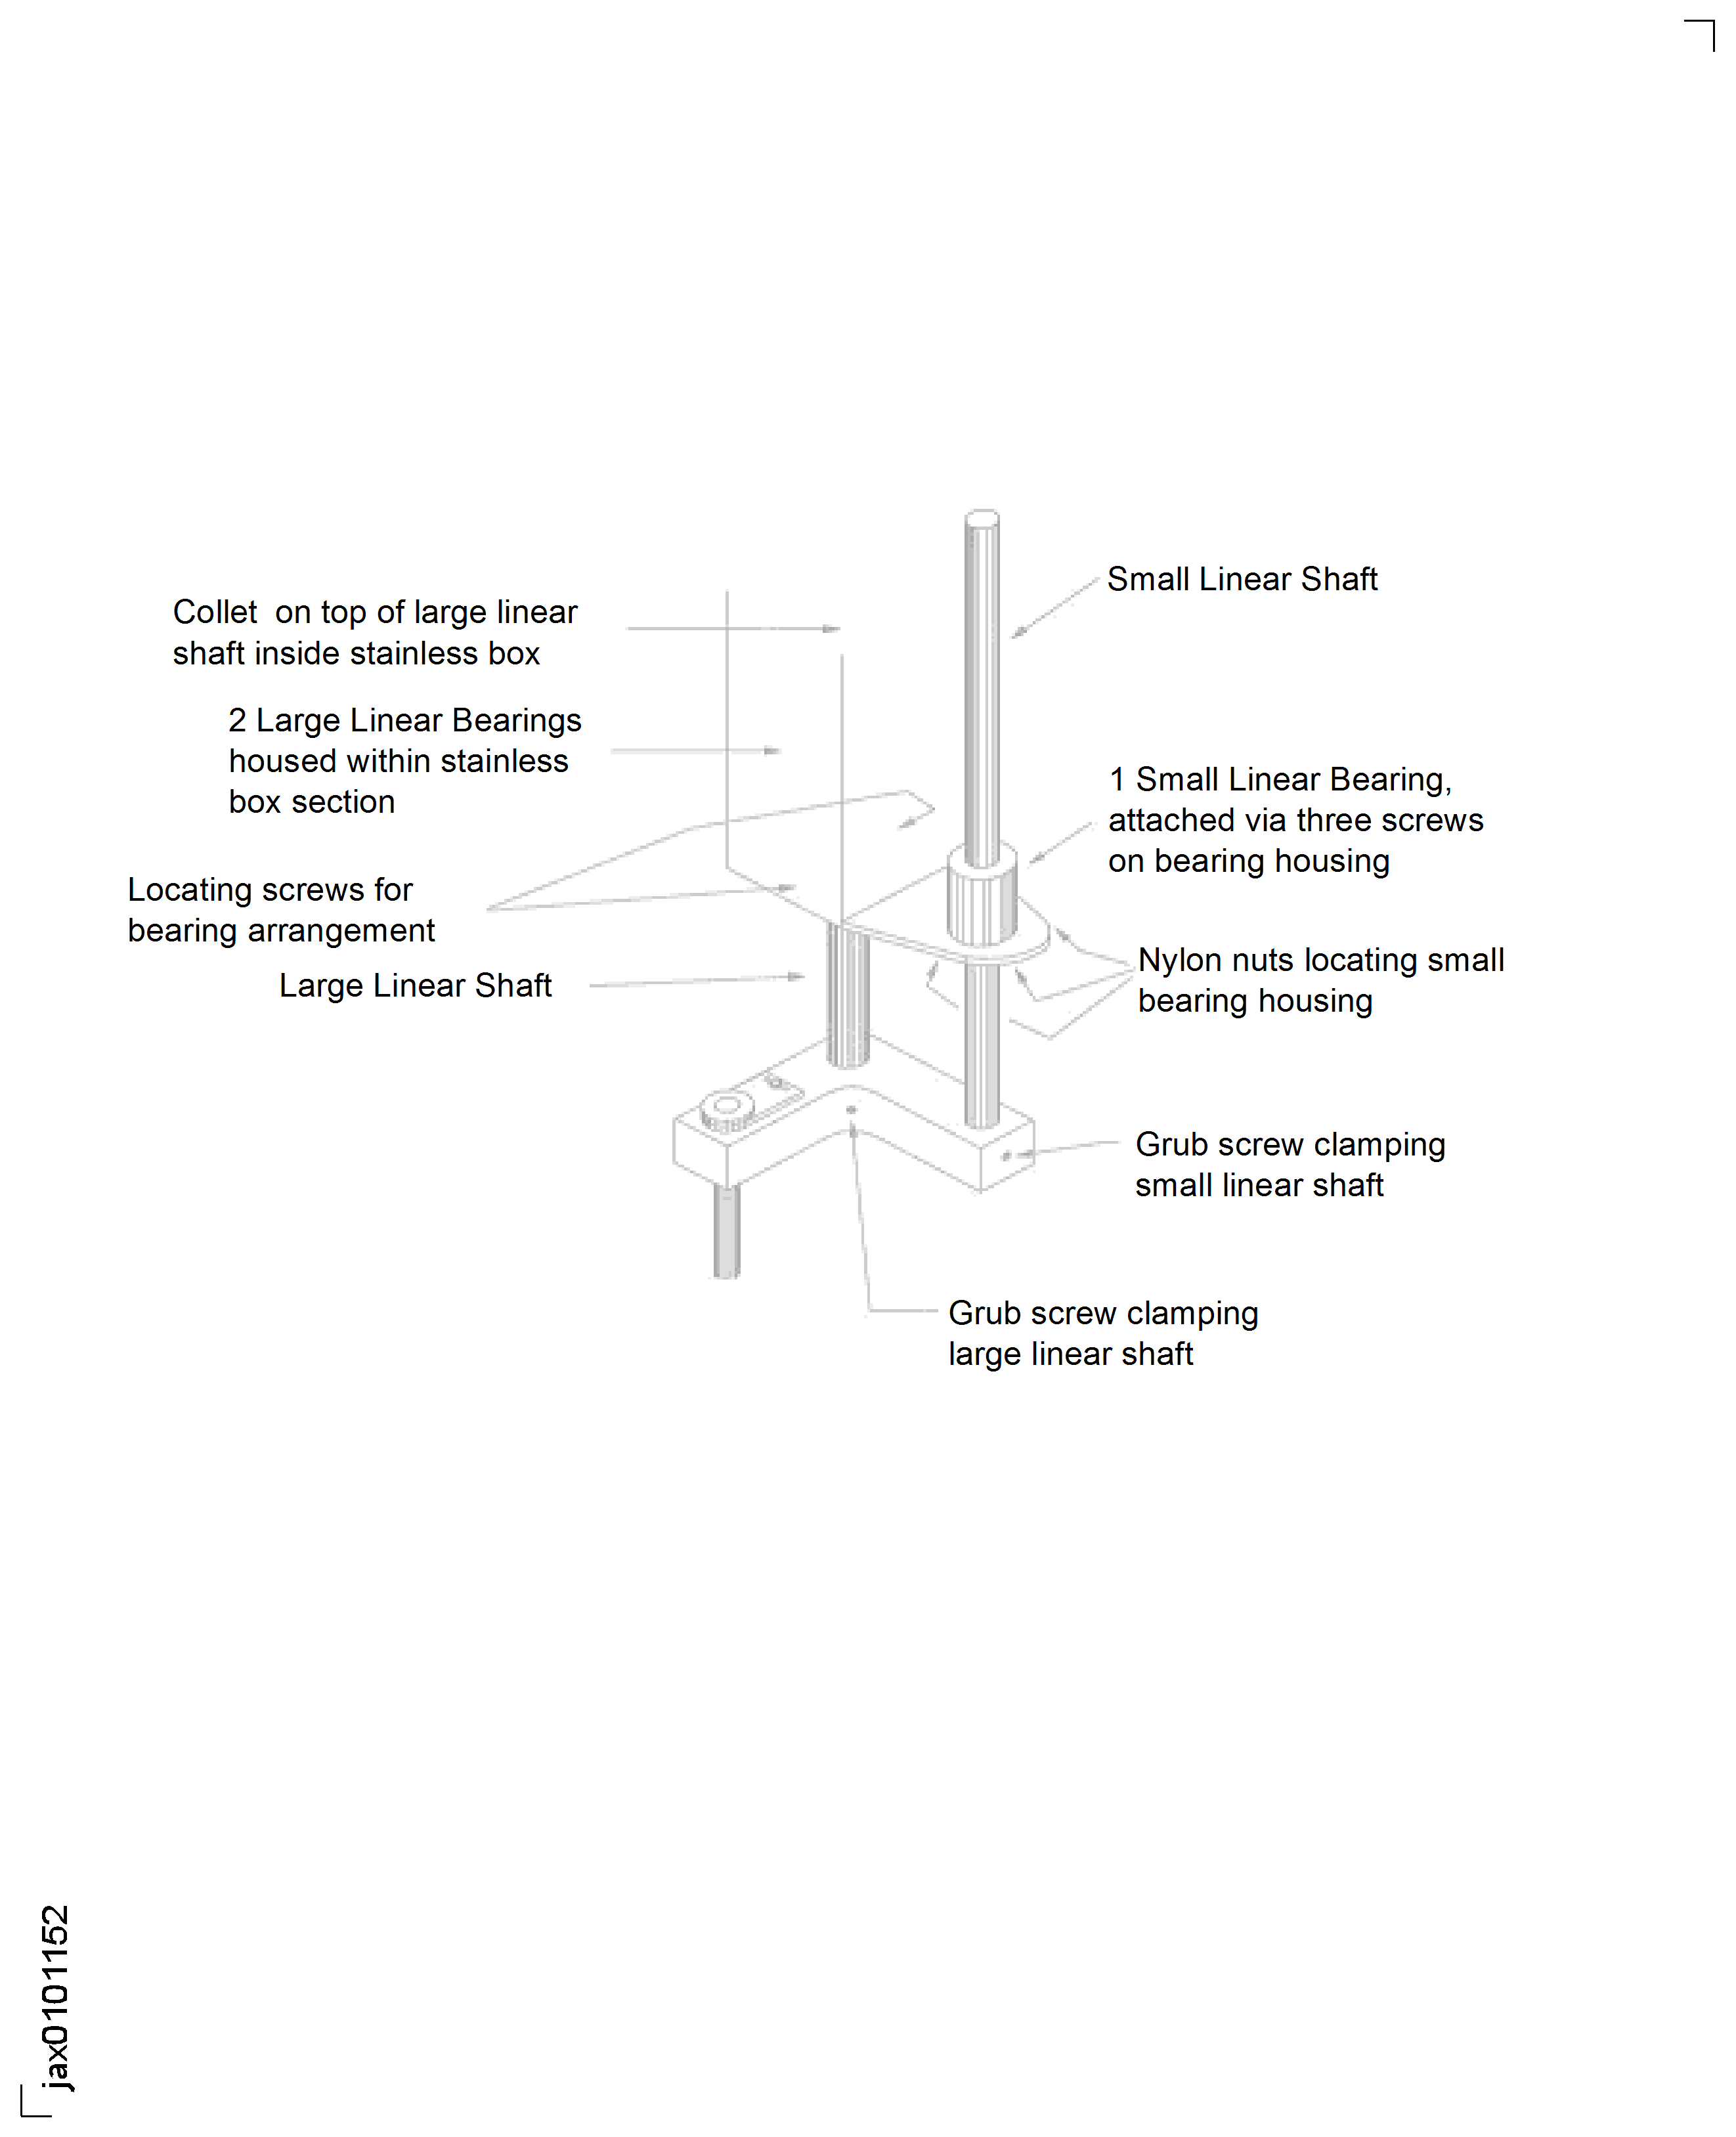
Figure: Probe Follower
Probe Follower
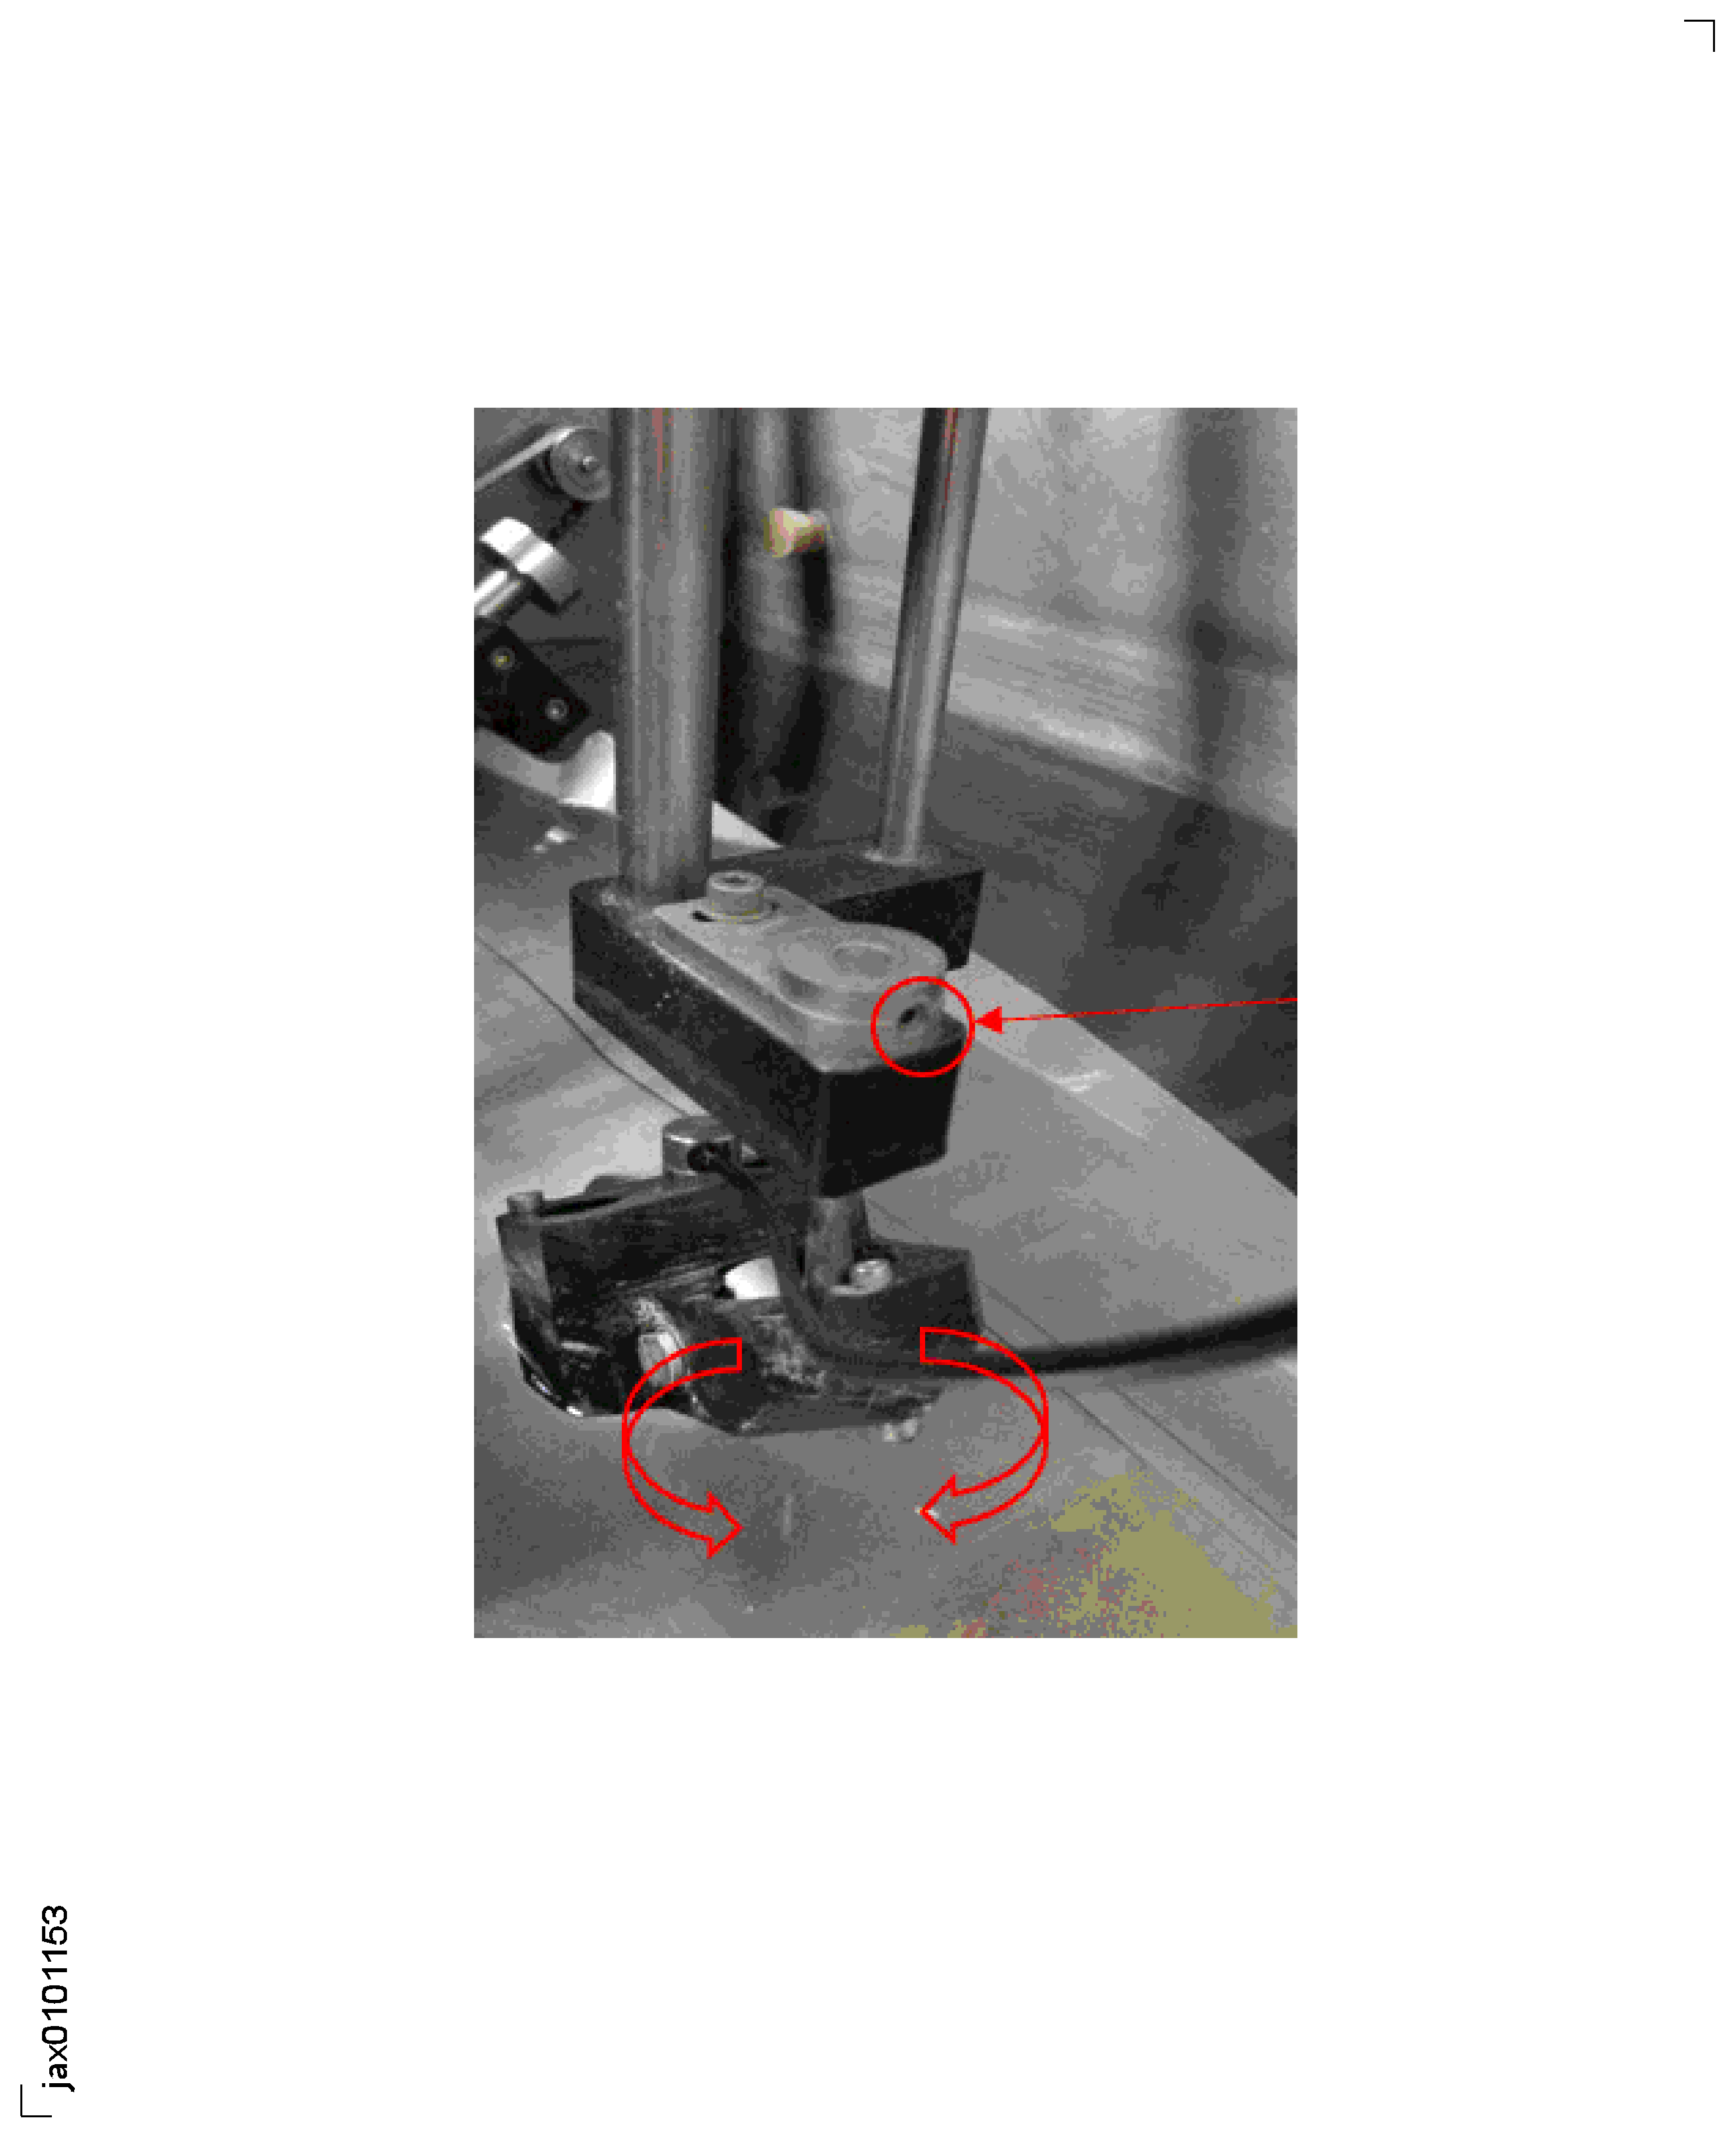
Figure: Remove Screws from Profile Follower
Remove Screws from Profile Follower
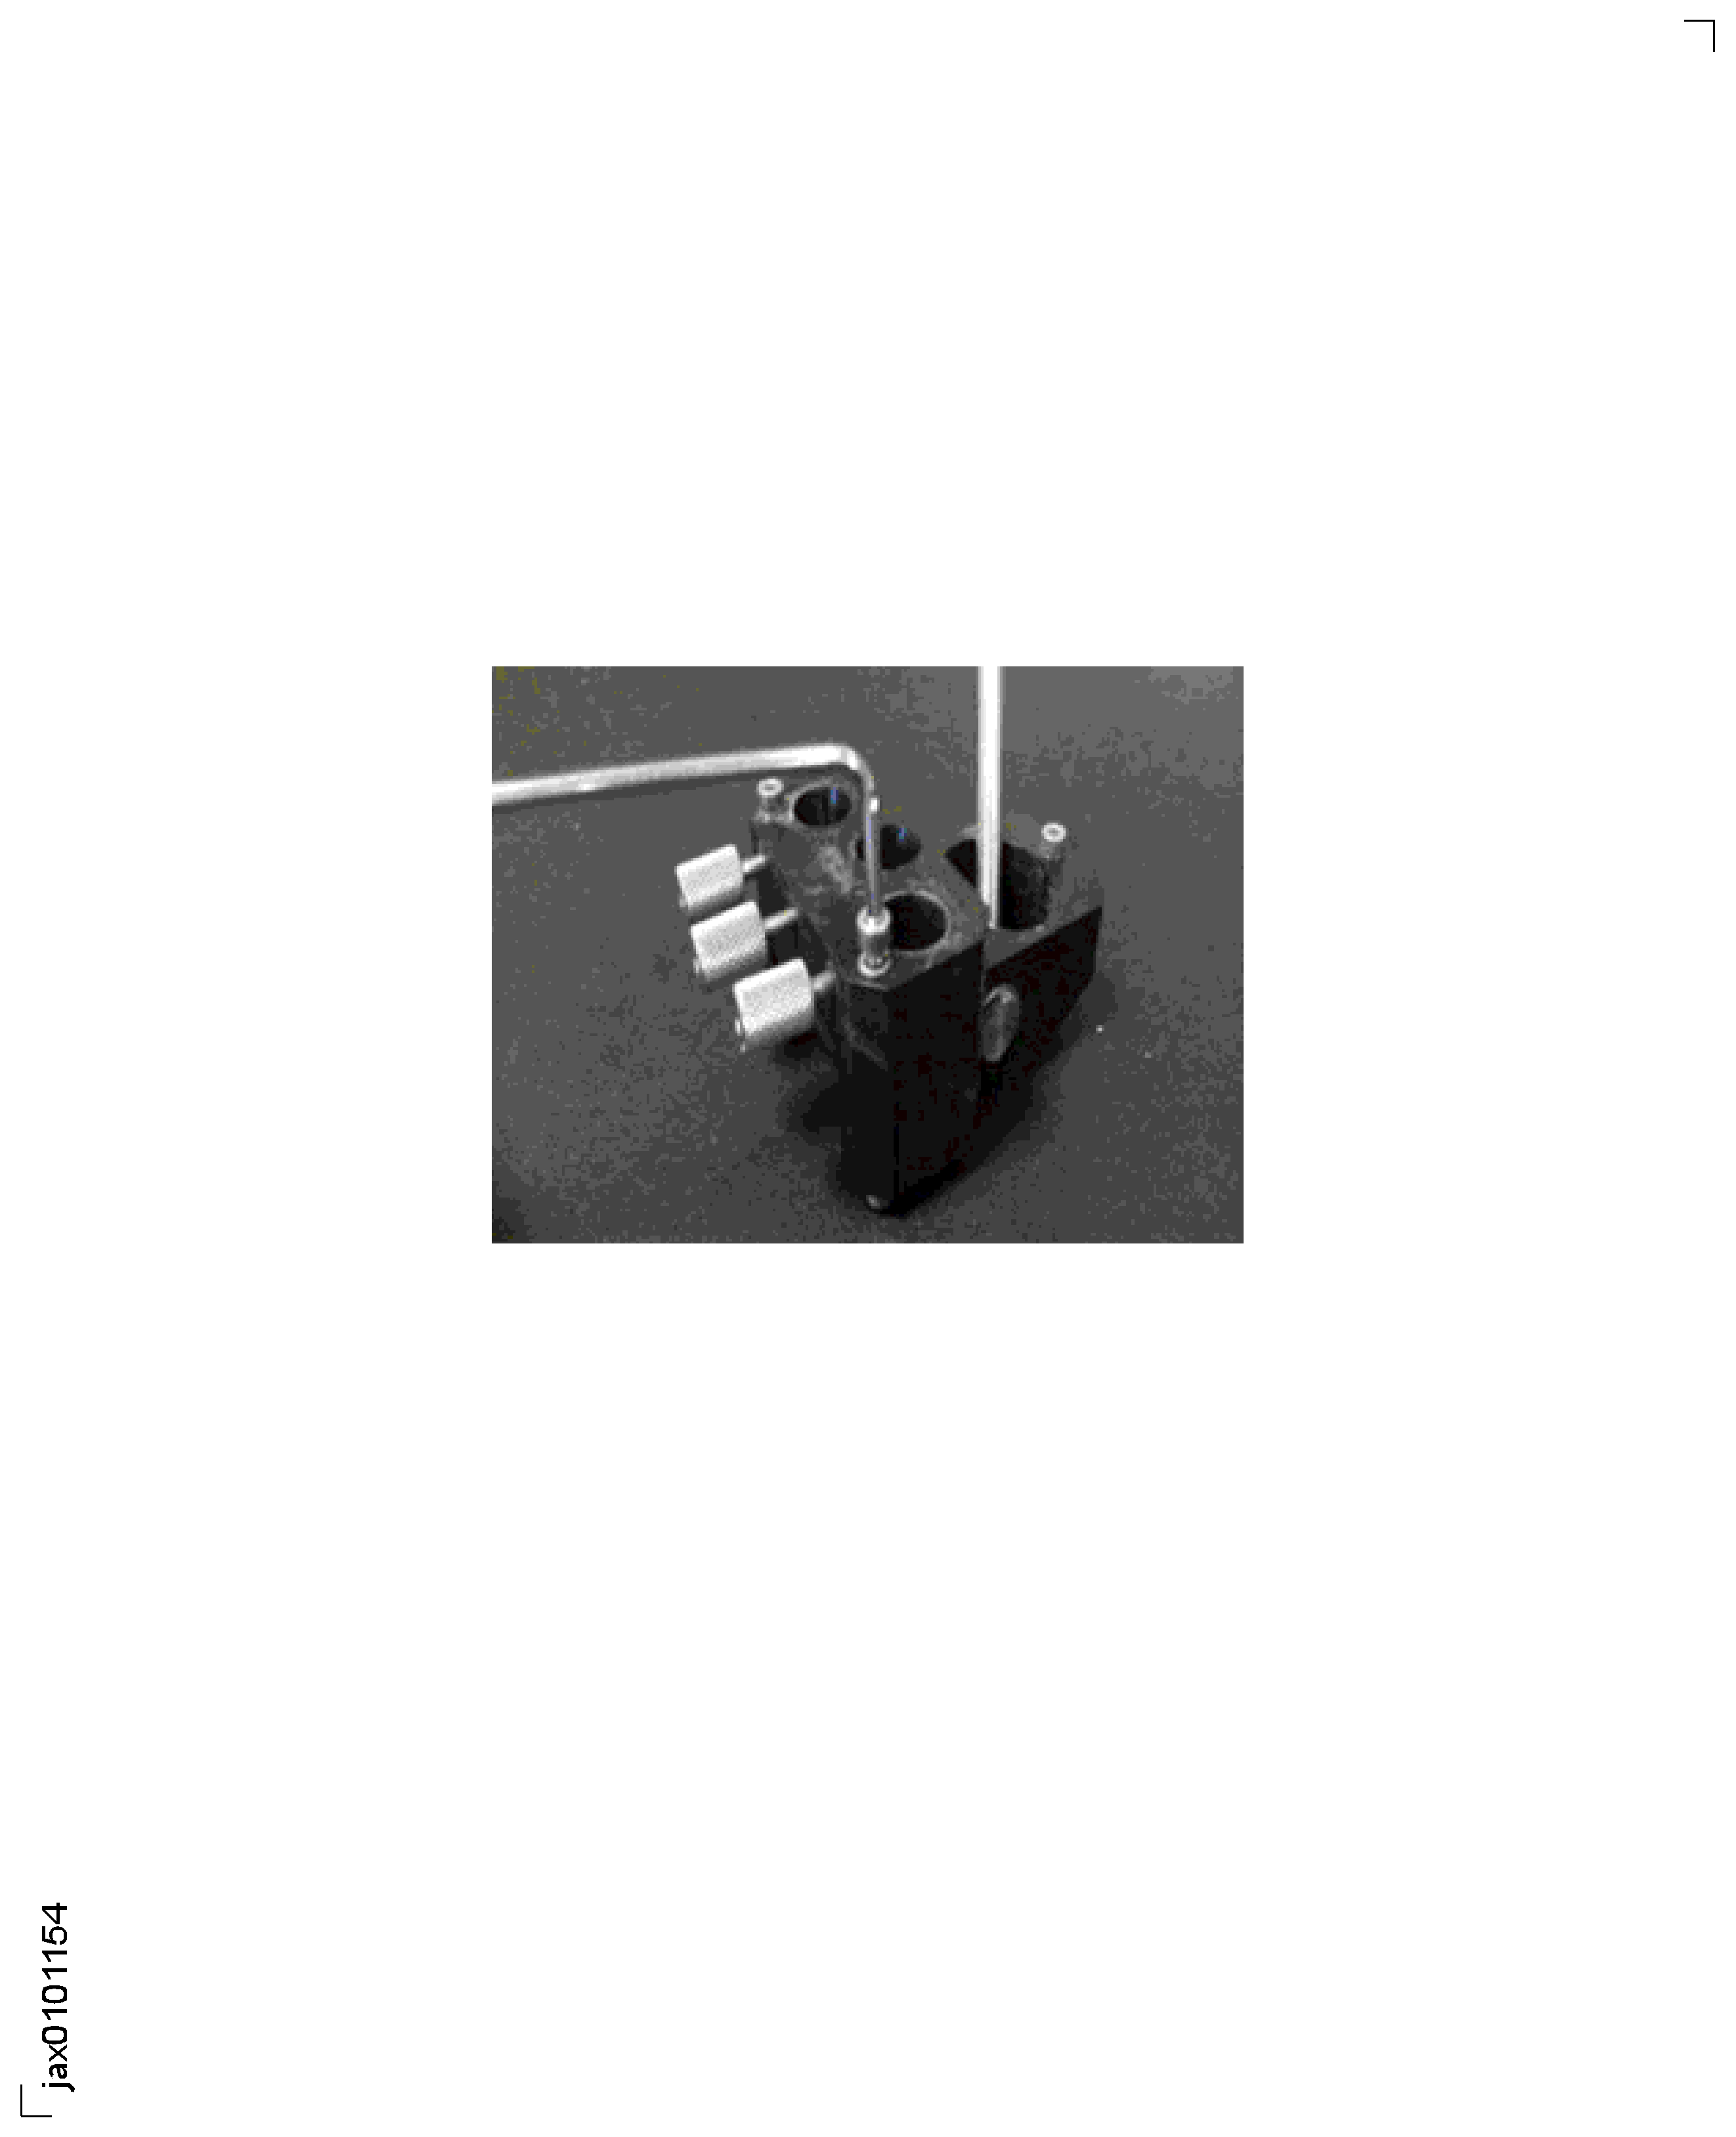
Figure: Profile Follower with Bearings Removed
Profile Follower with Bearings Removed
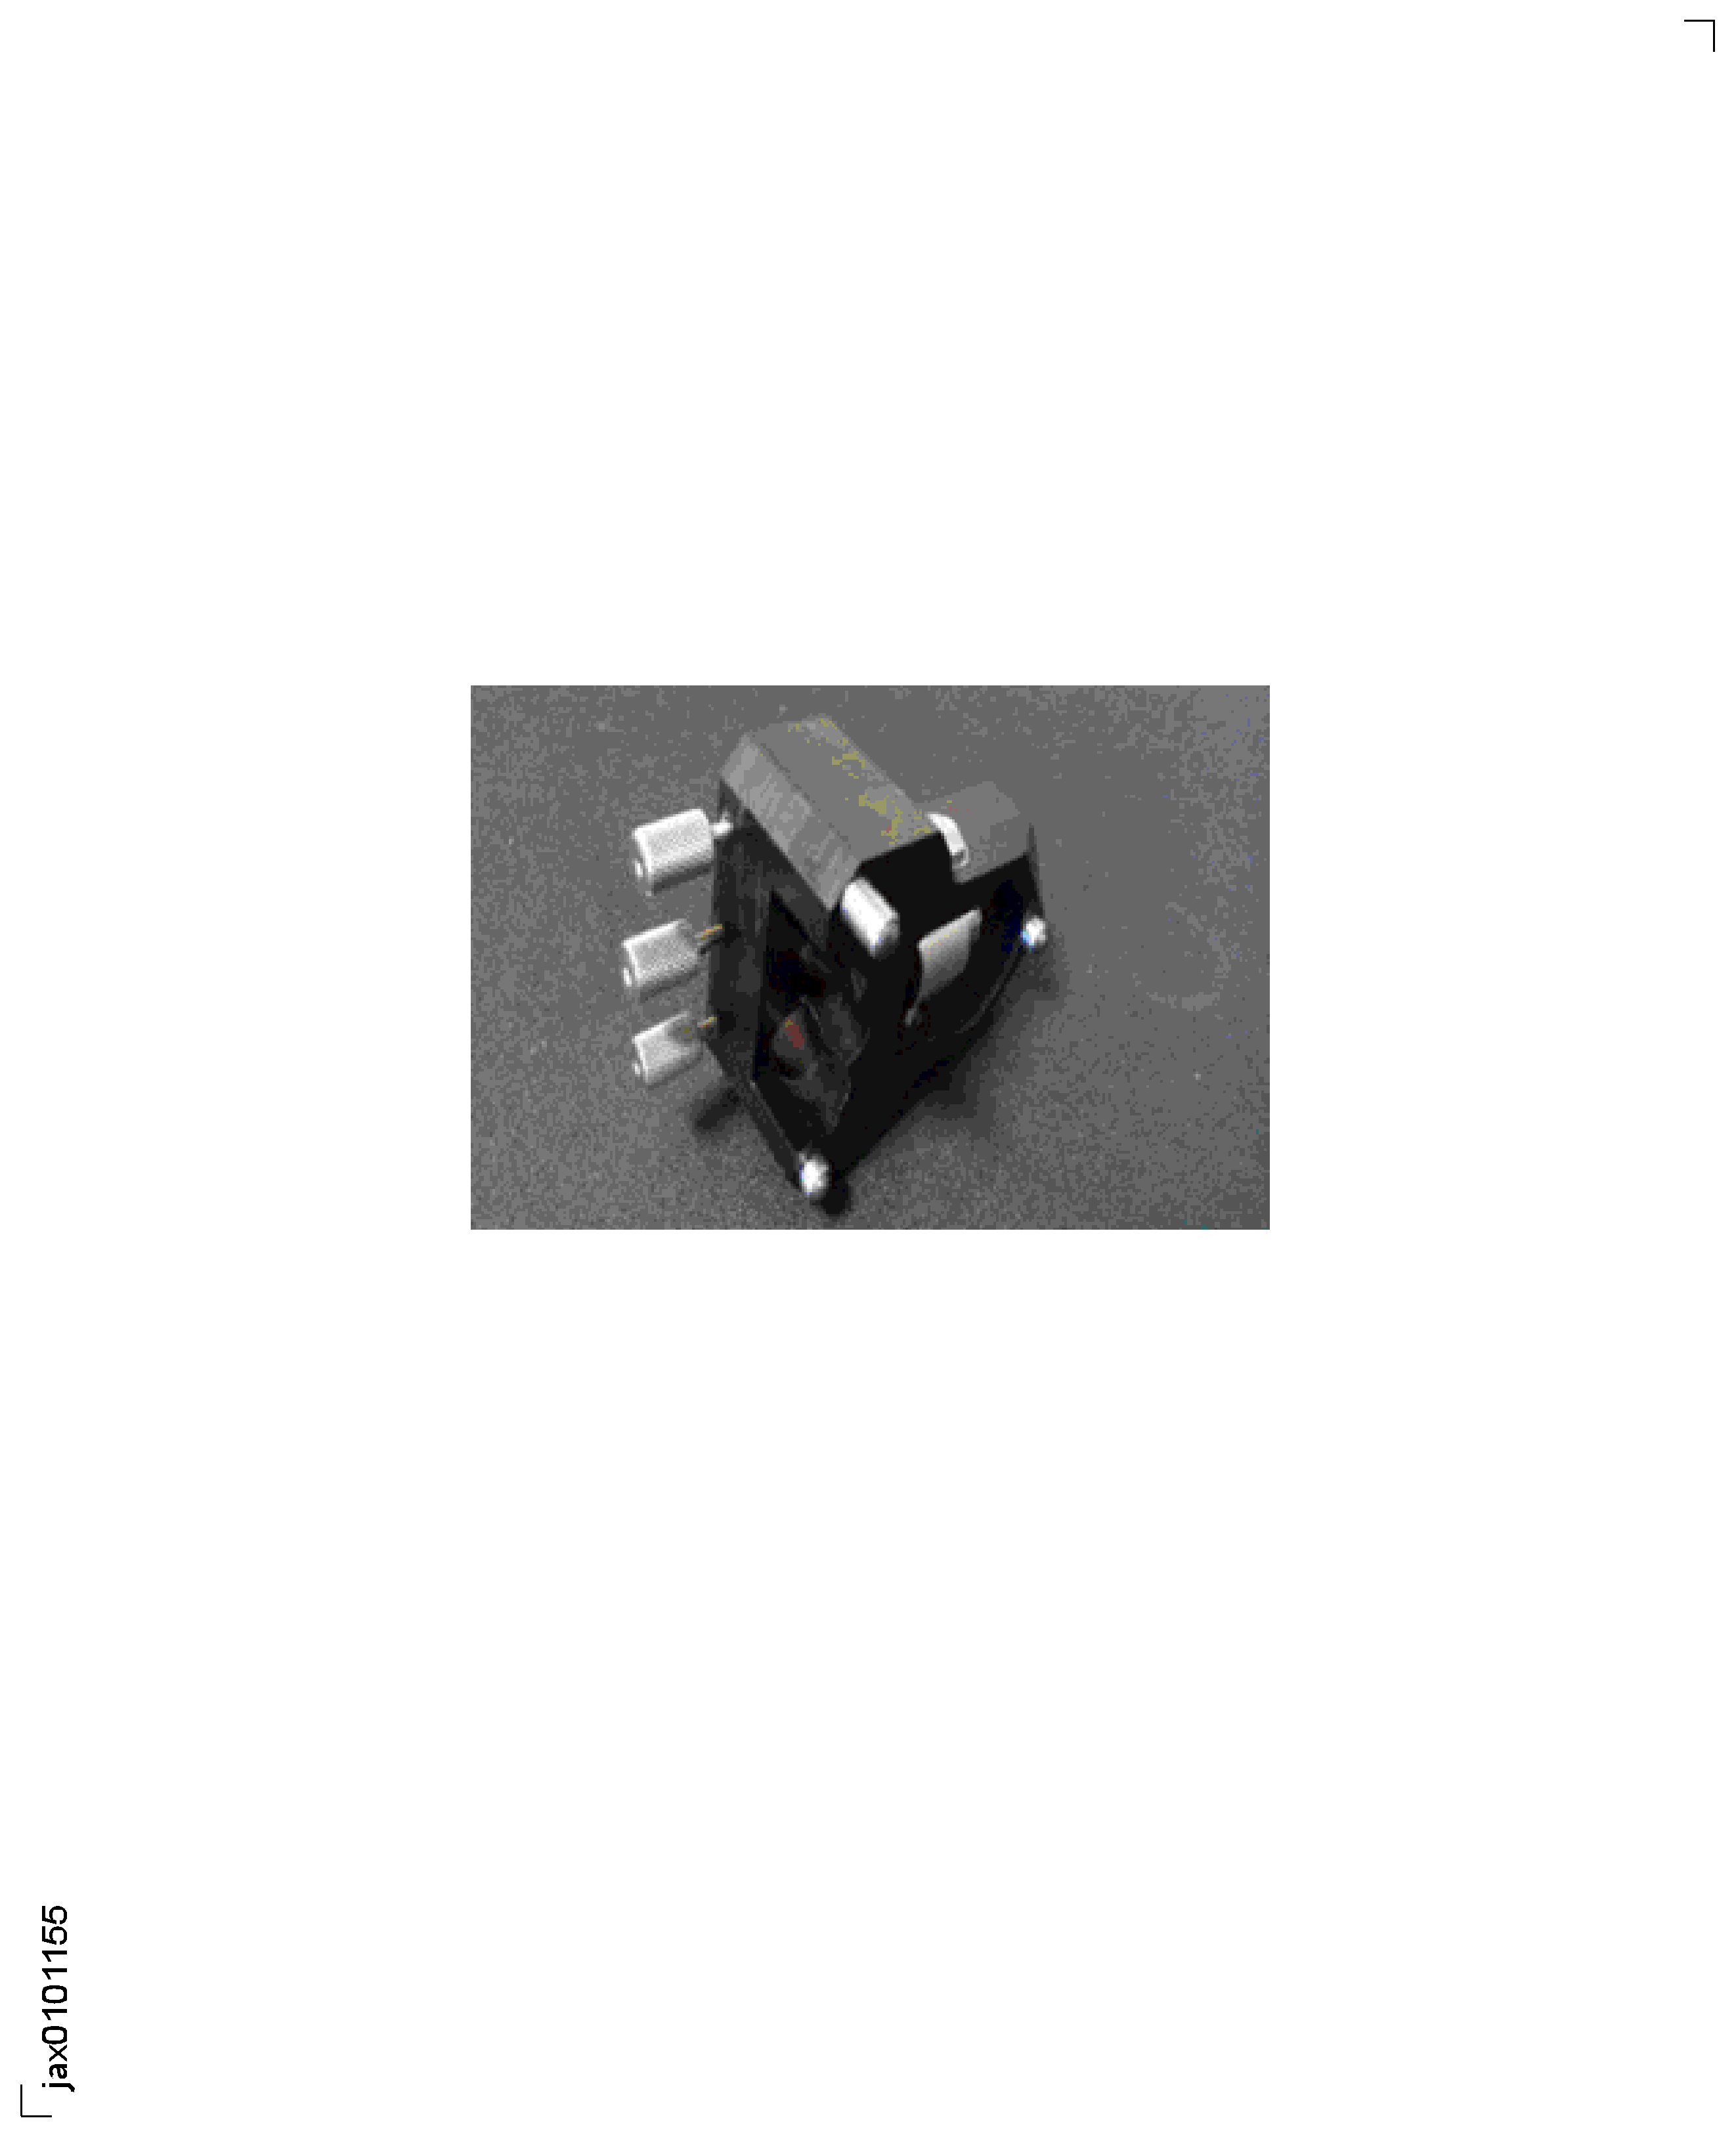
Figure: IAE 2R19741 or QC6808 C-Scan Calibration Blade
IAE 2R19741 or QC6808 C-Scan Calibration Blade

Figure: Threshold Dialog Display
Threshold Dialog Display

Figure: Test Input Display
Test Input Display

Figure: Scan Result Display
Scan Result Display
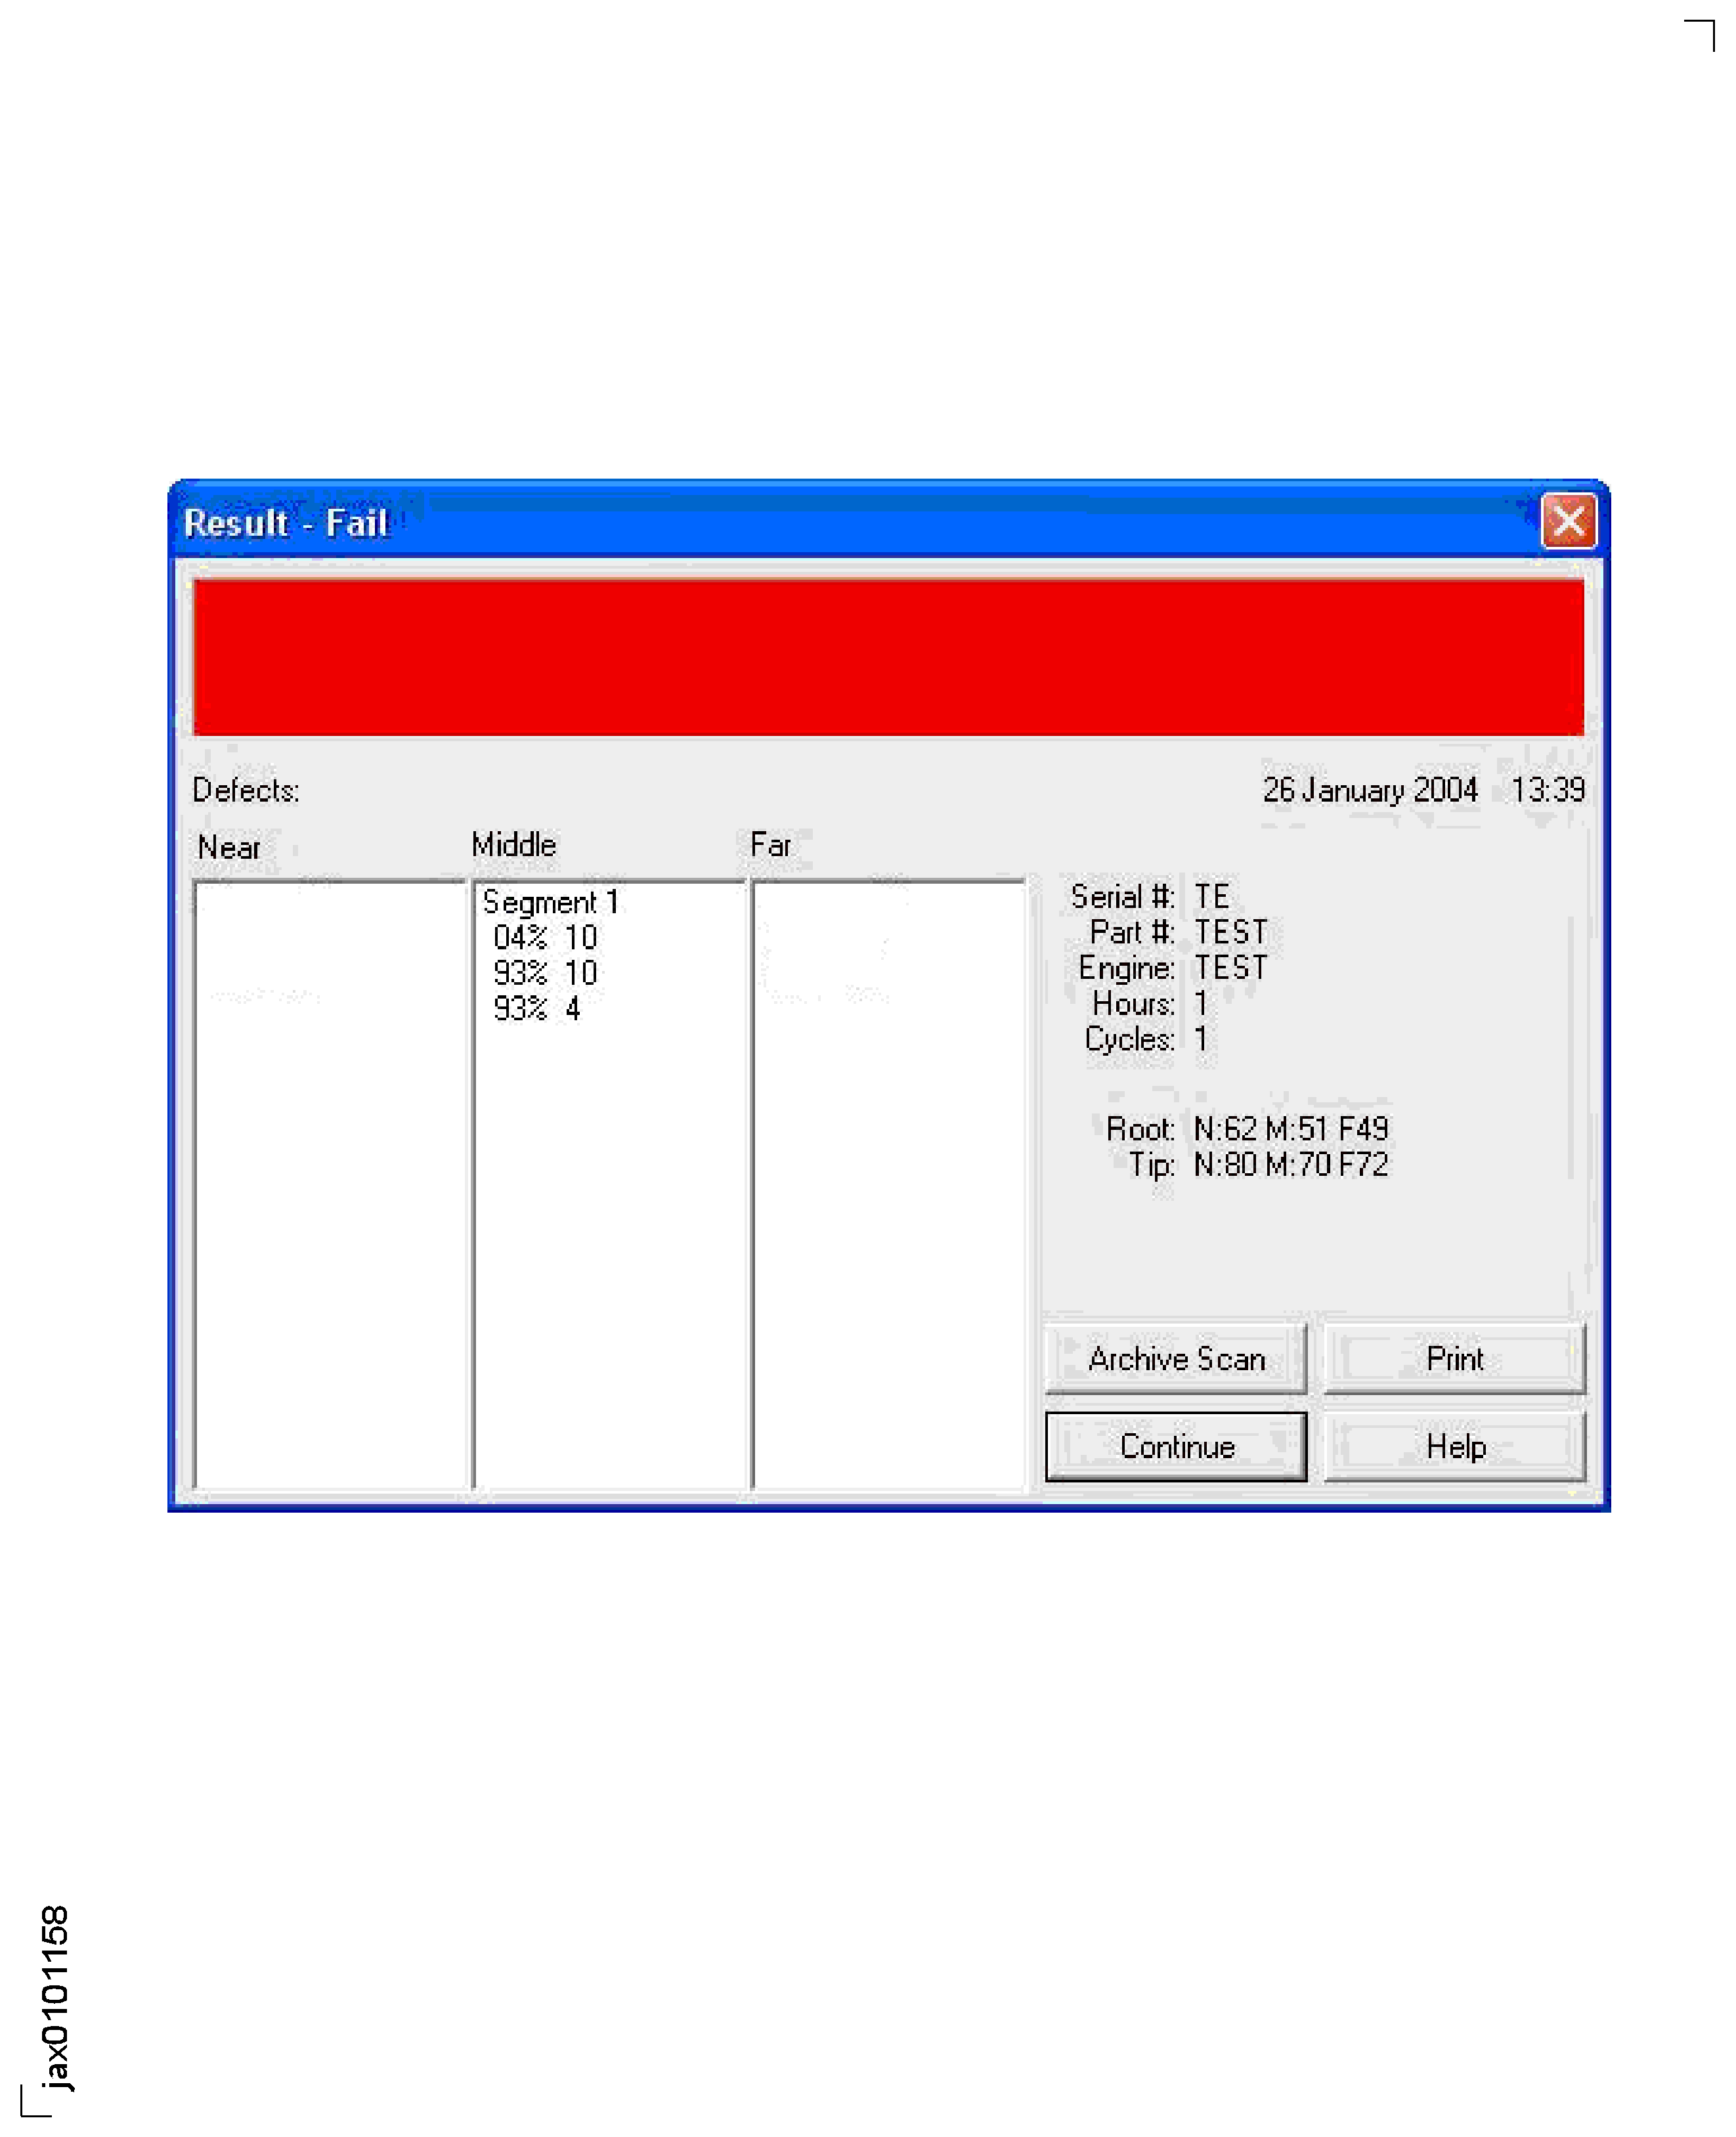
Figure: Fan Blade Root Locating Tool
Fan Blade Root Locating Tool
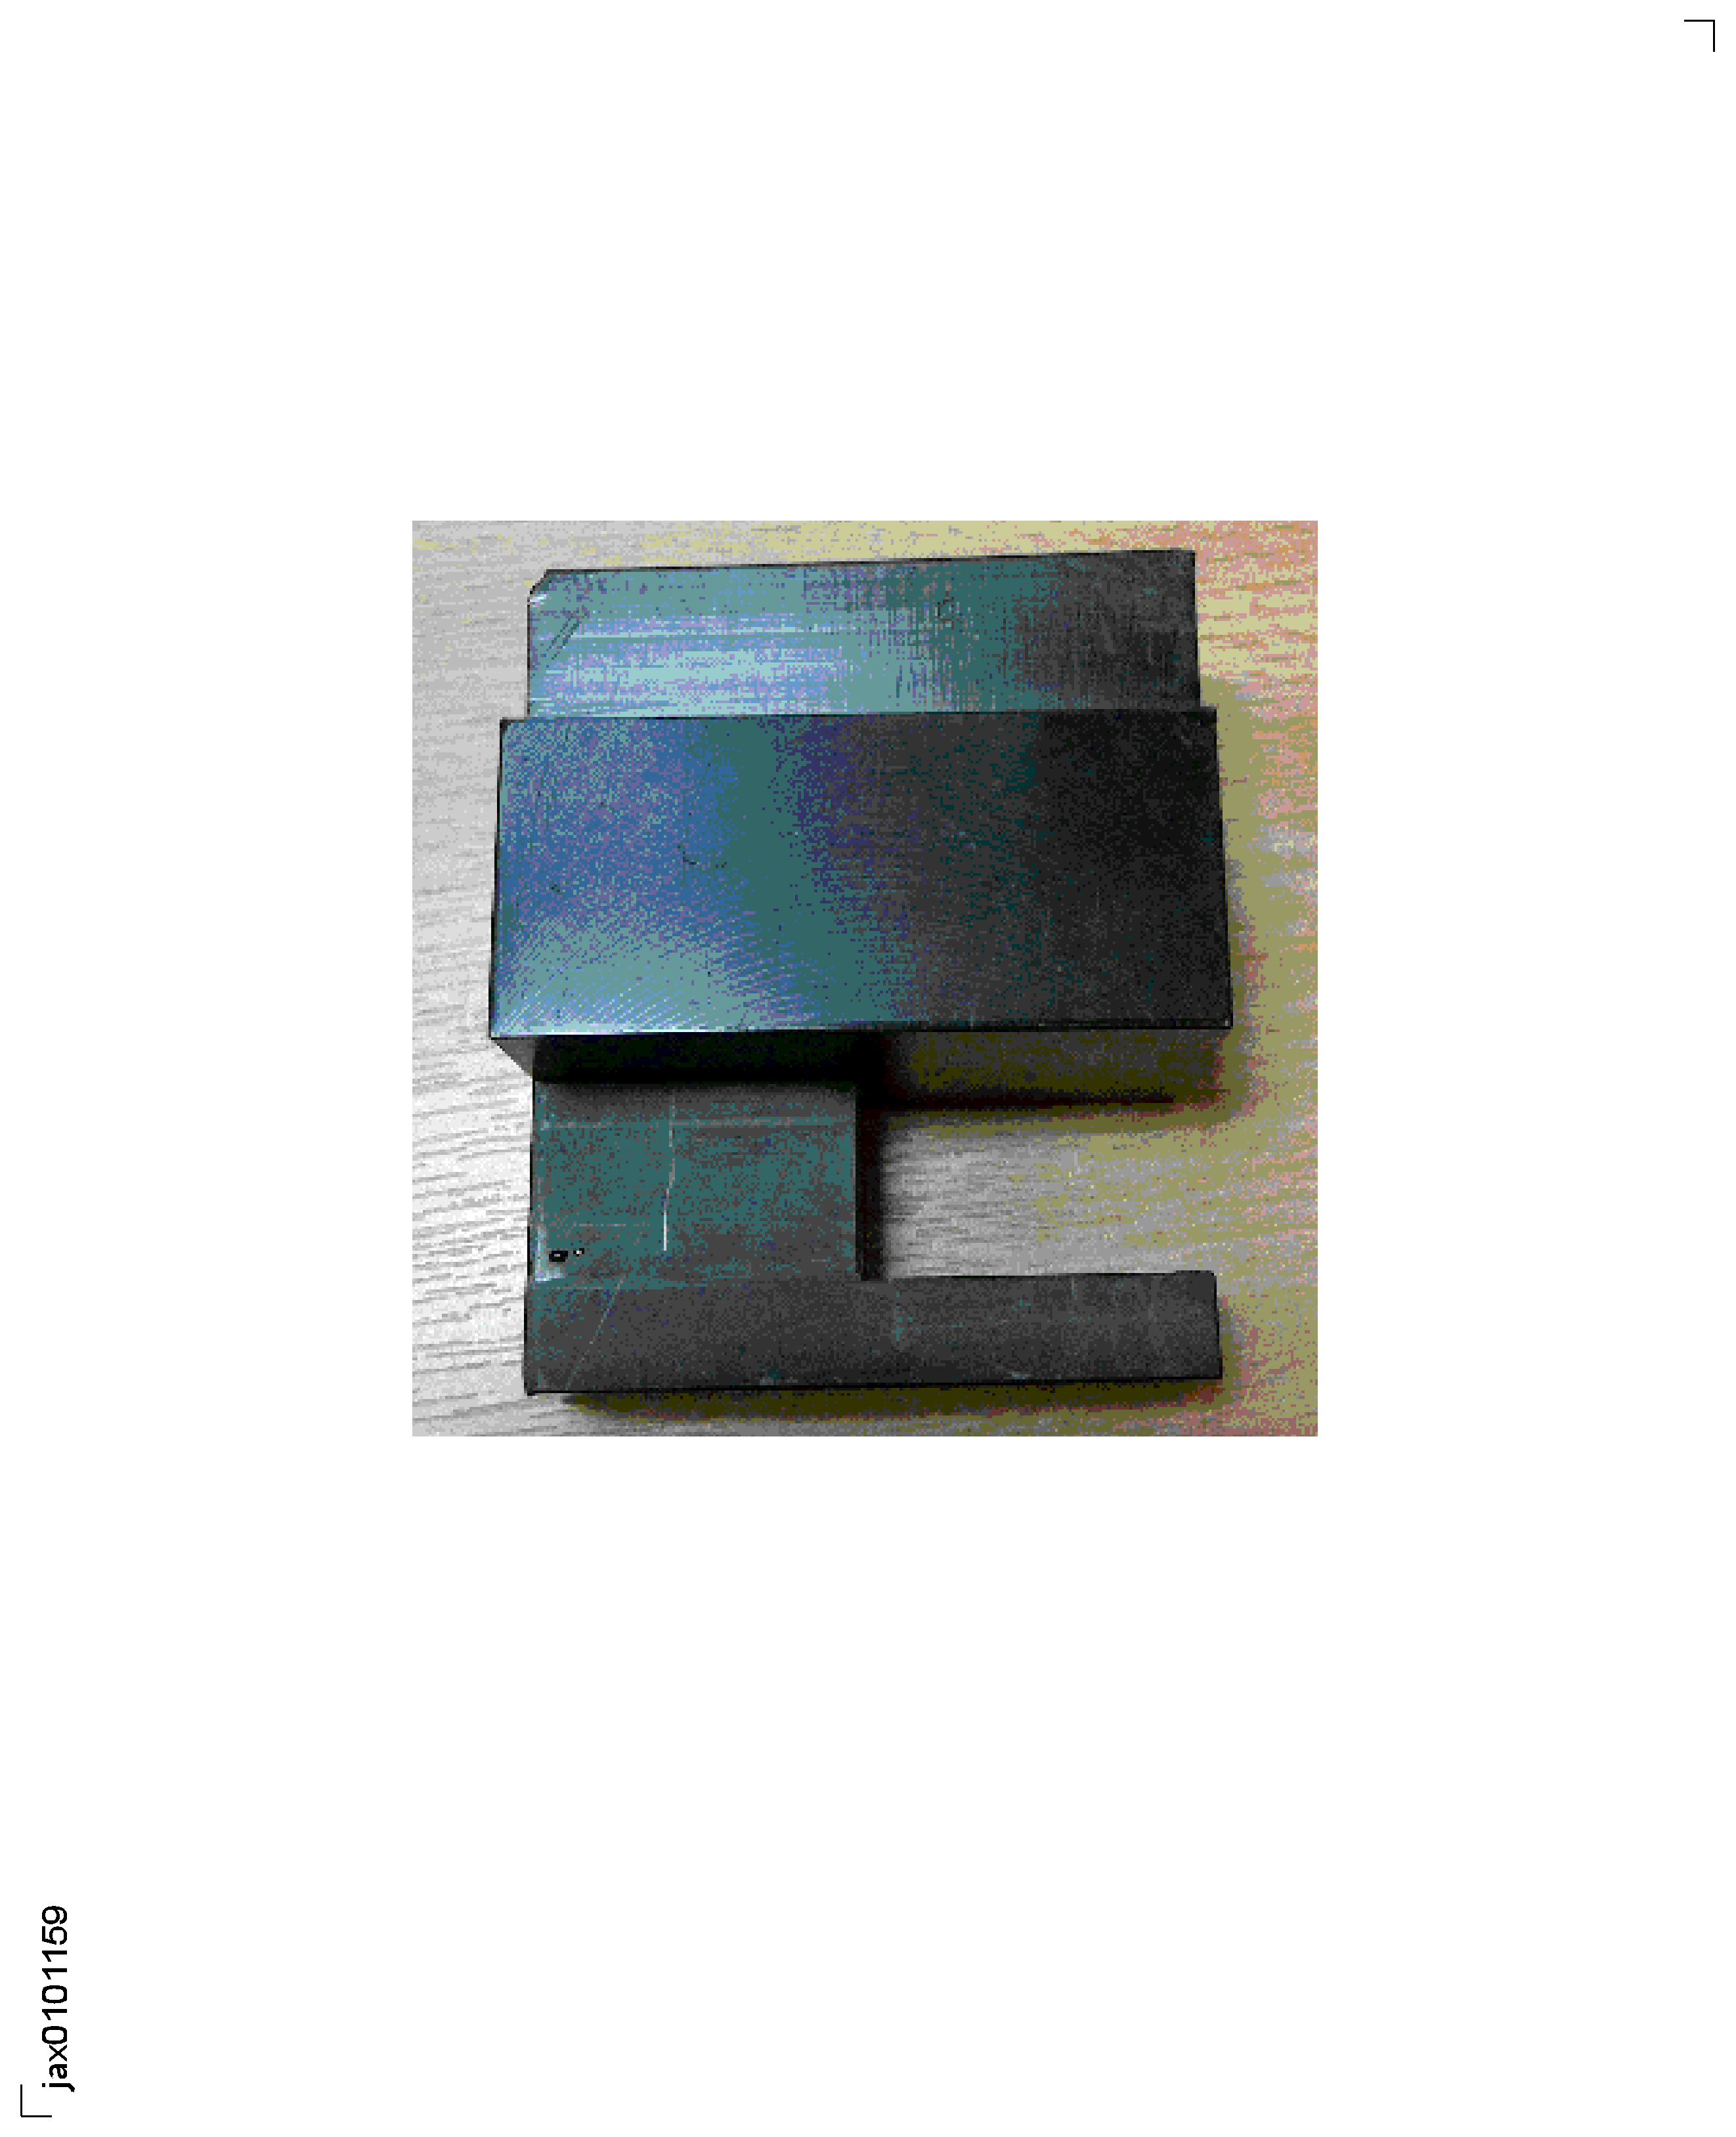
Figure: Loading of Calibration Blade
Loading of Calibration Blade

Figure: Fan Blade Tip Positioning Tool
Fan Blade Tip Positioning Tool

Figure: LP Compressor Blade C-Scan Rejection Pro-forma
LP Compressor Blade C-Scan Rejection Pro-forma
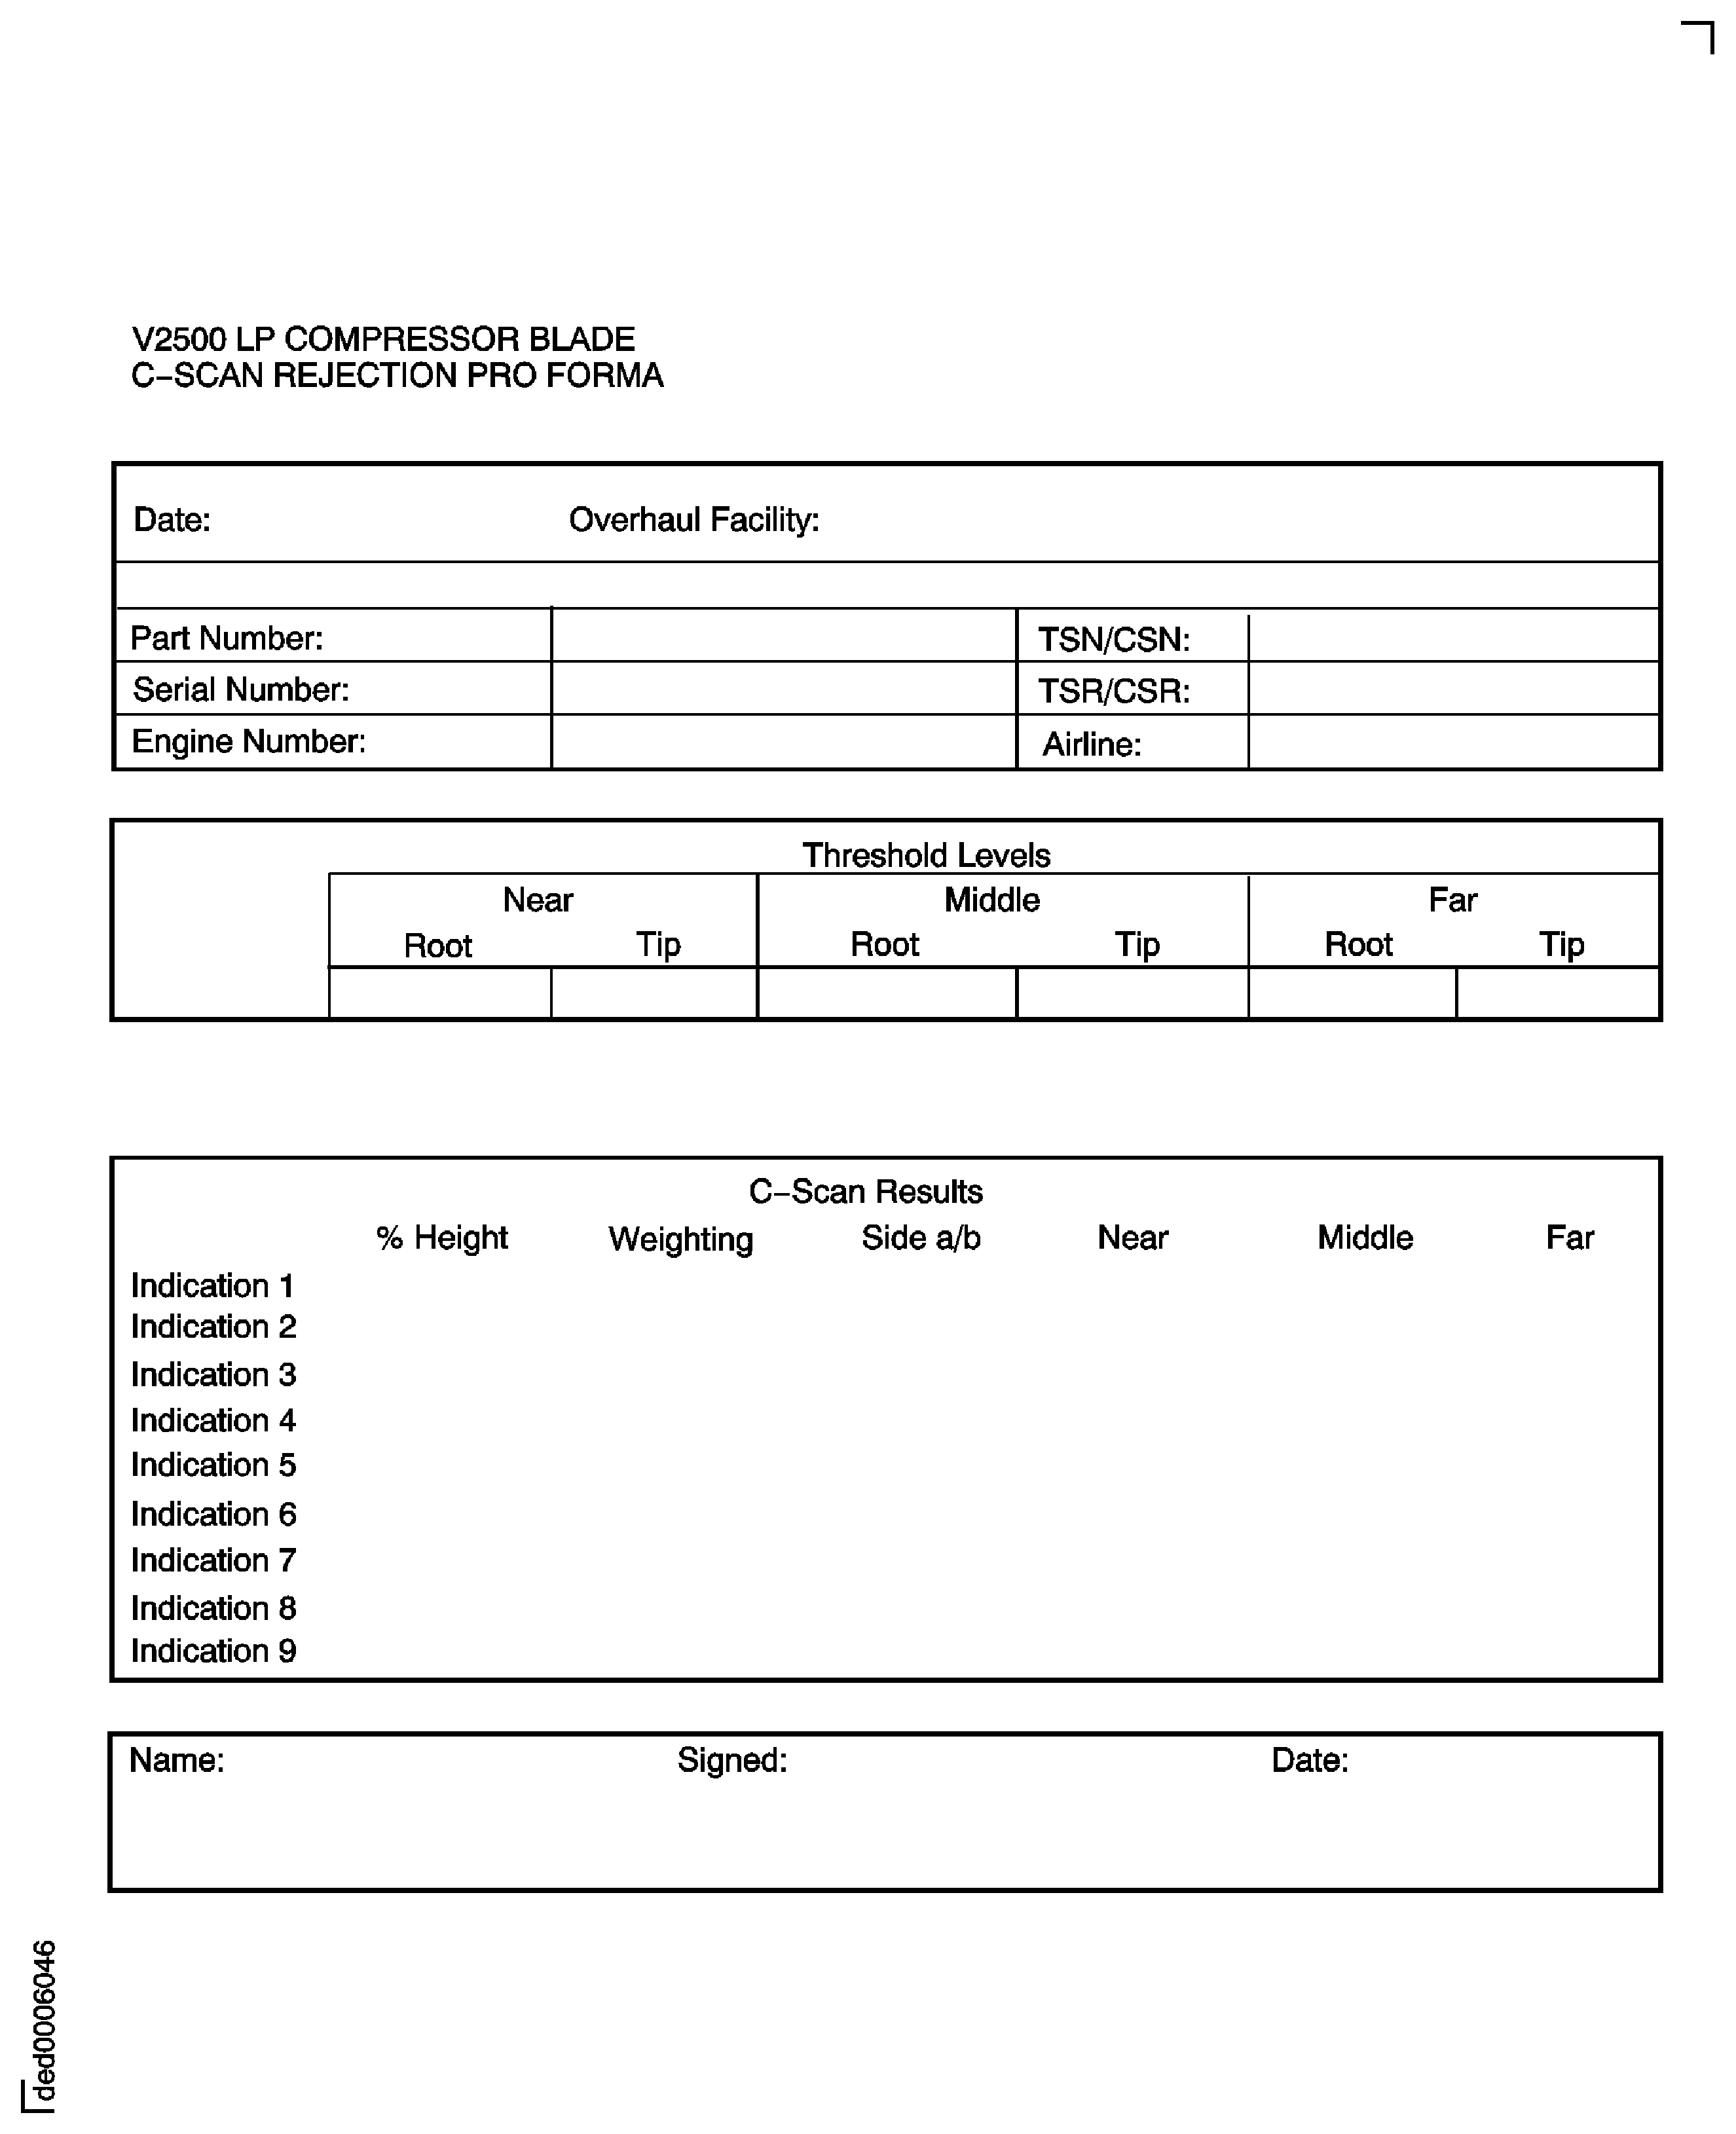
Figure: Typical False Indications Caused by System Faults
Typical False Indications Caused by System Faults
